View RSS Feed

melev

Plumbing: Drain lines to the sump and refugium

Rating: 6 votes, 4.83 average.
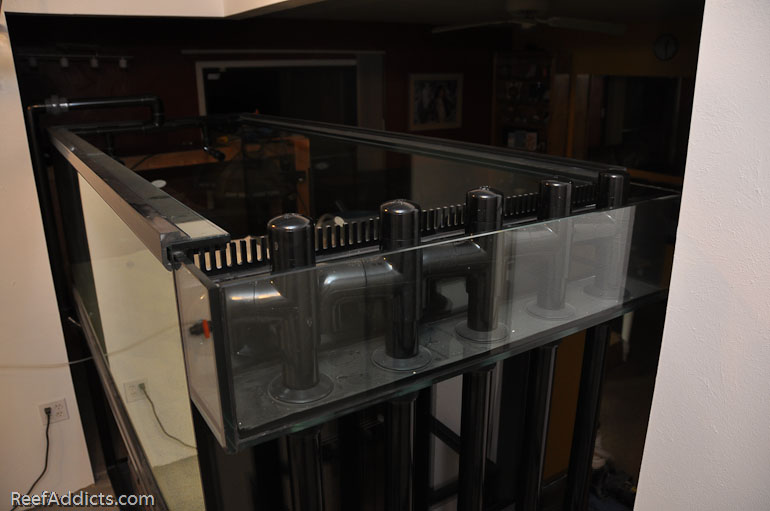
My 400g reef had five drains in the external overflow. They are equally spaced apart, and plumbing these into my sump was a little challenging. I'm sure I got a few gray hairs trying to come up with the perfect plan.

First of all, it needed five Durso Standpipes. All five are 1.5" black PVC going into 1.5" bulkheads. The drainlines are 1.5" as well.

Each Durso is drilled with a 3/16" hole in the cap to vent the drain. None of the Durso Standpipes were glued. They are pressed together and pressed into the Slip/Slip bulkheads. Each one was carefully measured to make sure they were all exactly the same height to assure all drains run at the same rate.


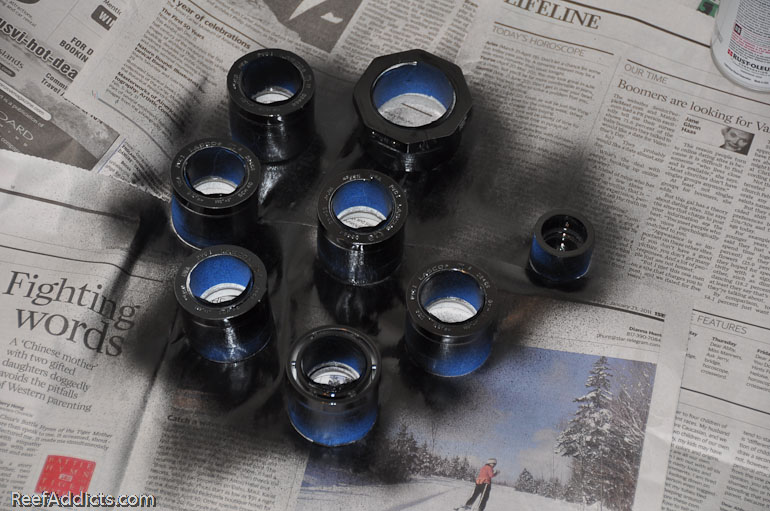
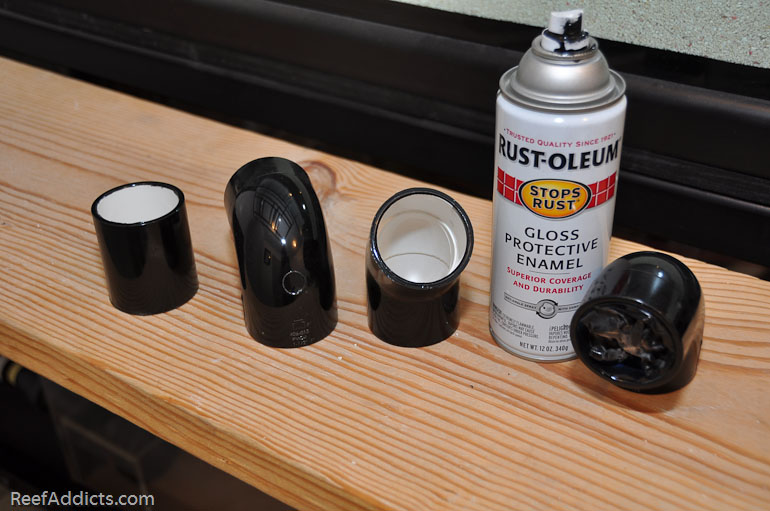
Rigid black PVC was plumbed beneath each bulkhead, and then a 45" degree fitting was glued beneath to angle the drains into the sump. At this point, the drains reduce to 1", so I had to paint a few more fittings. Plus, I seemed to be lacking a few parts and had to paint some. I tried to get all the parts in black because it would look great, and knew they would hold up better than painted parts, but when you run out and don't want to wait for more to arrive in the mail, it's time to Do It Yourself.


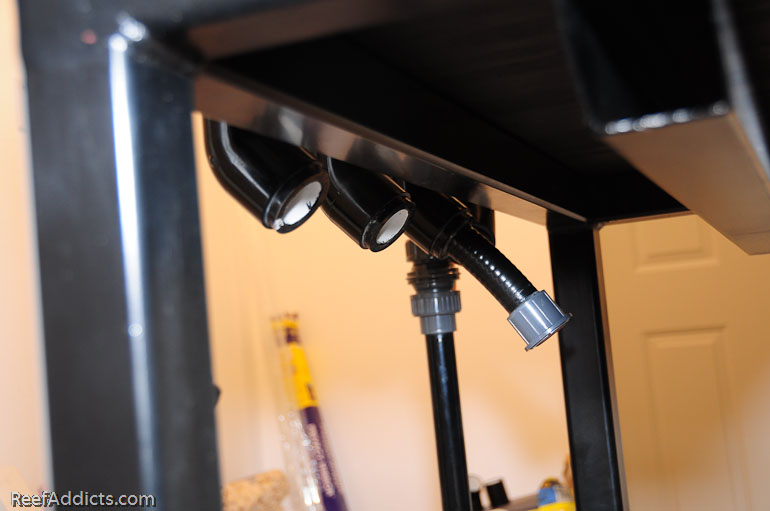
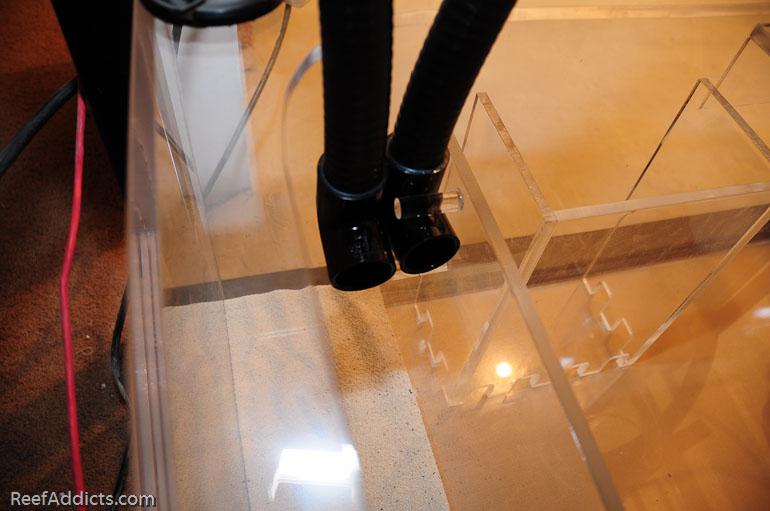
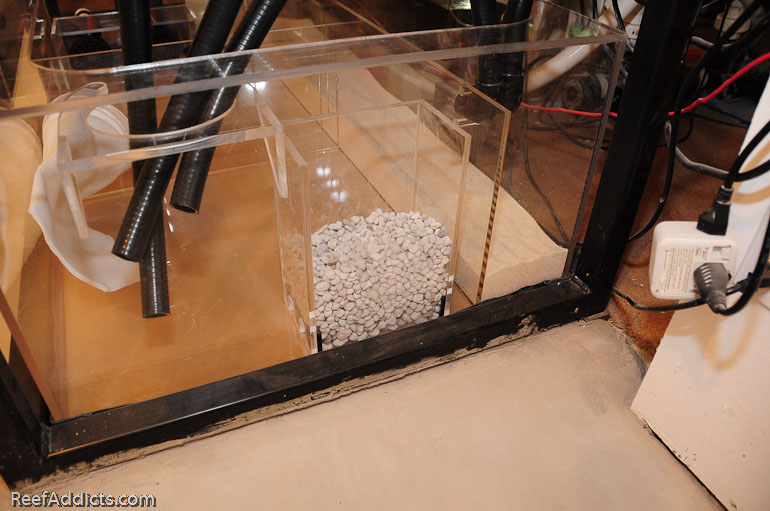
The three center drains feed the bubble tower in the skimmer section, and the two outer drains feed the refugium zone.

In this picture, can you spot my mistake?


I forgot to slide the collar of a union fitting on, so I quickly removed that section of SpaFlex pipe before it was bonded permanently and fixed my blunder.


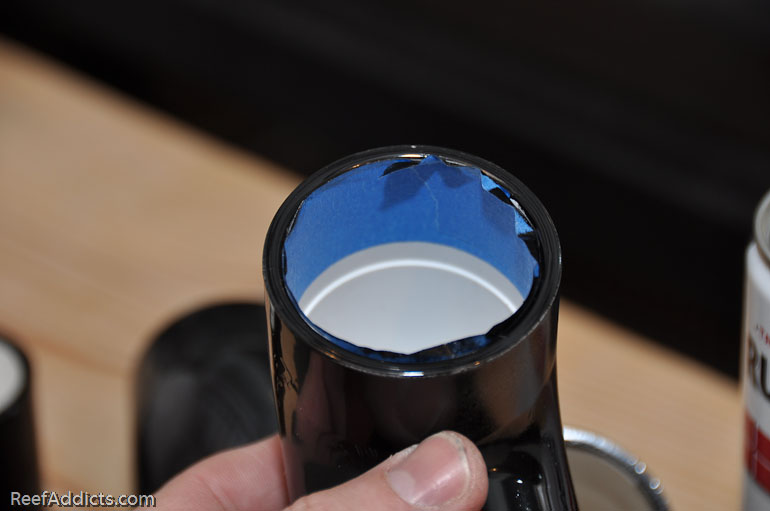
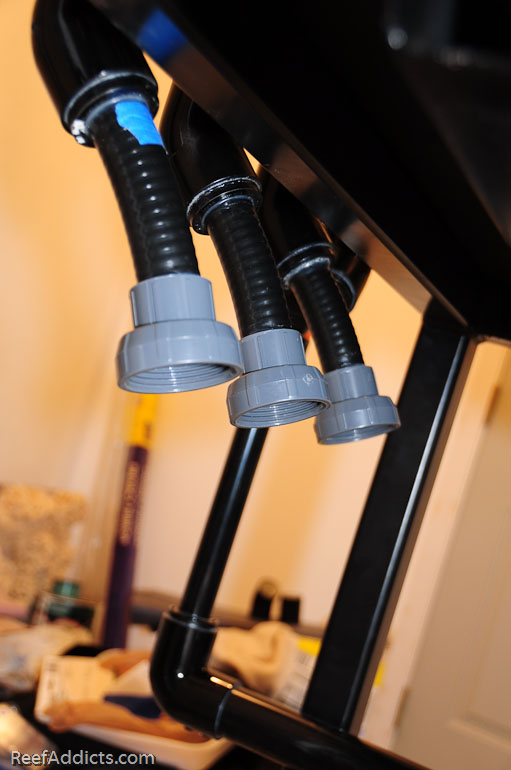
The blue tape denotes the 1" mark. When gluing parts into sockets, measuring how deep the socket is first is important. By marking the pipe temporarily, you can see if you've pushed the piece in far enough and can also see if it is starting to come back out. Especially with SpaFlex, it's important that each joint is fully inserted and stays that way as it sets up.


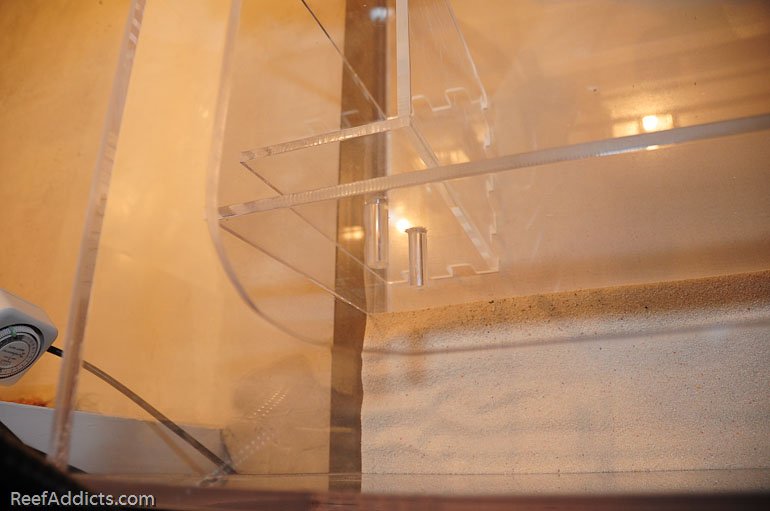
To keep the one drain fitting in place in the refugium, I used some acrylic rod to create a small holder. It was the only one that needed such an attachment.


The other drain stayed where it belonged.


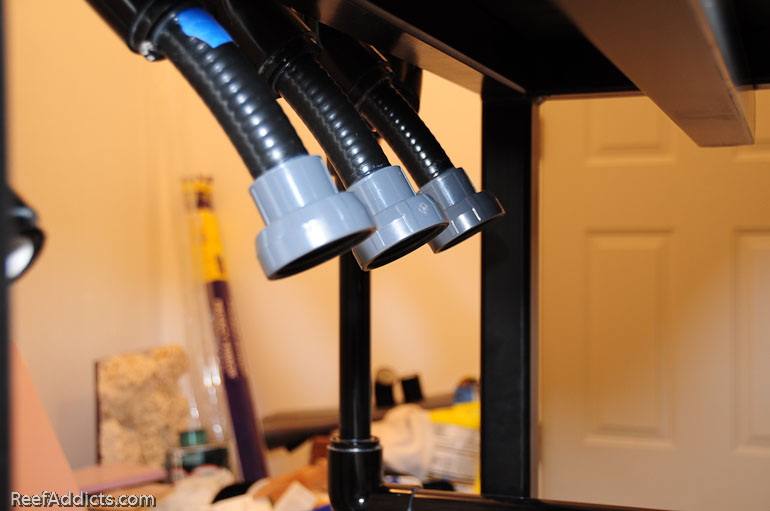
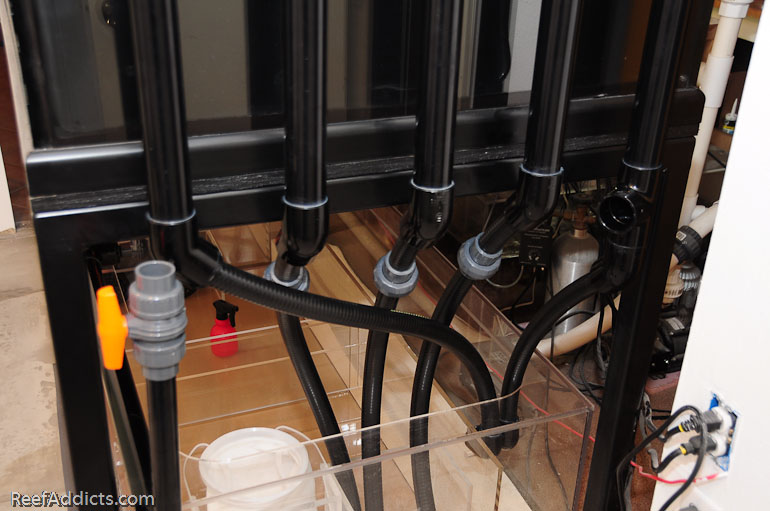
Here's all five drains.


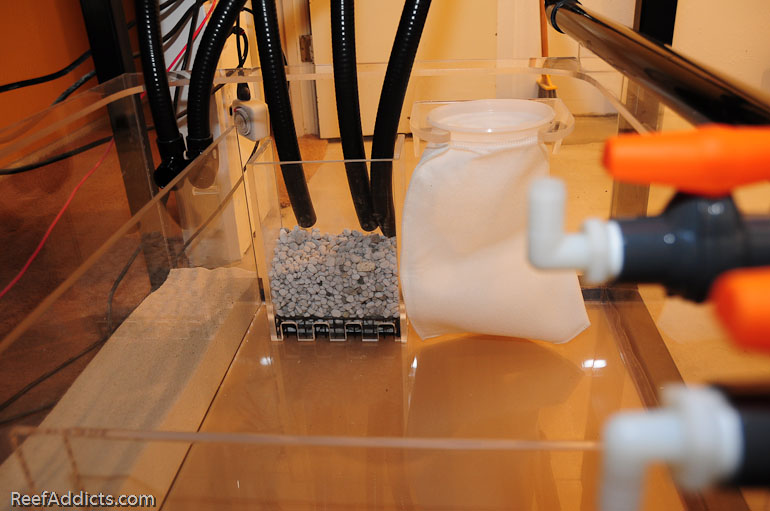
The reason for the three unions in the middle is so I can loosen those three pipes to move them over to the filter sock. Occasionally, I'll run the sock during a big cleaning session or the day before I take pictures. Knowing that the SpaFlex will only harden over time, having a way to disconnect them to reorient them where I need them was important. I'm hoping this will work. I'd thought of an alternative running twice as much plumbing and opening and closing valves but decided that was going to be a problem over time as detritus collected in the shut off pipes.

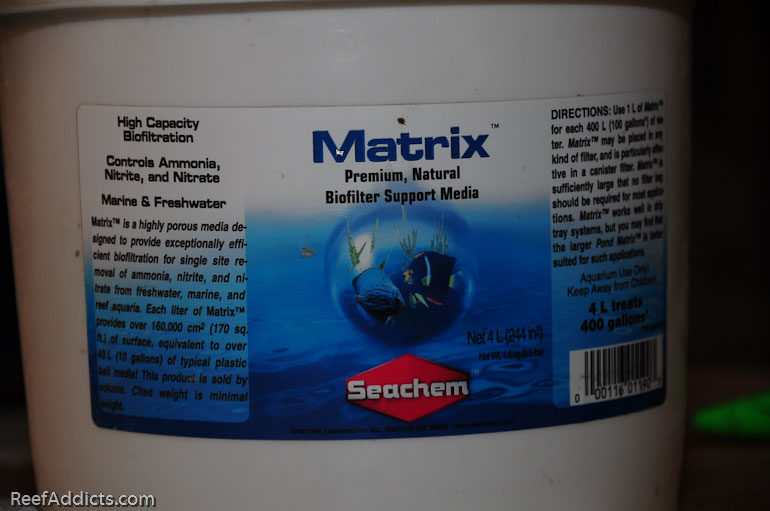
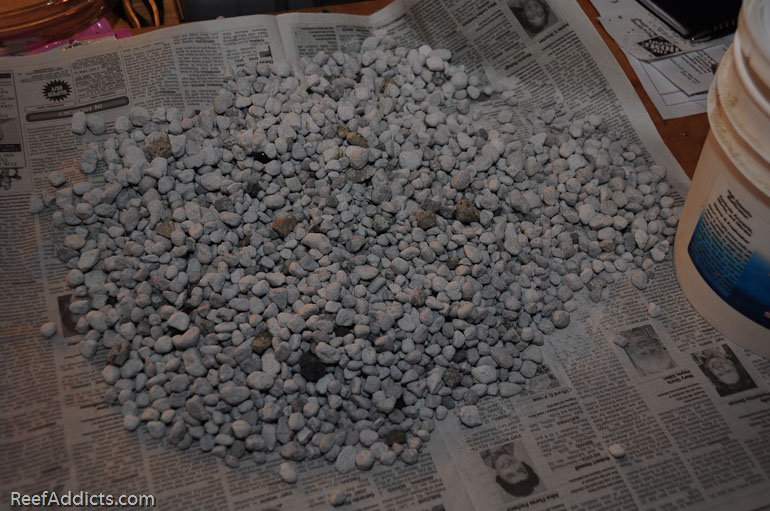
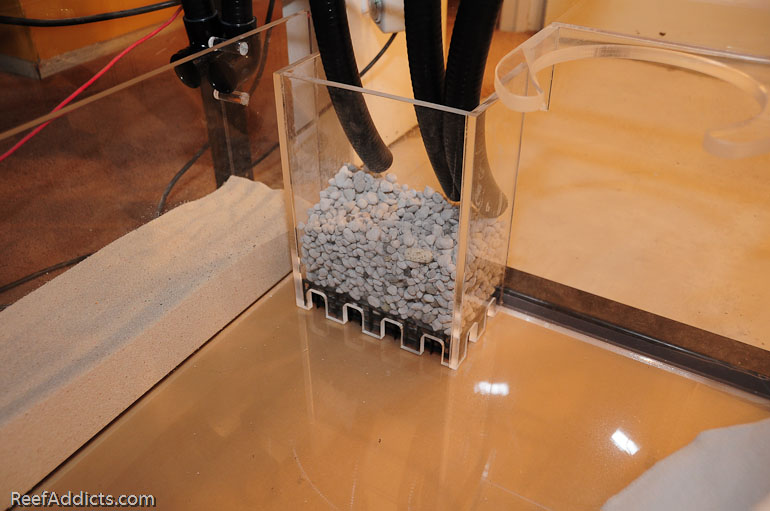
For the bubble tower, I wanted to try something different. I've always used live rock rubble to break up microbubbles, but had purchased a nitrate reducing product from Seachem called Matrix that was collecting dust in my garage. Matrix helps remove nitrate from the water, purportedly.


While some of the rocks were bigger than others, they were coming out of the bubble tower's holes. I cut out some egg crate and fit them inside the tower, then placed the bigger Matrix rocks in the tower first. Once that layer was in place, I added more media, trying to use larger bits as well as smaller ones. I'm sure this will work out fine, except for the poor fish that finds its way down into my sump. They are going to have to either get lucky and hit one of the two drains going to the refugium or jump out of the tower. My preference would be that they stay in the display area.


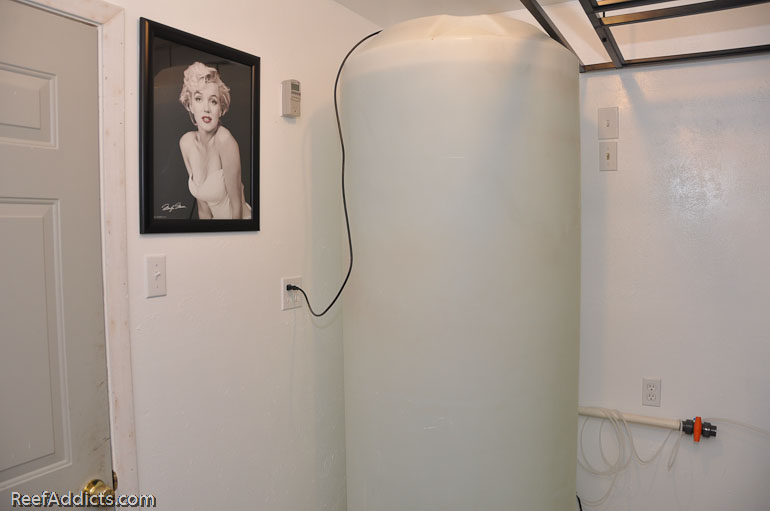
I'm heating up the water in the poly tank tonight to get it ready for the big move this weekend.

Submit "Plumbing: Drain lines to the sump and refugium" to Digg Submit "Plumbing: Drain lines to the sump and refugium" to del.icio.us Submit "Plumbing: Drain lines to the sump and refugium" to StumbleUpon Submit "Plumbing: Drain lines to the sump and refugium" to Google

Tags: matrix
Categories
Plumbing

Comments

  1. Mustang's Avatar
    WOOO HOO this weekend grats Marc can't wait to see it. Oh and great job so far it all looks clean and organized.
  2. byrdman's Avatar
    Well thought out and executed. Can't wait to see it up and running.
  3. dahenley's Avatar
    Happy B-Day Mr. President!!
    its nice to see some decorating going on behind the scenes.


    also, do you plan on replacing that matrix or are you going to leave it in there? im sure that over time it will need replacing. also, isnt matrix able to be baked and "recharged?"
  4. Jnarowe's Avatar
    Now that's a detritus trap!
  5. Sisterlimonpot's Avatar
    very beautiful and well thought out..... thanks for the information overload, keep them coming.....
  6. melev's Avatar
    I don't know the answer to the Matrix media yet. I have 1/2 a bucket on hand, so I could swap it out every six months.
  7. 1AaronTravels's Avatar
    Wow, Great Documentation and Awesome Pix's.
    THANKS Marc.

    Aaron
  8. Jaxom's Avatar
    Wow Marc, what a beautiful sight to behold, shame it's going to be unseen for the most part. Appreciate the documentation, I'm using it for ideas as I think of how I want to plumb mine, thanks.
  9. melev's Avatar
    What are you talking about? I'm going to see it all the time. I may set up a bunk in there. hehe
  10. dread240's Avatar
    Pretty sure marc spends more time under his tank then in front of it enjoying it.
  11. canyousee's Avatar
    Melev thanks for all the great tips on using SpaFlex. Do you use regular PVC cement when connecting the SpaFlex to PVC or something special? Thanks Mike
  12. melev's Avatar
    I'm using Oatey's multi PVC cement, made for ABS, PVC, Spaflex, etc. It's got a red label on the can, and there's a picture of it in some of the images in these recent entries.
  13. canyousee's Avatar
    Thanks for answering all my questions. I love the look of the project all new and clean all things seem posable at this stage. Mike
  14. reefocd's Avatar
    Okay, I've caught up from last few months. Getting exciting now... Don't forget to take the bunny rabbit out of the tank before filling Question, what is your plans/purpose regarding content for the refuge? I have quite a few bristle worms in mine and a clean-up crew farmer on (Youtube) says, their a GOOD thing for the sand bed, not sure how that helps my main display? I know their there as well. Any benefit to have the calcium reactor effluent drip straight to refugium? Thinking effluent is heavy on co2 straight out of reactor and good for the plants?
  15. cruelle's Avatar
    looks good. can't wait to see some water in the tank
  16. Mostly Rock's Avatar
    So, are you going to do the woodwork now, or wait six years?
  17. melev's Avatar
    Whenever bristleworms got too big for the display (just looked big to me at 5+ inches), they are relegated to the refugium. I usually add a few snails in that zone to keep things clean. This time my refugium is going to be a show refugium again since it faces the living room, so I'll be keeping it clean compared to the last one that was hidden in the back of my sump against the wall deep under the 280g. It's been 6 years & 7 months since I could see a refugium and I missed that.

    I talked with a friend in Utah about doing the woodwork for me since I knew it would be done quickly.
  18. Mostly Rock's Avatar
    LOL, I understand. As a Service Plumber, I am more than happy to discuss possibilities or build a plumbing system for anybodies tank, but my own tank? Vinyl tubing. Why? I just haven't gotten around to building a new system, and I really don't feel like it when I'm finally done working on plumbing all day. As long as it works, I'm good.
  19. dahenley's Avatar
    Marc, are you still running the Matrix, or did you remove it and just fill with rubble.
    if your still running it, do you like it or can you tell a difference.
    If your not, did you not like it, or just not have any to replace it with, and havent gotten around to putting it back.

    Thanks
  20. melev's Avatar
    Yes, I'm still running the Matrixx media in my bubble tower. I can't really tell a difference, other than to say I still have 0 nitrate. That's the point of course, but I run biopellets which take them out. So the answer is "I have no idea if it helped or not."

    They don't appear to be dirty, but I'm not stirring them either.