View RSS Feed

NeenahFoxxe

The show must go on...

Rate this Entry
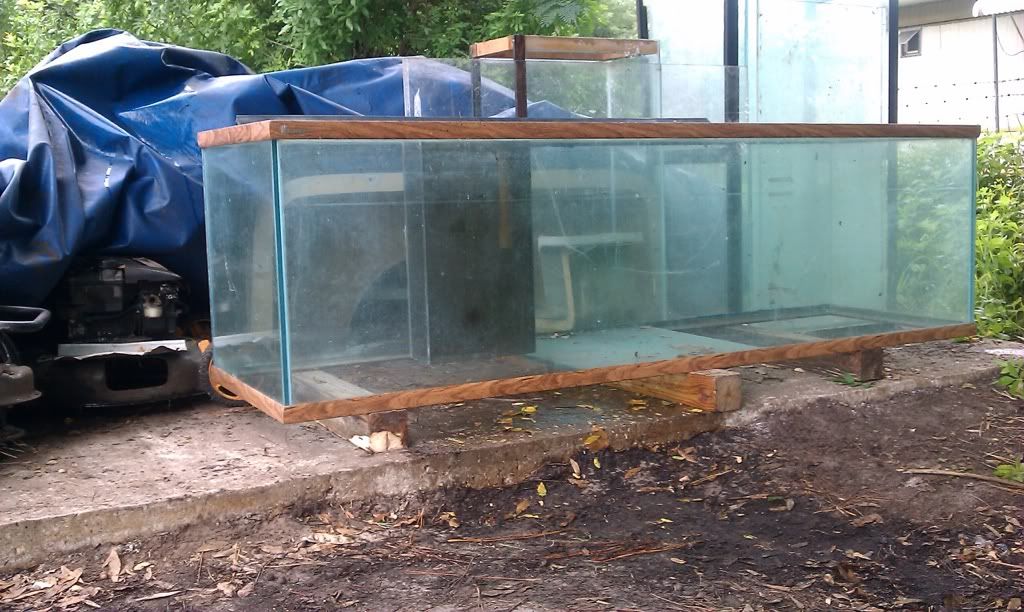
So after crying for 3 days my husband found me a replacement tank .
I
It looks rough I know... but a good vinegar wash and elbow grease will fix that right up.
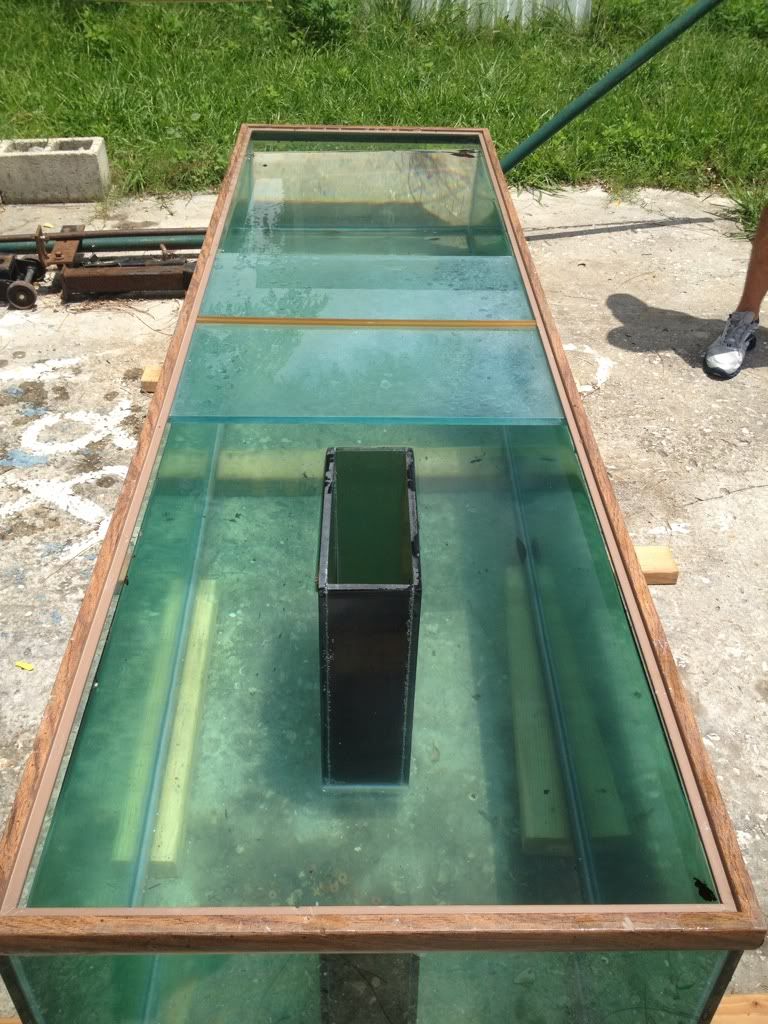
It was water tested for 3 days so far so good! Its and Oceanic 210 gal tank 7x2x2 with starfire glass. It has some scratches more than I would like but at this point I'd rather have a tank with a few scratches over not having a tank at all... A friend mentioned there was something I could use to polish the superficial ones out I might explore that thought a little more. I'm a bit anal and just one scratch will drive me to drink
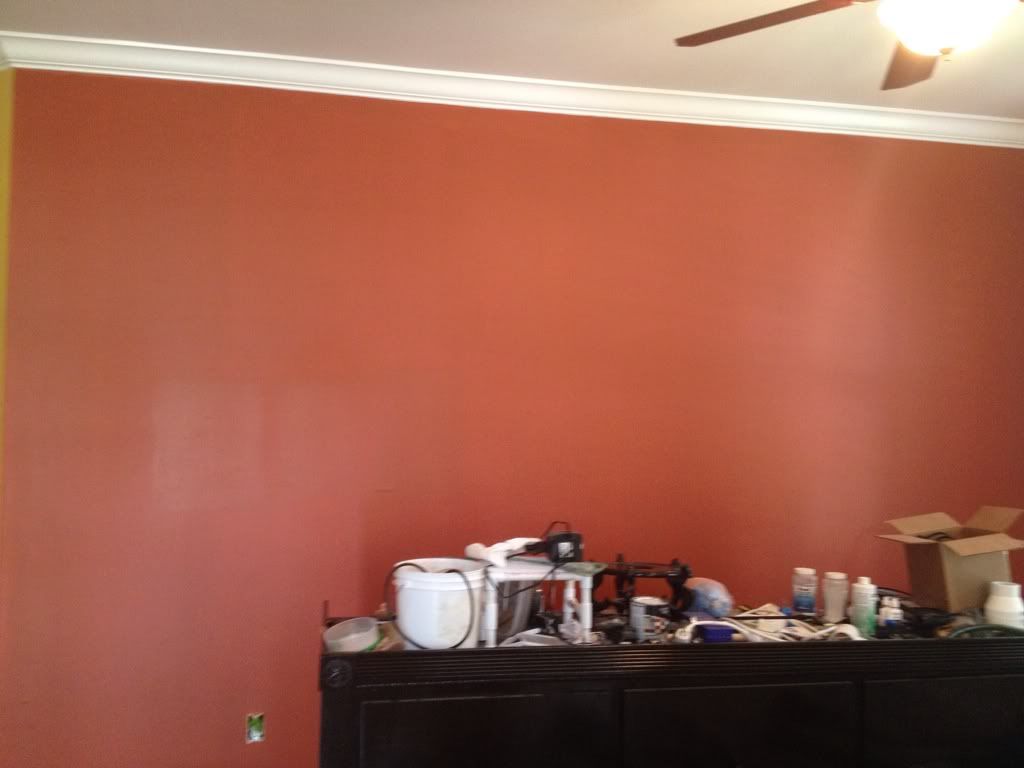
The wall in the fish room was painted
One coat...

Two coats... hmm the color is not this dark in person Note to self buy a good camera soon... The yellow walls will be gone by hopefully this weekend. What color will they be?? haha haven't figured that out yet!
Finally the sump has been dropped into the stand.
It took 5 strong men to get it in there! I was too busy biting my nails and praying to the fish tank gods nothing went wrong to take pics... but just imagine a bunch of guys hee-hawing...
I decided to line the bottom of the stand with shower pan liner in case of any spills (fellow reefers idea)... If I mess up the floors I'm a dead woman!
I plan on using the 3 holes in the tank as drains and bring my returns up the back of the tank.
Now to brain storm on some plumbing ideas...

Submit "The show must go on..." to Digg Submit "The show must go on..." to del.icio.us Submit "The show must go on..." to StumbleUpon Submit "The show must go on..." to Google

Categories
Tank Entry , ‎ DIY projects

Comments

  1. Midnight's Avatar
    Since you are not setting up a peninsula tank, I would plug the existing holes, remove the overflow, and install glass holes overflows in the rear of the tank. Just my .02$
  2. NeenahFoxxe's Avatar
    Midnight tell me more as to why not just use the existing over flow as a drain only? I like to explore ideas
  3. Midnight's Avatar
    Neenah, I could be wrong, but I thought you were planning on sticking the tank lengthwise up against the wall. That said i can only imagine that the island overflow will limit flow and aquascaping of the tank. Anything can be changed now with the tank empty, but once full, if you decide you don't like it, it will be an ordeal to change. i'm not trying to tell you how to set up your tank, I just want to give my two cents on the possible pitfalls of that setup. As I said that setup is intended for and island or peninsula style tank
  4. joeogio's Avatar
    that looks like the 112 gallon tank i have, you can polish scratches that are small enough you cant hook your fingernail in them with cerium oxide and a felt or lambs wool polishing wheel on a electric buffer. i just finished doing it to my 112g oceanic tank. its very messy and takes a lot of time but it does work
  5. NeenahFoxxe's Avatar
    You are right it is going against the wall. So far this is what I have planned out in my head (it always sounds/looks great in my head lol) keep that overflow as drains only. Build 2 rock structures in the tank one to cover that overflow the other with caves and overhangs have open area in between the rock structures for fish to swim and some how build like bridge of rocks connecting the structures diagonally. The return plumbing one or two sqwids (still debating that in my head one for sure). It will be run up and over the back I want 4 returns 8 loclines. I have a super dart gold pump so it's strong enough to handle the 4 returns. I looking at possibly buying eductors for the loclines. Please feel free to add your 2 cents I love to hear any comments to prevent any bone head moves. Like you said once its up and running its not easy to adjust
  6. joeogio's Avatar
    +1 on the glass holes overflow, they are very quiet and take up little space i have one on my 40g breeder and for future tank builds in going to use nothing but glass holes overflows. hell they even give you candy to eat
  7. melev's Avatar
    The current overflow box looks like it is held together with silicone. Am I wrong (hopefully)?

    Glassholes.com sells overflows you can affix to the upper right and left corners of your tank for drains, and you can run plumbing up the back wall to push water back into the aquarium. The back panel needs to be covered with limo-tint vinyl or painted black so you don't see all the plumbing.

    If you go that route, all you have to do is glue a thick piece of glass over those holes in the bottom of the tank. A large piece of glass with plenty of siicone, hidden under the sandbed. You'd have to drill the aquarium for the overflows on the back wall, and glassholes sells the drill bit too.
  8. NeenahFoxxe's Avatar
    Eek! Now I'm scared! Yes it's a glass overflow box held by silicone.... Should I be worried??
  9. melev's Avatar
    Oh, the overflow is made of glass? Never mind. I thought it was arylic panels siliconed together. Still, as others have stated it will eat up the middle of your tank and make aquascaping problematic.
  10. melev's Avatar
    If you decide to go with glass-holes overflows, you can use one of the overflow's pieces of glass to patch over those holes in the middle of the tank.
  11. NeenahFoxxe's Avatar
    Phew! Yes It's smoked glass, I'll look into the glass holes overflows. I was trying to keep from drilling the tank to avoid potential leaks.
  12. Midnight's Avatar
    I would actually get a nice 12x12 piece of glass to cover all three at once