View RSS Feed

melev

Trusses are up where they belong

Rating: 3 votes, 5.00 average.
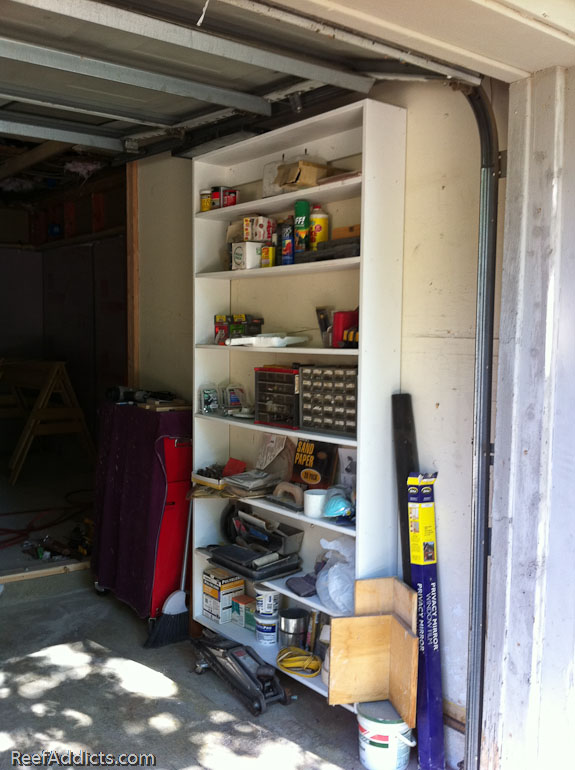
Today, I created this quickie shelving in the garage to give me some floor space back. It was crammed with everything in the way and I needed this anyway.


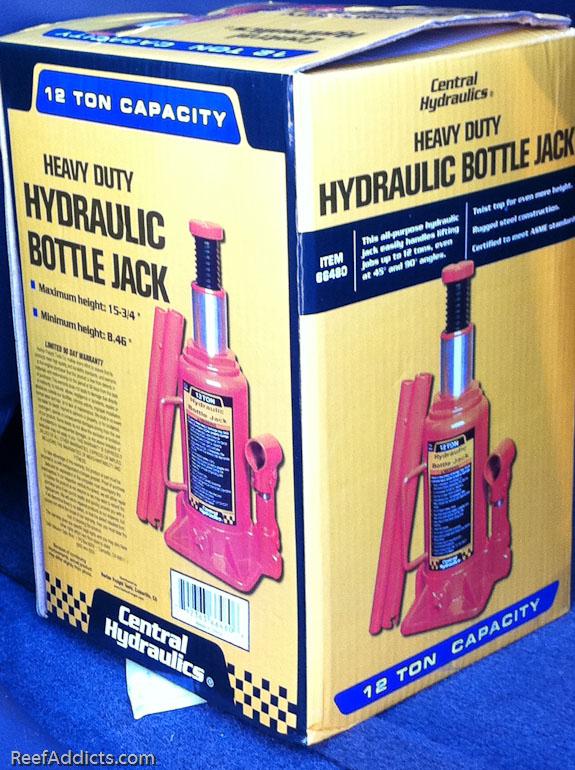
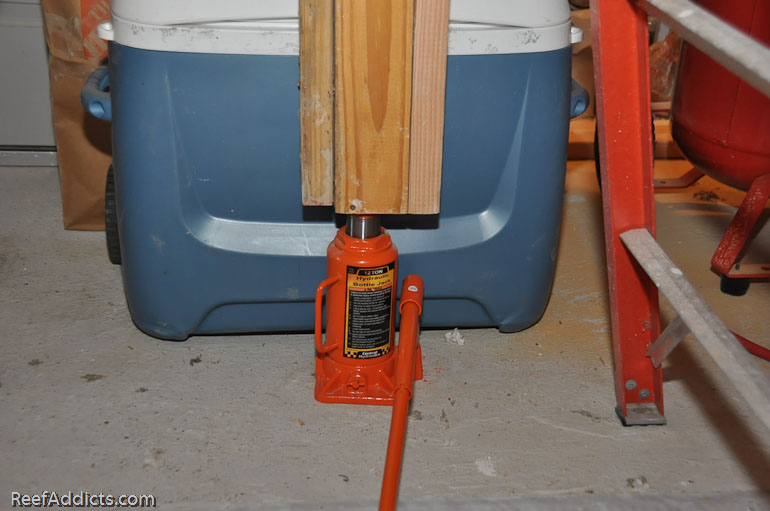
Then I ran down to Harbor Freight to buy a new can jack. There were a lot of options, but this 12 ton looked like it would handle the task. It was on sale for $24.99, and when I got to the register I found an unused 20% off coupon sitting there. I asked if I could use it, and walked out of the door with this jack for $21.94.


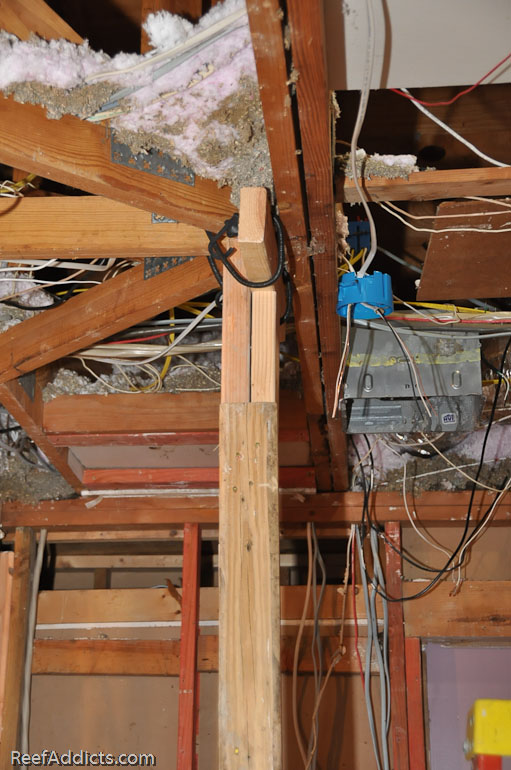
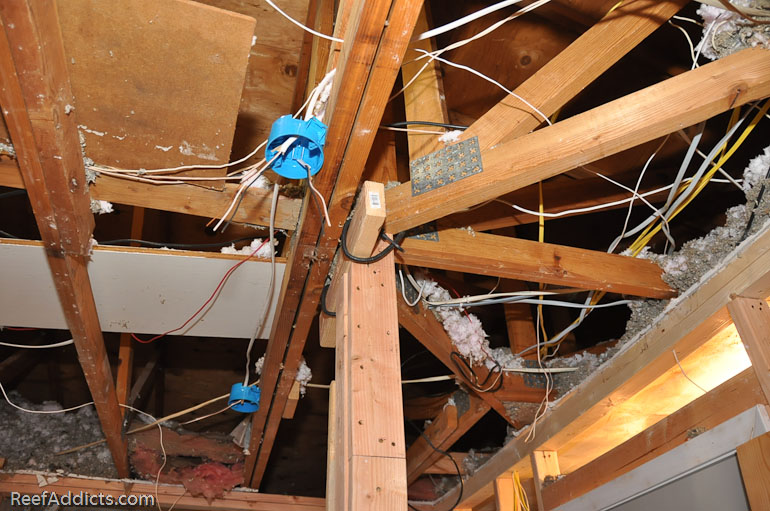
I'd already fabricated a pillar to raise the three trusses without it bowing and snapping. My plan was to bolt the double truss to the center truss, but didn't have a good way to pull them together. Instead, I just went with the flow and tried to beef up what was decaying over time.

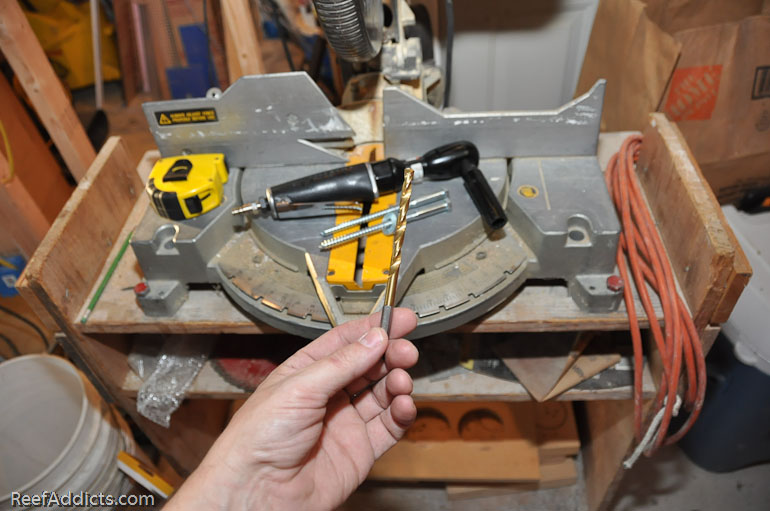
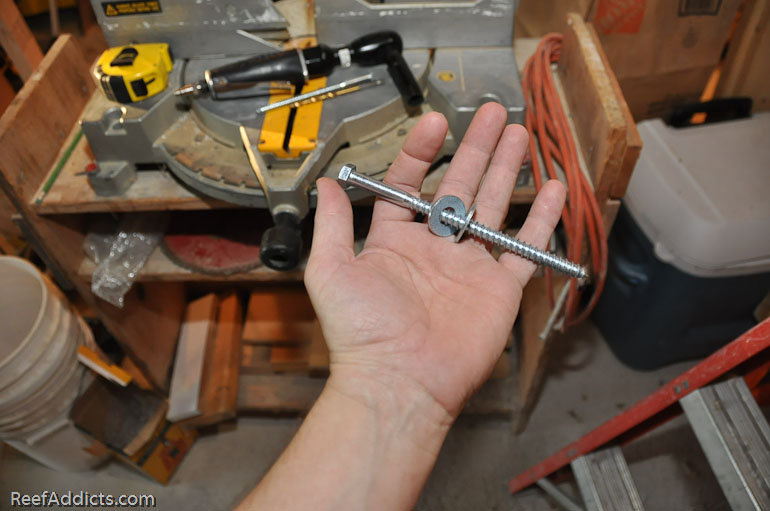
This 1/4" drill bit was used for the 3/8" thick bolts.


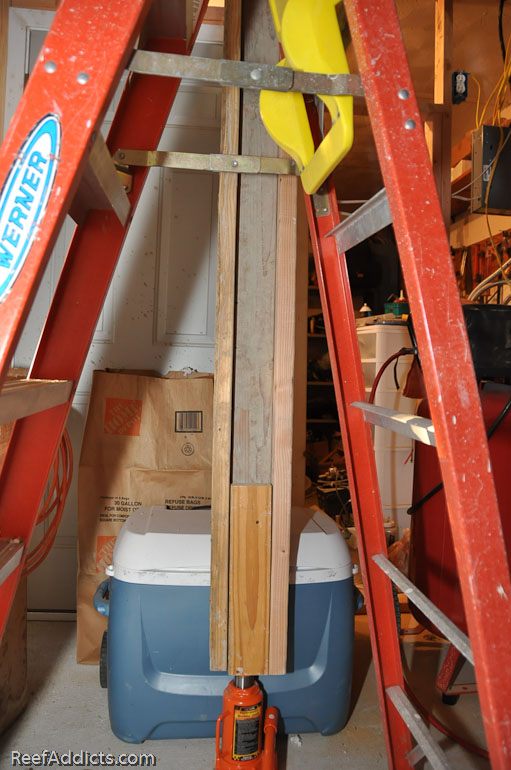
The pillar was held in place at the top with a handy bungee cord. The jack was centered beneath.


Note the 2x4's sandwiching the center board. This prevents it from bending by creating an I-beam.


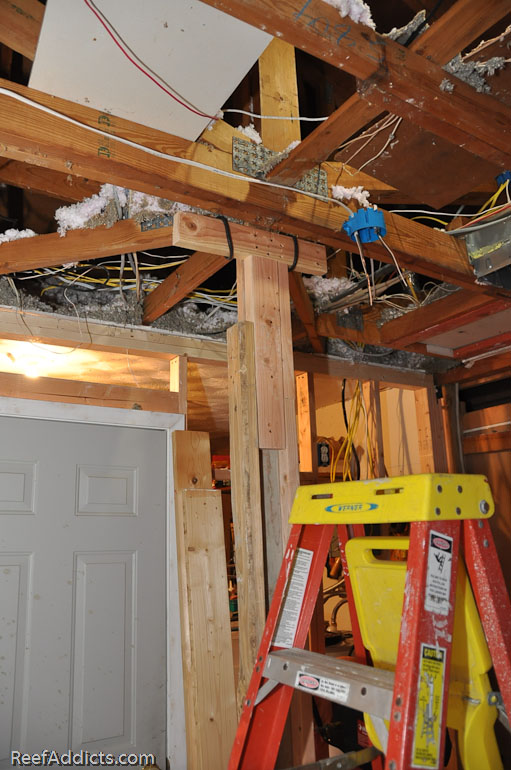
It only took a few pumps of the handle to raise the trusses up 1", far easier than when I tried with my 2-ton rolling car jack.


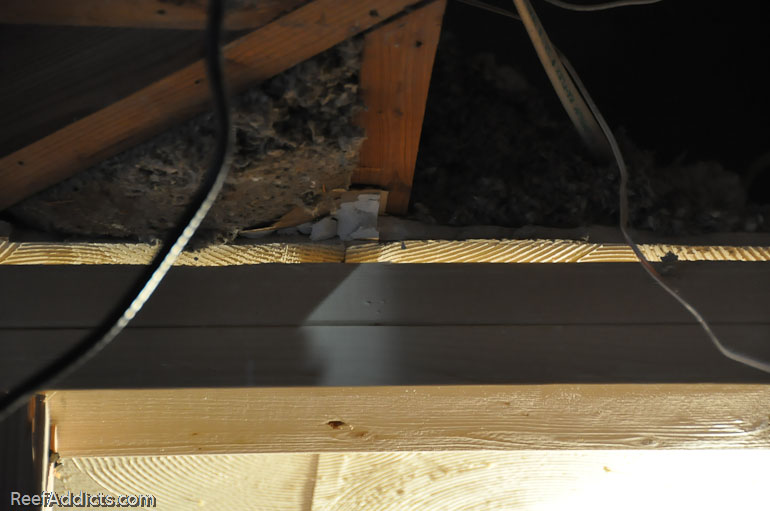
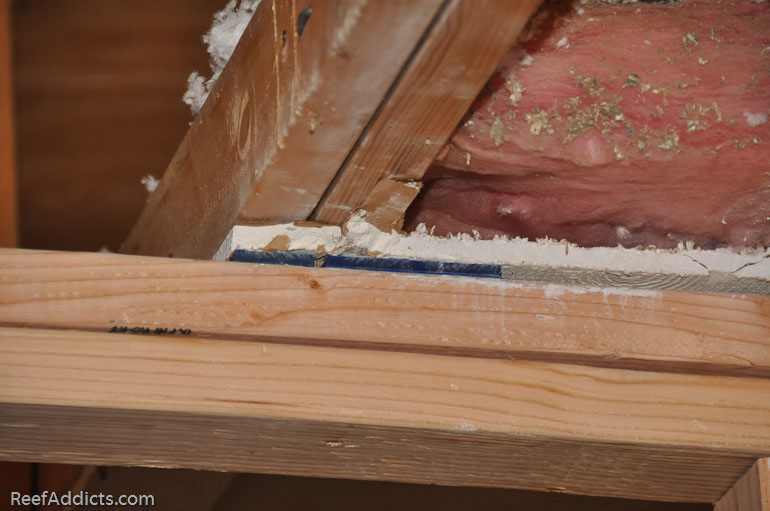
What I didn't expect was watching all the boards lift off the new wall.


Had I known this area was a problem, I would have raised everything up and then built the wall. I'm annoyed but at the same time there is no way I rebuilding that wall with new lumber and running all the wiring again. The fact is, this was on open two car garage and my wall is an addition that didn't exist prior to this. In other words, I don't have to make this stronger by any means.

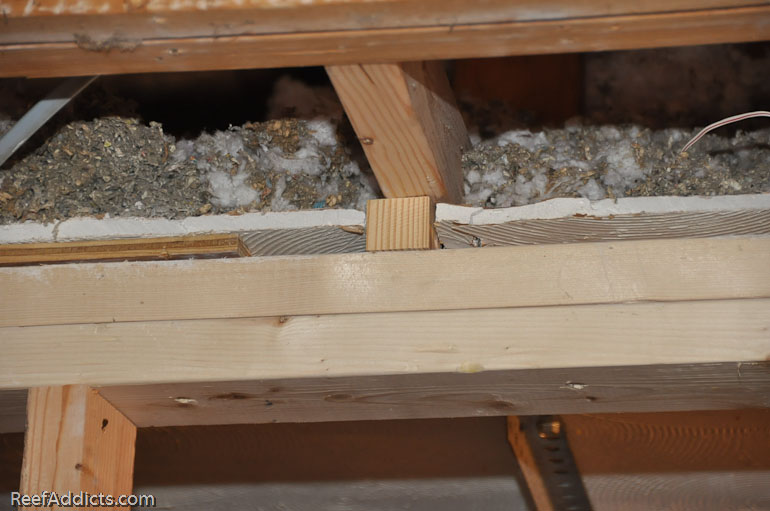
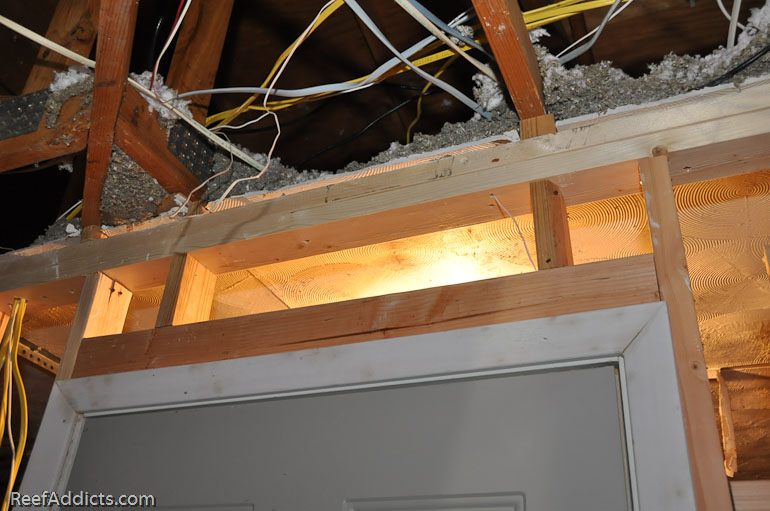
Of course, there's no way I'll just leave it be so I decided to make some small fillers with 2x4 material. The idea was to fill the gaps and at the same time take a tiny bit of stress off that crazy truss intersection. The upright wall might as well help a tad since it is there.


I tried to make sure the filler was over an upright stud, but with the nails going up above the top plate, it wasn't always possible. I just worked around the spots as best I could.


Yes, this is a piece of 1/4" acrylic. LOL


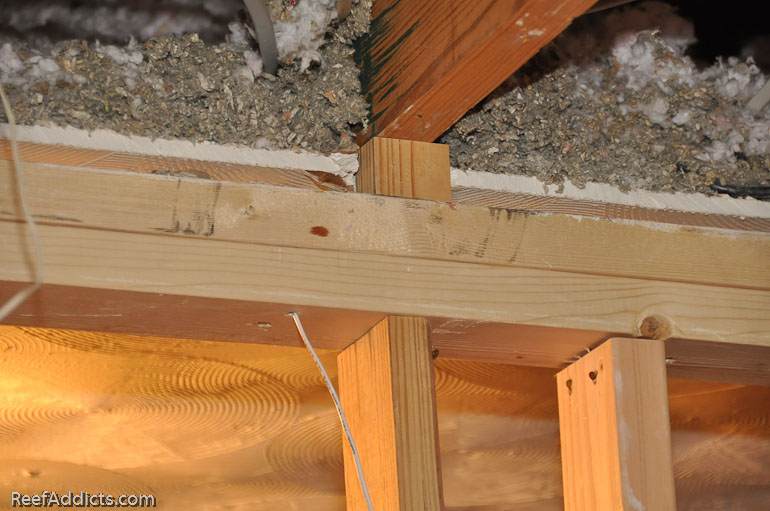
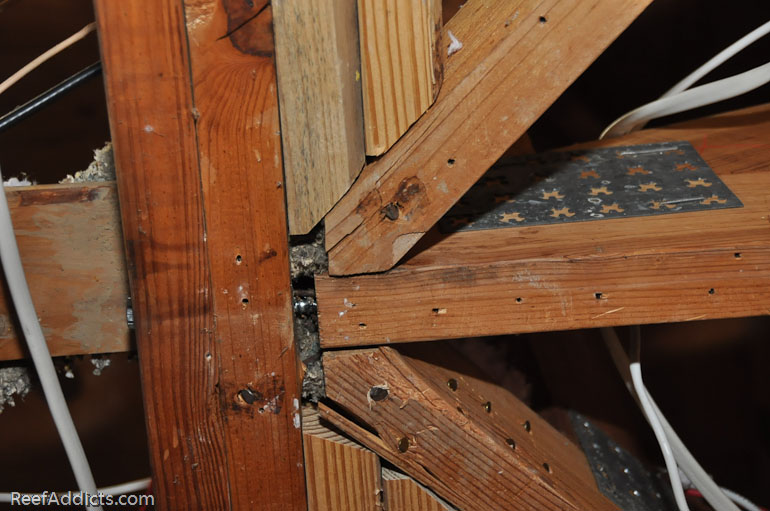
Here's the fixed intersection.


Those new 2x4s were added so I could nail the diagonals into more lumber. It isn't beefy, but it is better than nothing at all.

I'm going to do a little more tinkering in the attic and then the ceiling is ready for sheetrock. I'd like to install some 3/4" plywood up in the attic for those times I have to walk up there, something I should have done 10 years ago.

Submit "Trusses are up where they belong" to Digg Submit "Trusses are up where they belong" to del.icio.us Submit "Trusses are up where they belong" to StumbleUpon Submit "Trusses are up where they belong" to Google

Tags: trusses
Categories
DIY projects

Comments

  1. marks69's Avatar
    make sure you secure those wires around 10" from the boxes. and make sure nothing can touch metal. you could also try to get a diagonal 2x4 in from the top of the sagging trusses to the bottom of the double to help take some weight.
    gl
    mark
  2. NightShade's Avatar
    Looks good, it does bite that you had to find the ceiling problems after your walls were already built but at least you caught it now and are getting it fixed. Could be a lot worse and totally let loose and cause a collapse.

    Your shim job should work fine for the built wall if everything is nailed together good. Maybe get a couple 6 inch drywall screws for a little extra holding power.
  3. Trido's Avatar
    Looks like another job well done.

    FWIW The wires staples need to be within six inches of the boxes to meet national codes.
  4. reefocd's Avatar
    Done Good. Looks alot stronger than before. I'm learning stuff too... Wiring staples and such ....
  5. melev's Avatar
    There are a ton of wires - I have to tie them all down?
  6. marks69's Avatar
    every last one.lol
    leave a little extra at the box incase you have to fix something.
    getting there. now it's almost time for the drywall.lol
  7. clstreak's Avatar
    I think its all about code my house is 61 years old cringe when im in the attic(upstairs is grandfathered in) but when we wired the basement we had to install gfci on each circit near water and depending on what gage wire was what amp circit breaker we could use and had to pay the city 25 bucks for piece of paper to put in the window for a week to just do that.
  8. Bobbywade's Avatar
    The wiring is not all the way complete it willbe up to code when we are done.

    Quote Originally Posted by Trido
    Looks like another job well done.

    FWIW The wires staples need to be within six inches of the boxes to meet national codes.
  9. melev's Avatar
    Wires have been tied back six inches next to the first gang box on each run. I'm not going to tie down wires in the attic - there are tons of them.
  10. Reefdaddy's Avatar
    Schweet!!!!!! Nice Job Marc. Its a shame the gap was not noticable before the wall went up. But thats the problem with reno's always unforseen obstacles in our way. The way we deal with them is whether we succeed or fail.
  11. Alaska_Phil's Avatar
    Quote Originally Posted by melev
    Wires have been tied back six inches next to the first gang box on each run. I'm not going to tie down wires in the attic - there are tons of them.
    Marc, the wires have to be secured 6" from any box or termination. elsewhere they just have to be supported, and laying on top of a truss, or going through a hole in a stud qualifies. I can quoat you chapter and verse from work tomorrow you want.

    Phil
  12. melev's Avatar
    Thanks for the heads up.