Yyrkoon
New Acrylic Work
by
, 10-07-2012 at 05:48 PM (2031 Views)
Thought that I would share the latest from the rebuild. I'm almost done with the acrylic work, and let me tell you, it's been fun to make various components now that I have the skills.
I needed to mount my lighting fixture to the canopy, and the stands that came with the LED fixture were not suited to my tank. There was also no way to suspend the fixture. I wanted to devise a way to mount the fixture to the canopy, yet not have it attached to the lid. I don't want the fixture shining in my eyes when i open the lid to feed the fish. It also needed to be easily removable if necessary. I made a surround that will attach to the underside of the rear and front of the of the canopy but will still allow the lid to open. The LED fixture sits in the surround. I drilled a hole for the cord. Next post I'll have it mounted.
I also need a shelf for the power supply. I wanted to insure that there was no way for the power supply to fall into the sump. I have limited space inside the stand, but one are that still has some room is the underside of the stand. I devised a hanging shelf that will attach to the bracing just beneath the aquarium.
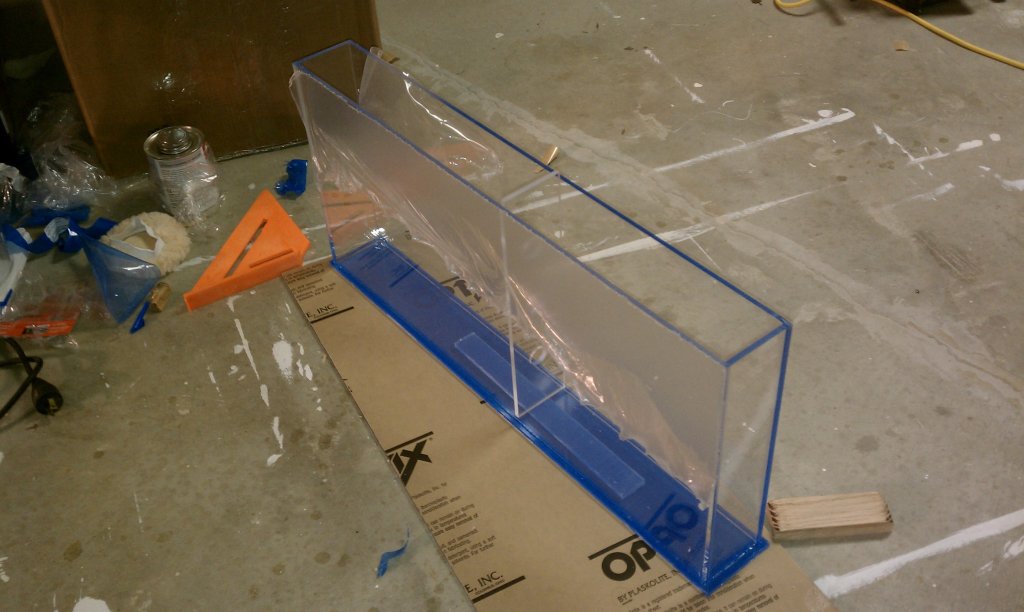
Lastly, I made an addition to the sump. When I made the original, I hadn't yet decided on how much I would extend the base of the stand. When the woodwork was done, I found that I had an additional 3.25 inches of space. I made an additional tank that will extend the return section of the sump. This should add about three gallons of water. Not much for sure, but I want to maximize the total water in the system wherever possible. Attaching it to the main sump will be done with a bulkhead. I'll need to make sure that I don't let the water get stagnant, but that should be easily accomplished. I also made a lid for this small reservoir to help reduce evaporation.