View RSS Feed

melev

Sheetrock stuff completed

Rating: 3 votes, 4.67 average.
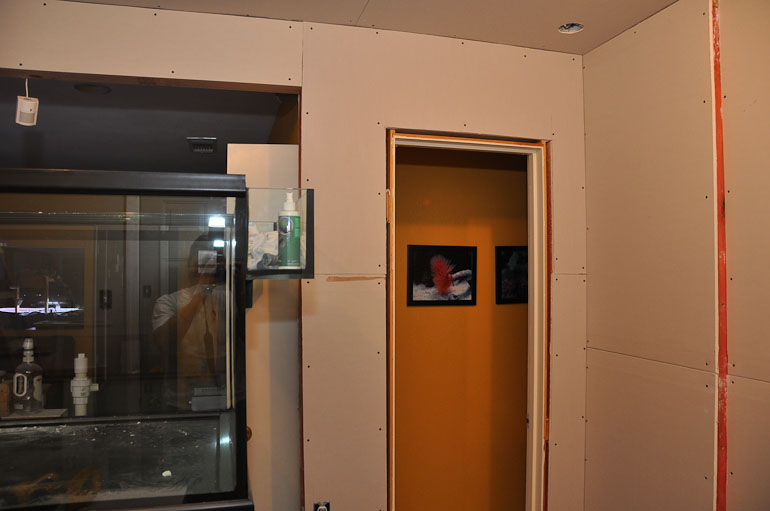
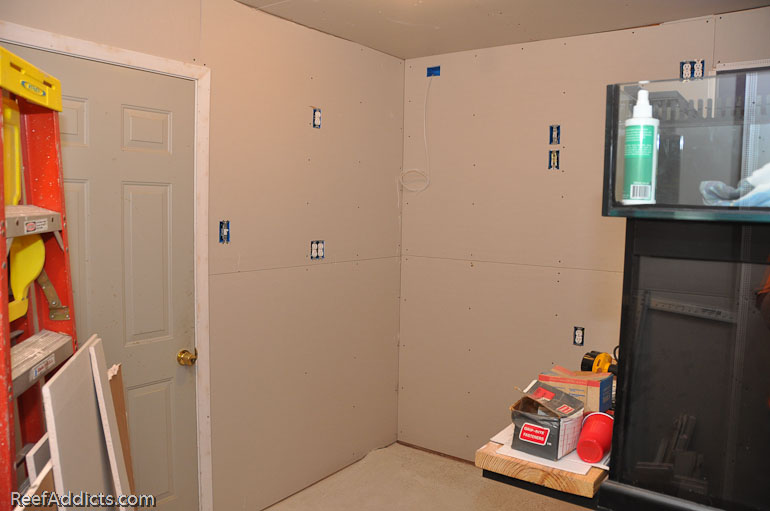
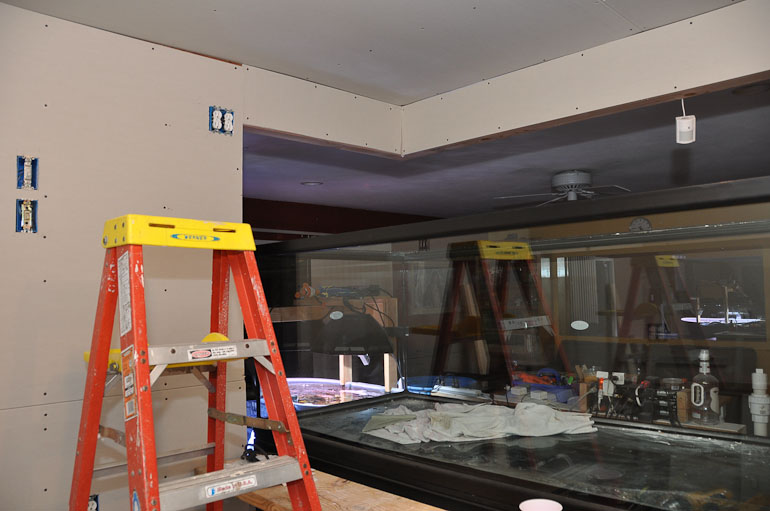
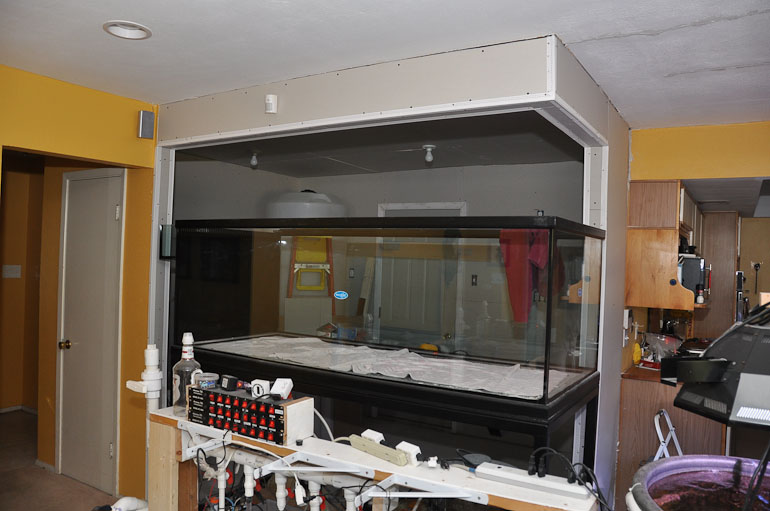
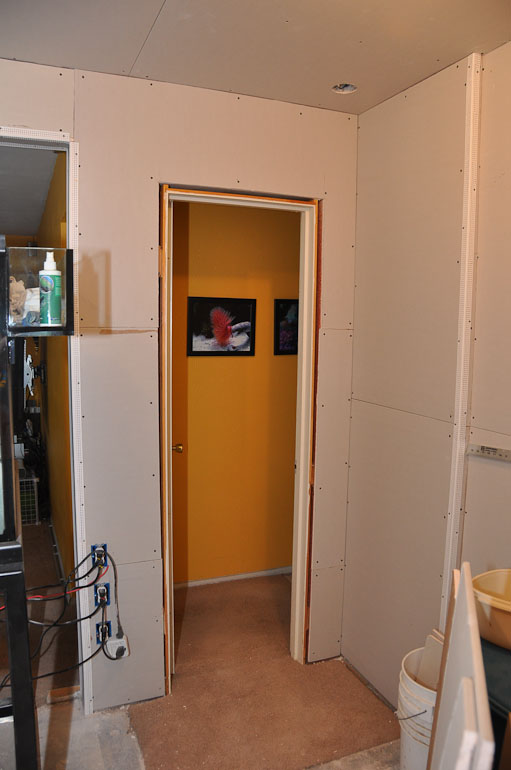
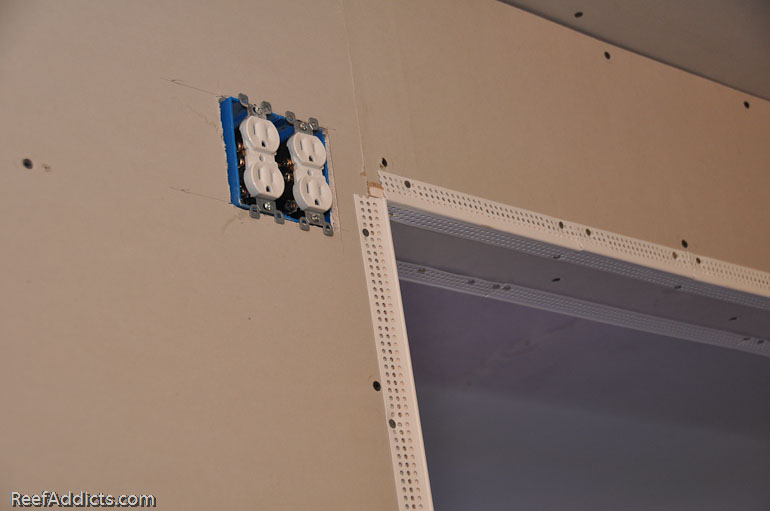
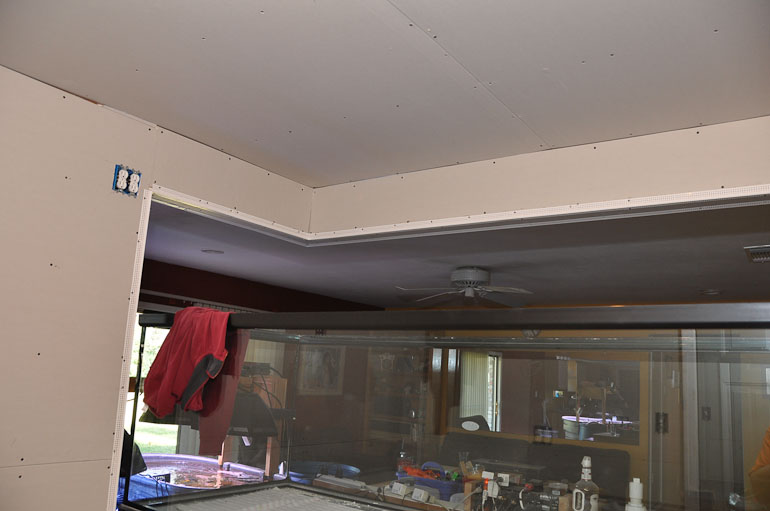
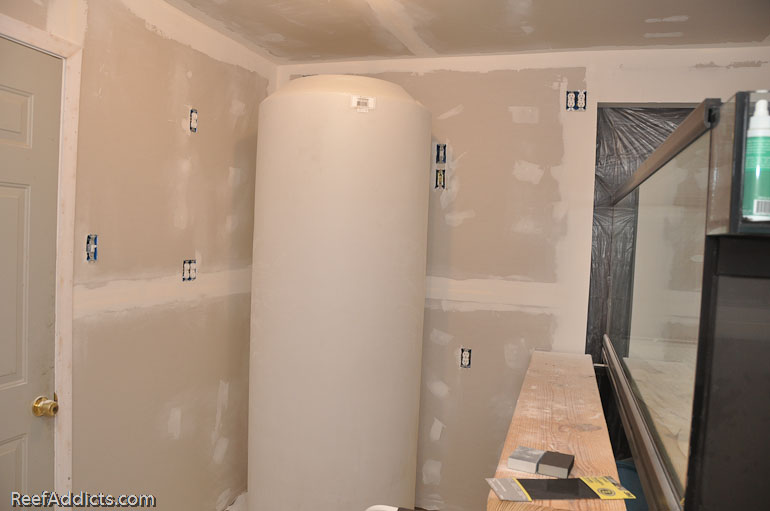
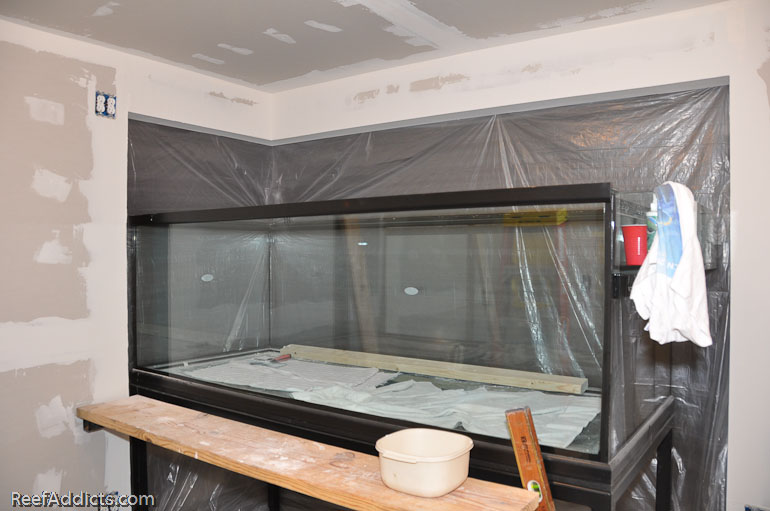
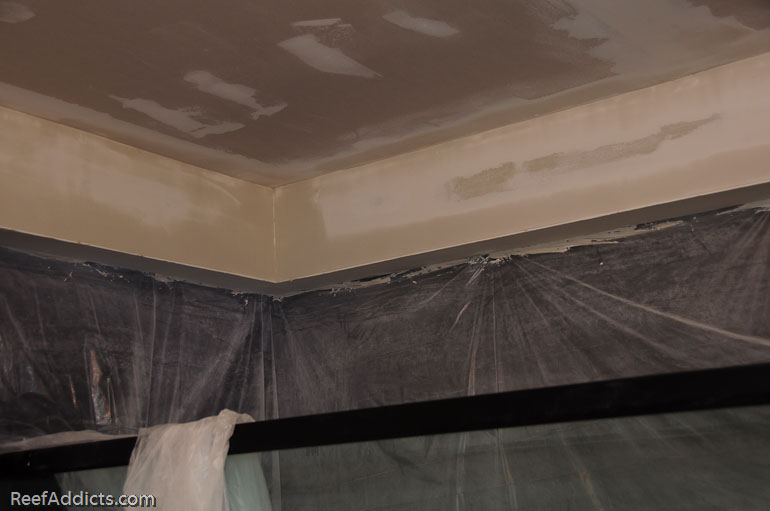
I started sheetrocking the fishroom a few weeks ago. That was accomplished and the insulation was installed on the garage side of the walls. Plastic edging was applied to all the corners to keep them clean, tidy and strong.


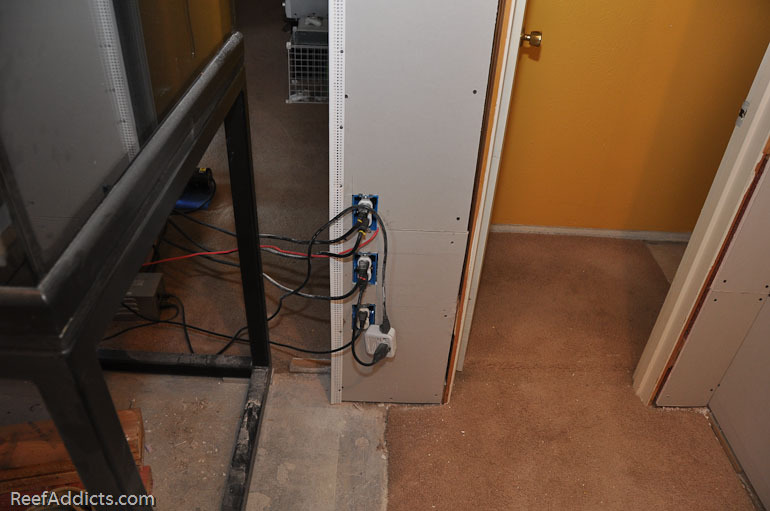
It was no fun cutting around all the electrical boxes, and no matter how many times I measured, they were almost never perfect. Perhaps the fact that the house wasn't square was part of the reason, but I'd end up with a gap on one side or the other, or it was too tall or too snug. It was a slow process, and I didn't even take pictures of that other than with the iPhone. I never offloaded those so they aren't included.

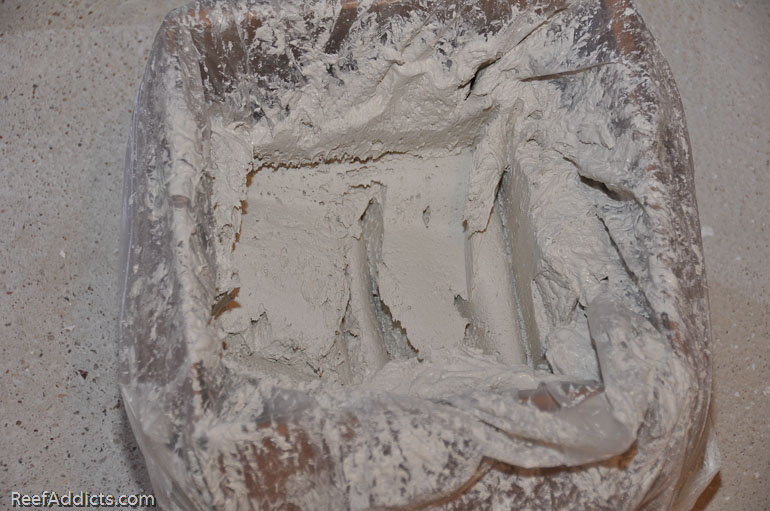
The room was ready for taping and bedding. That is when you apply tape to each seam, joint or corner. Drywall mud is then spread underneath and on top of the tape to hold it in place and hide the joints.


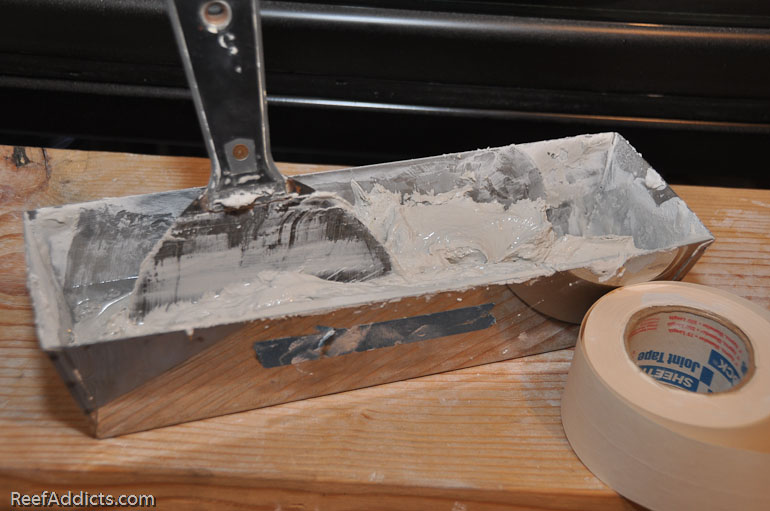
The tape was pre-measured by unrolling it across the area it would go, and cut with that spackling knife. Mud was applied to the drywall, the tape placed over the mud, then the knife was dragged across it to submerge the tape into the mud. A thin layer was then applied over the tape and the knife was then lightly dragged across the area to remove the excess and keep the tape smooth.


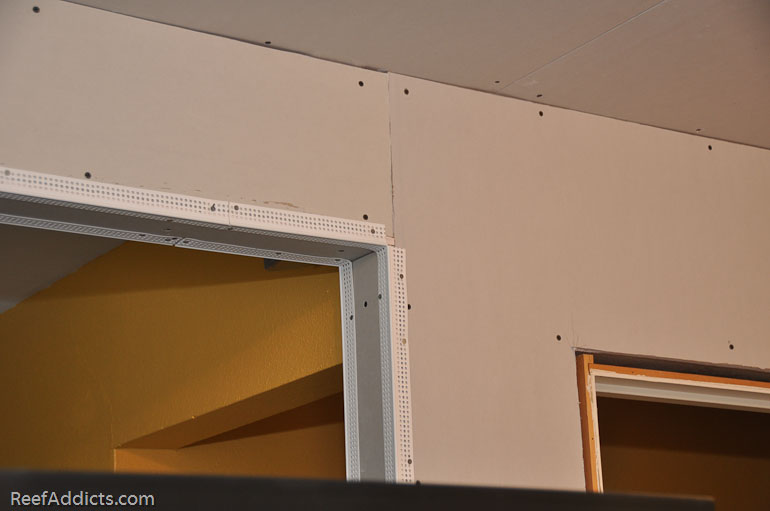
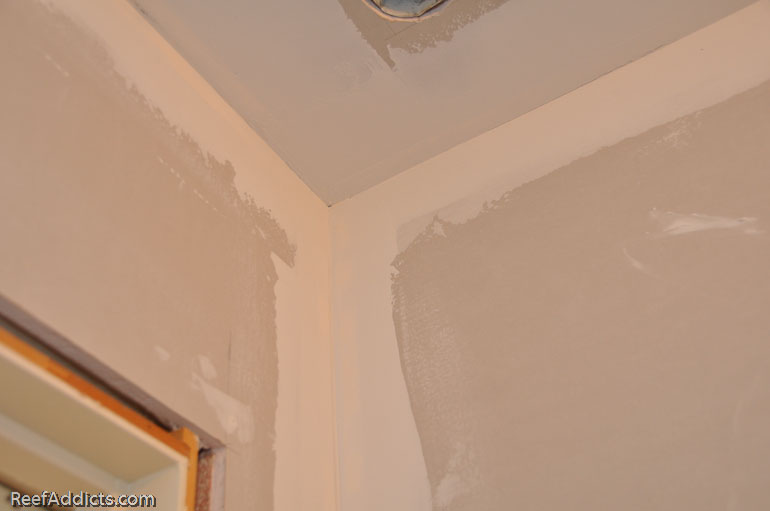
Where the white plastic corner trim existed, mud was liberally applied and smoothed out.


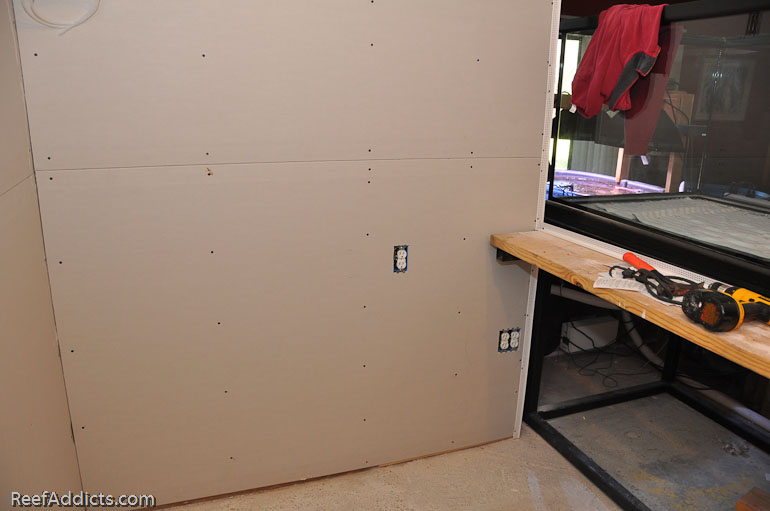
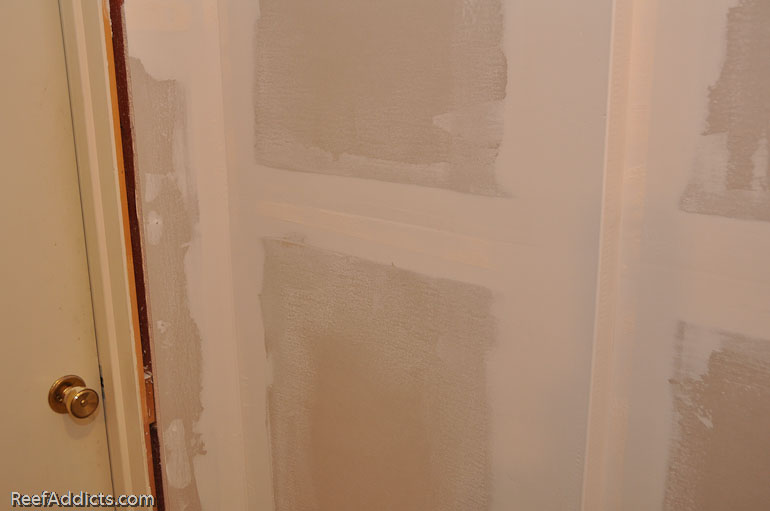
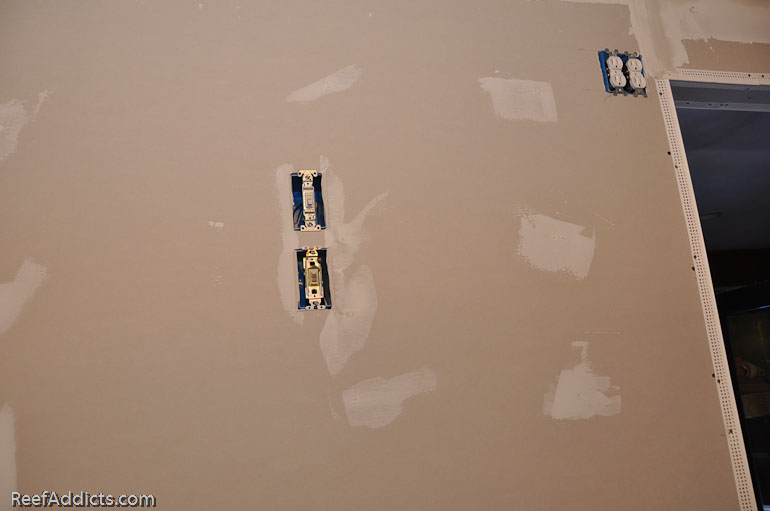
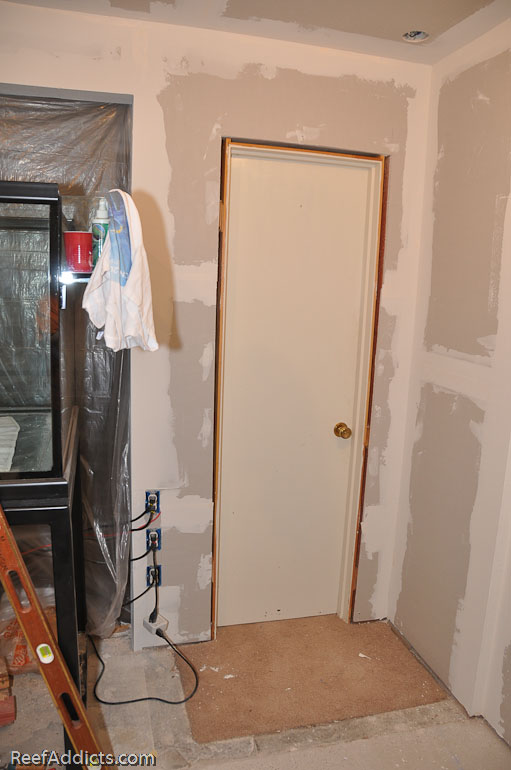
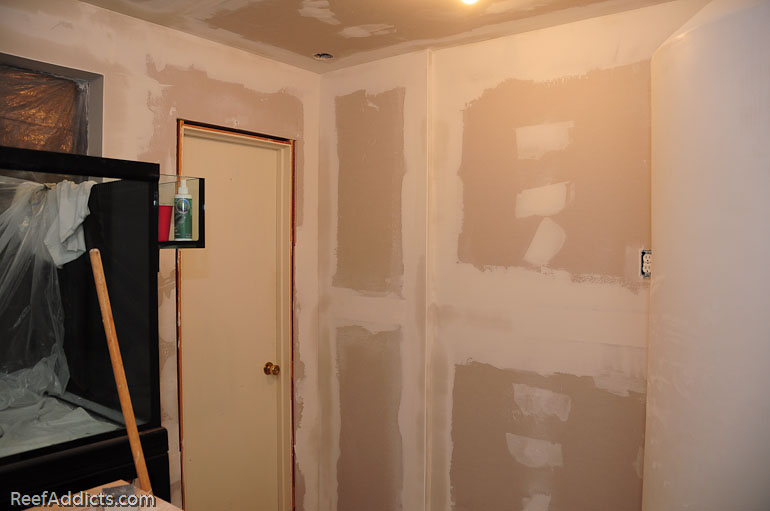
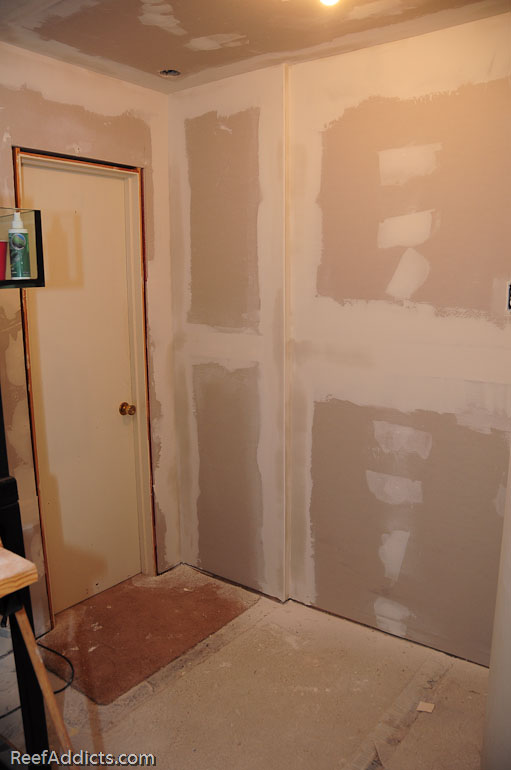
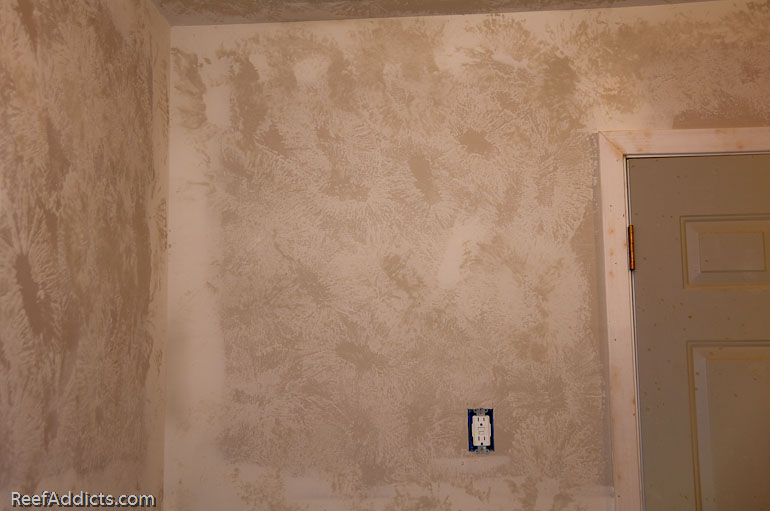
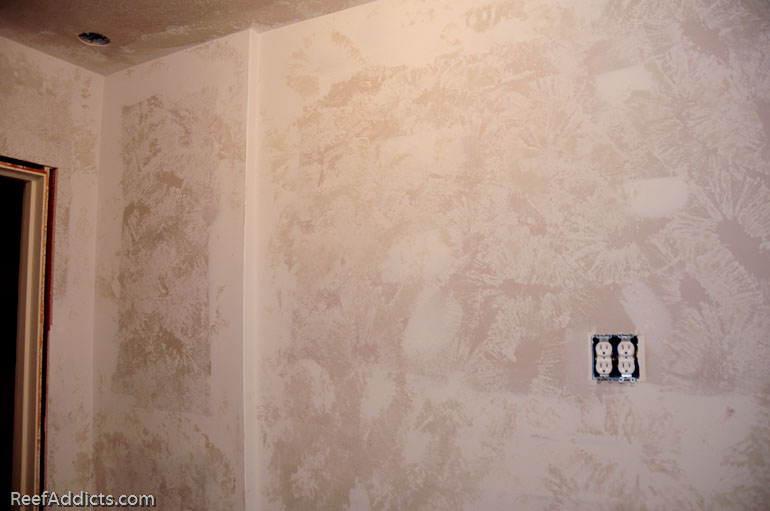
All screws were covered with mud, which explains all those splotches on the walls and ceiling. Also, the gaps around the electrical boxes were filled in with mud.


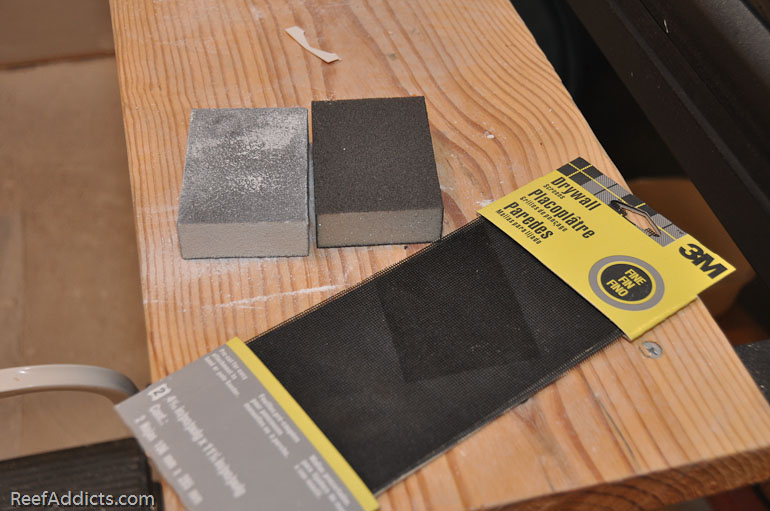
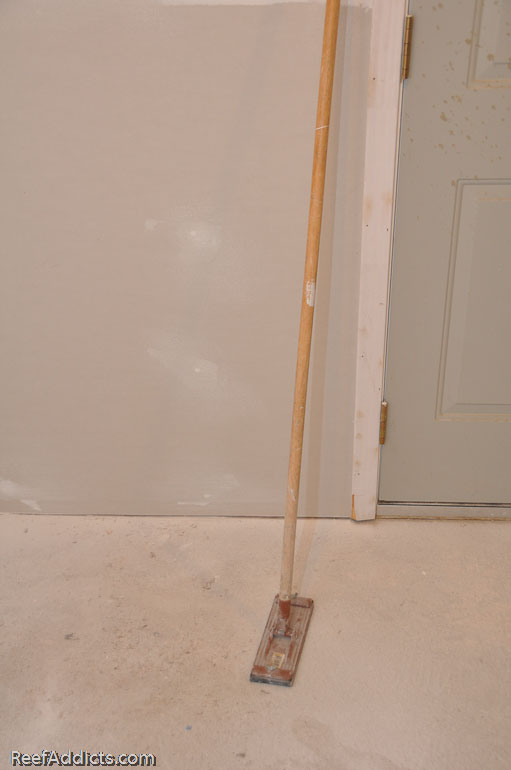
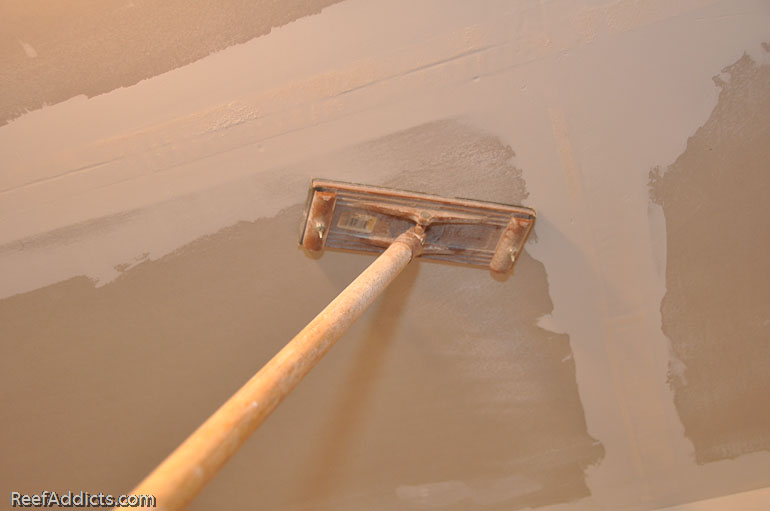
The next day, after it had cured fully, it was ready to sand. The mud turns completely white when dry. Sanding it smooths out all the errors and preps it for the next coat of mud. The second coat goes on more easily because you aren't dealing with tape that tries to slide around or come loose. It's still a bit of a pain if you try to get it perfect. One sanding tool uses screen affix to a holder on a stick. The other is a firm sponge wrapped with coarse sand paper.


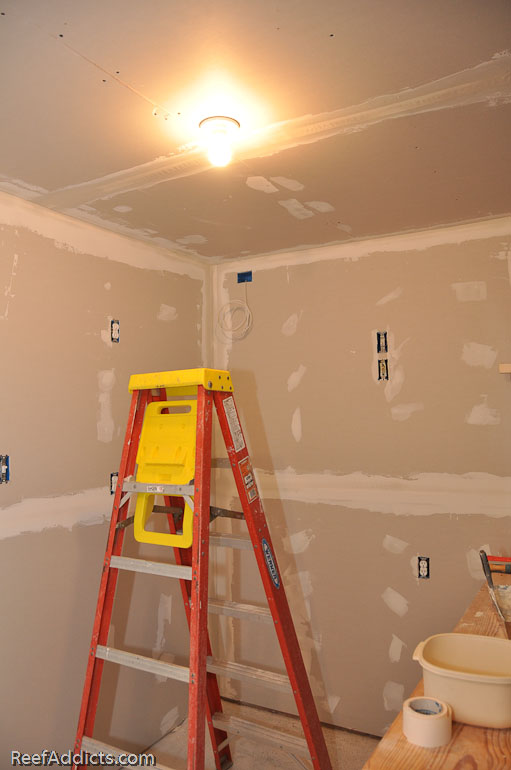
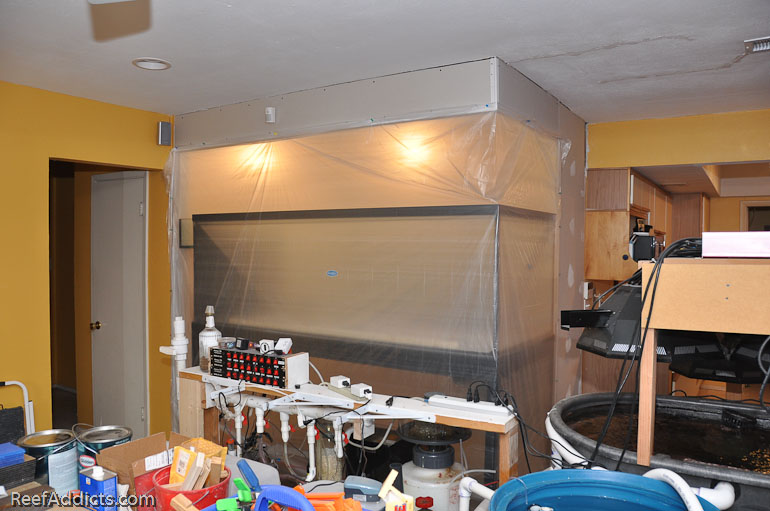
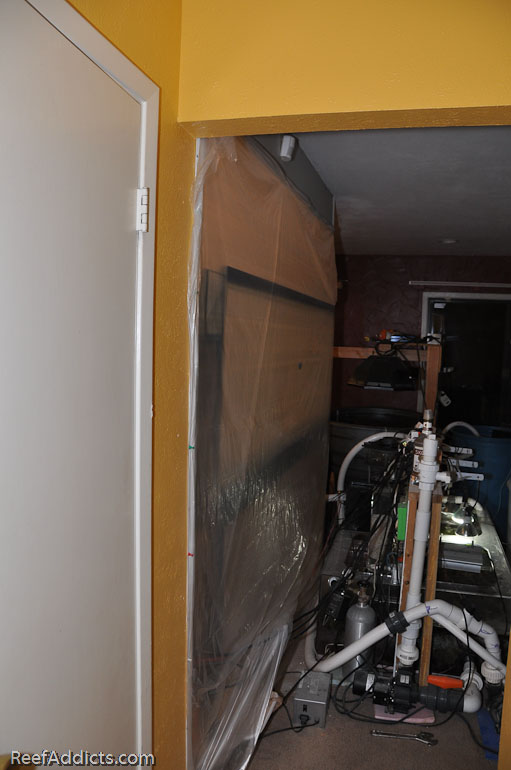
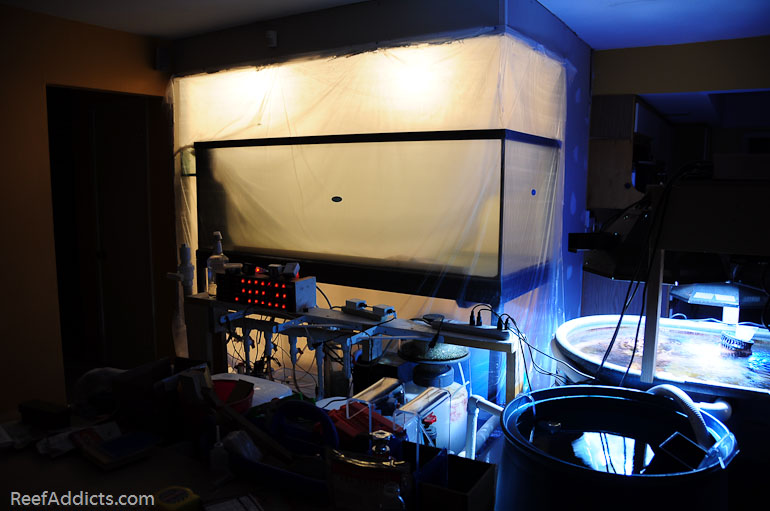
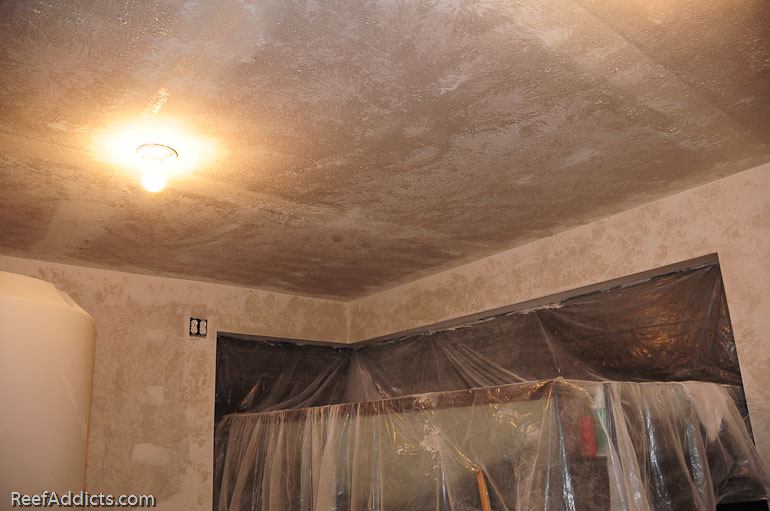
This process causes serious dust, so it is best to tarp off the area to keep the rest of your home clean.


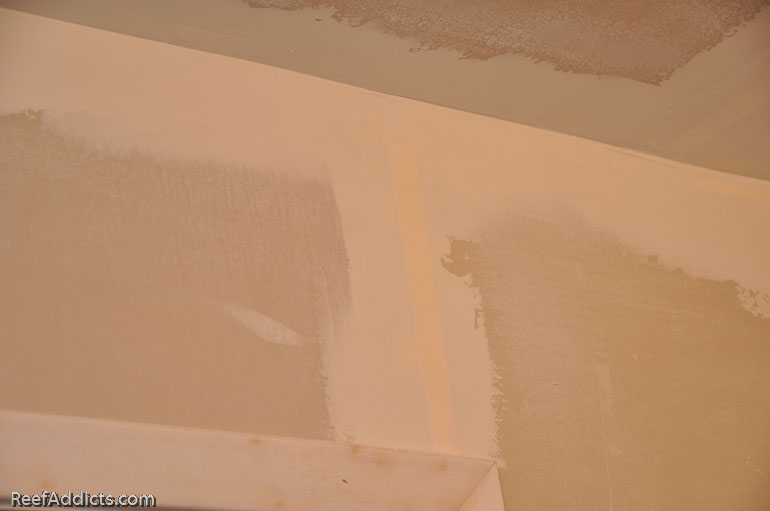
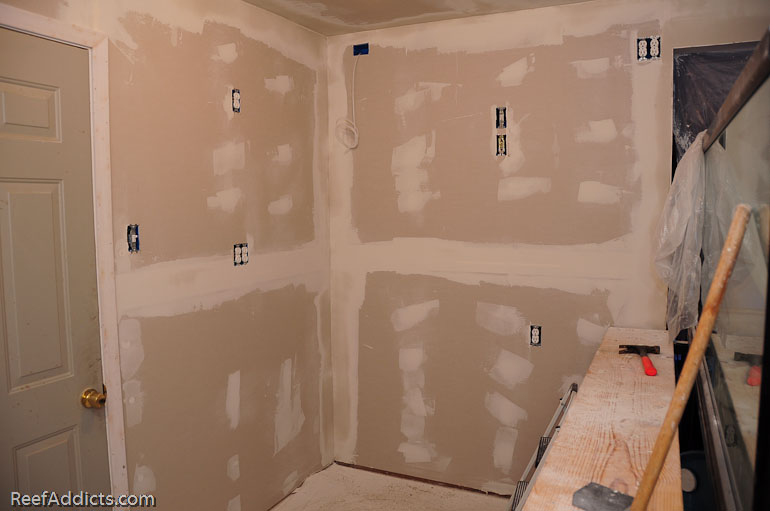
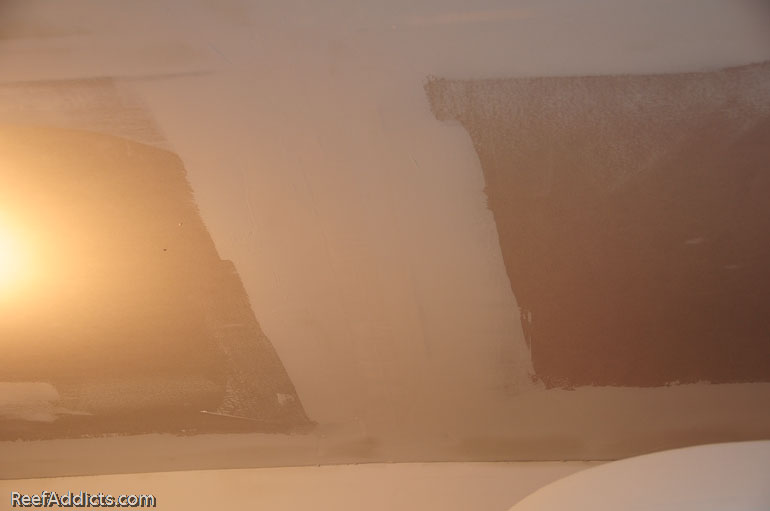
Once smooth, it is ready for a fresh thin layer of mud be applied to all those same areas once more. Every screw hole that was filled shrunk down and need to be slightly topped off with more spackle. The sanded seams needed to be filled, and the wider spread of mud helps to taper off the actual joint. The tape was 2" wide, but the end result can be 6" to 8" wide so once done you don't notice it (hopefully).


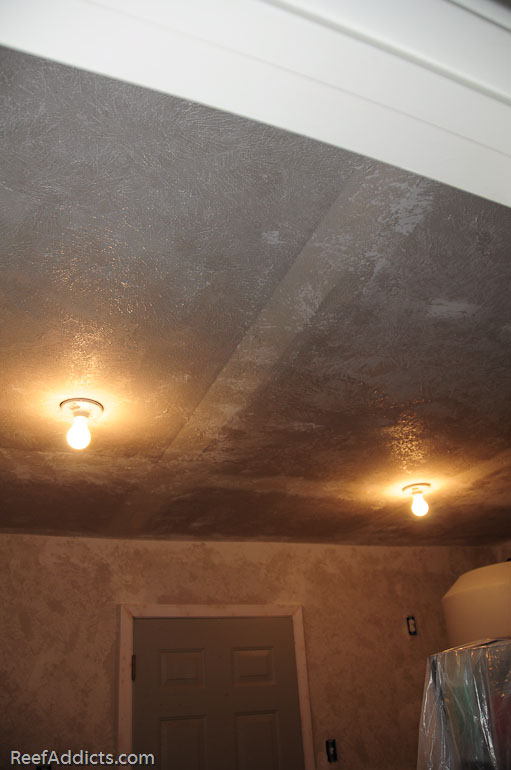
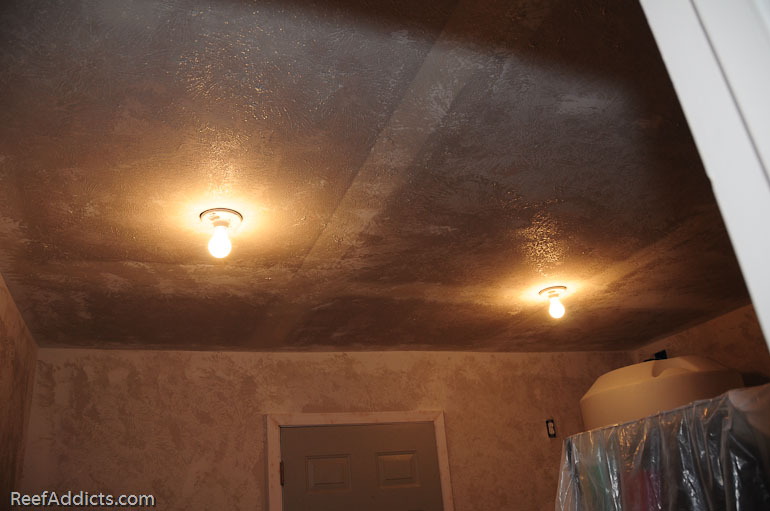
This had to dry, but since it is thin it dries the same day and is ready for one last light sanding. The final stage is to apply texture, which is another method used to hide mistakes and imperfections as well as to take away the visual unevenness of the walls and ceiling. Texture looks good painted, so unless there is a specific reason for totally smooth painted walls, you almost never see those. In fact if you do, it's an accent wall designed to catch the eye.

Using a single brush called a "crow's foot", I mixed up some mud with water in a large metal pan and dipped the brush in that slop, then randomly slapped it on the walls and ceiling.


The room is going to be ready for paint at last. I've got two gallons of glossy white paint at the ready.

Submit "Sheetrock stuff completed" to Digg Submit "Sheetrock stuff completed" to del.icio.us Submit "Sheetrock stuff completed" to StumbleUpon Submit "Sheetrock stuff completed" to Google

Categories
DIY projects

Comments

  1. washingtond's Avatar
    That is a lot of work, but looks good.
  2. Midnight's Avatar
    Ewwwwwe, mud! Hey Marc, what is the plan for the areas beside the tank where the wall does not butt up against the tank and stand? Glad to see it is progressing though.
  3. crvz's Avatar
    does that texture act as a primer, or are you just going to paint without priming? Being where it is, I probably wouldnt have textured those walls, but I'm also terribly lazy. Looks good!
  4. thearchitekt's Avatar
    Maybe the gaps will have......woodwork?
  5. Trido's Avatar
    I like the texture Marc. Its about the only kind I've never done.
  6. Blown76mav's Avatar
    Looks good. Wish I had thought about the texture stuff would have made my drywall job go easier. Any reason you didn't use the moisture resistant sheet rock?
  7. melev's Avatar
    With my last fishroom, I used greenrock. Six years later when I pulled it out, not one speck of it was damaged by moisture. I attributed that fact to the ventilation used as well as the paint. So this time I thought why am I going to that extra trouble with no signs of issues? The tank itself doesn't touch the rock at all, anywhere. It seemed unnecessary. Even where the sink is going, I'll put up something (acrylic probably) as a backsplash to keep that area dry.
  8. melev's Avatar
    Quote Originally Posted by thearchitekt
    Maybe the gaps will have......woodwork?
    I wanted to have a little space to clean around the tank, which with my last one was impossible. When I got a little salt creep in between the tank and the vertical end of the wall, even a steak knife wrapped with a single sheet of paper towel was too thick and annoying as hell to clean that spot.

    The new woodwork will hide those areas.
  9. gimmito's Avatar
    Nice job Marc. I like the tape w/metal bead in it for the inside and outside corners...so much easier to install. Have you thought of using FRP (Fiberglass Reinforced Panels) to water proof the inside of the fish room ?

    Jim
  10. fishtal's Avatar
    Looks really good Marc! I see that you're using old-style light bulbs in the fishroom though... ;-)
  11. Midnight's Avatar
    Hey Marc, I have resubscribed to your blog and I am still not getting email notifications when a new post has been made. I figure must be a problem with new server?
  12. ghurlag's Avatar
    Marc, this is looking really nice. All your efforts are starting to hit pay dirt again! Keep it up
  13. Blown76mav's Avatar
    ya no e mails here either.
  14. melev's Avatar
    Perhaps we have another setting that needs to be corrected from the admin side. I'll try to figure it out.
  15. michika's Avatar
    Quote Originally Posted by melev
    With my last fishroom, I used greenrock. Six years later when I pulled it out, not one speck of it was damaged by moisture. I attributed that fact to the ventilation used as well as the paint. So this time I thought why am I going to that extra trouble with no signs of issues? The tank itself doesn't touch the rock at all, anywhere. It seemed unnecessary. Even where the sink is going, I'll put up something (acrylic probably) as a backsplash to keep that area dry.
    Did you just end up using normal residential paint and primer last time and this time? I have to go buy those things this week and am thinking Kiltz for the primer and something glossy (easier to clean) for paint.
  16. michika's Avatar
    Quote Originally Posted by Midnight
    Hey Marc, I have resubscribed to your blog and I am still not getting email notifications when a new post has been made. I figure must be a problem with new server?
    Same here.
  17. Zmckenzie's Avatar
    Nice job! I always hated having to mud sheetrock!
  18. melev's Avatar
    I didn't use any primer. Last time (6 years ago), I used Kilz on the wooden stand so it wouldn't rot but I'm pretty sure my white paint was just standard latex exterior house paint.

    Did the same thing this time.
  19. Jager's Avatar
    i know this is terribly late, but if you do any further sheetrocking melev you may want to buy a tube of lipstick to run around the edge of all your break out boxes and electricals, then you simply put your sheet of sheetrock in position then press in the boxes general area to take the impression. once removed the back of the sheetrock has a perfect lipstick outline to follow and cut along. no mess to clean up and no hunting for boxes to cut or error spots to fill after.
  20. melev's Avatar
    That is a great tip! Where were you two months ago? I had even considered buying a rotozip to cut out those stupid boxes since it would be far easier than my sheetrock handsaw. Using lipstick - brilliant. I've been in construction for years and never saw that done, and was amazed at the rock guys and how nicely their work came out. Then again, I didn't hang out with them and was always there prior to and after they were done. You never want to be in their way, and usually they were in mine.