melev
Aquascaping and Sumpology

by
, 02-01-2011 at 01:38 AM (13473 Views)
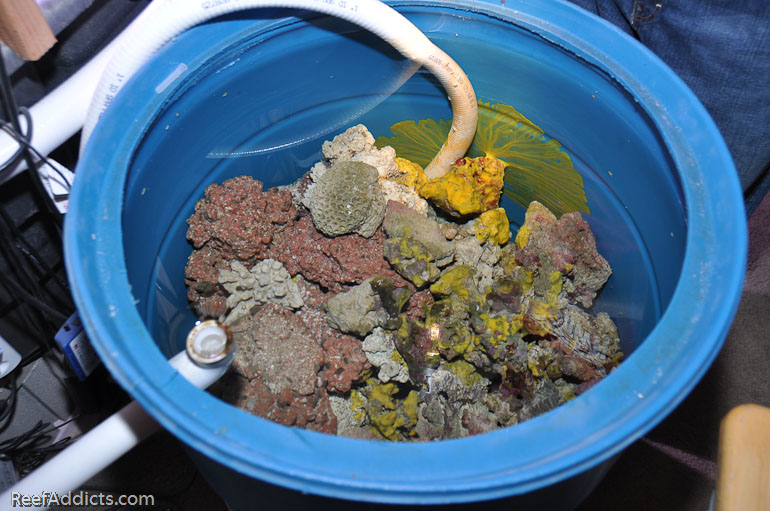
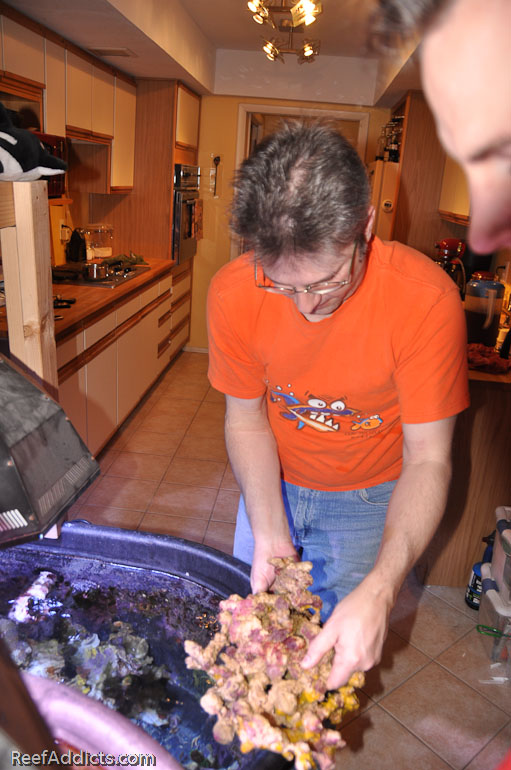
With all the plumbing completed on Friday night, Wes and Ryan both offered to come over Saturday evening to help with the rockwork. I've had the majority of the live rock (LR) in a barrel for the past six months, tied into the livestock system via a feed from the manifold. Some yellow sponge has been growing nicely over that time.
When it comes to LR, I prefer to never expose it to air more than a few minutes. This prevents cycling, usually caused by sponge die-off. My rock was essentially clean coming out of the 280g. It had some detritus, but nothing like I've observed in other tanks that exude extreme amounts of silt. I credit the Vortech pumps for the clean rockwork. Even when my 280g was running, as I took a powerhead over the rockwork very little blew into suspension.
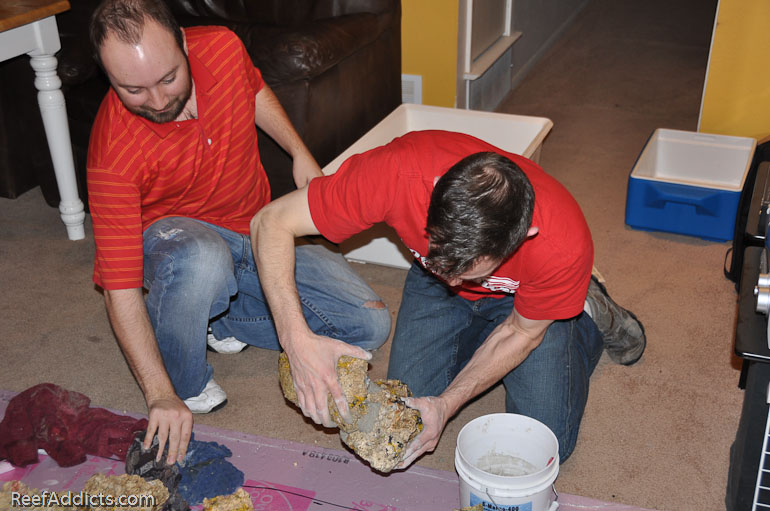
The LR didn't have much light at all during that waiting period. We drained out about 20g of water from the barrel into a shallower container, then moved the smaller pieces into that to get to the bigger pieces I hoped to showcase. I had a plan to support the new rockwork with acrylic rods hidden within the sandbed, but knew it would take forever to accomplish this task. Only the bottom rocks needed that support, but it was still a lot of rocks and I didn't know how much patience my two friends would have with my plan.
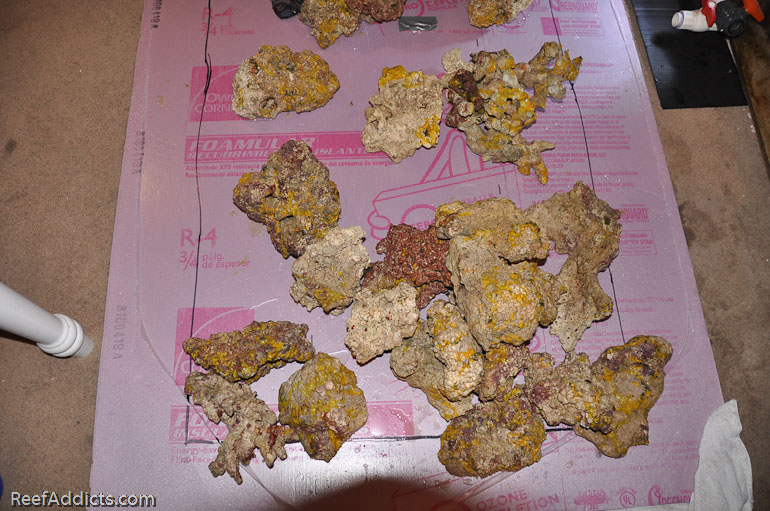
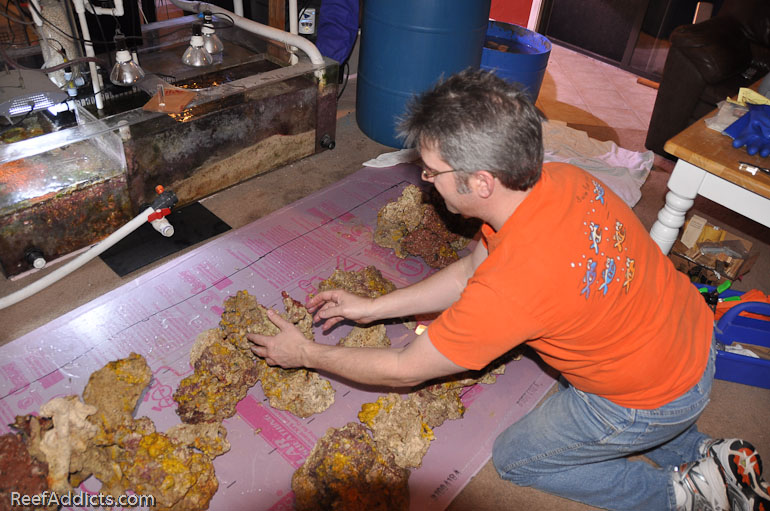
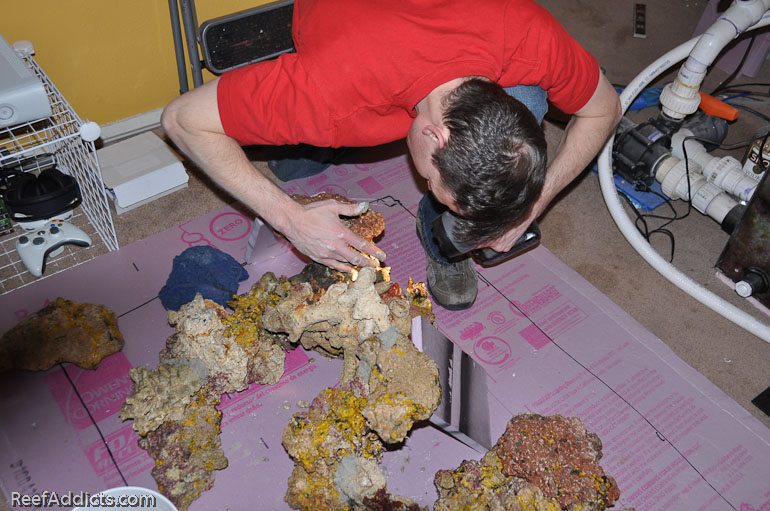
Ryan suggested we lay the rock out on the floor to get an idea of what would look good. Wes requested a tarp to work upon, but all I had was huge sheets of pink foam so one was used for this project. Wes drew the outline of the tank's footprint so we knew what space was available.
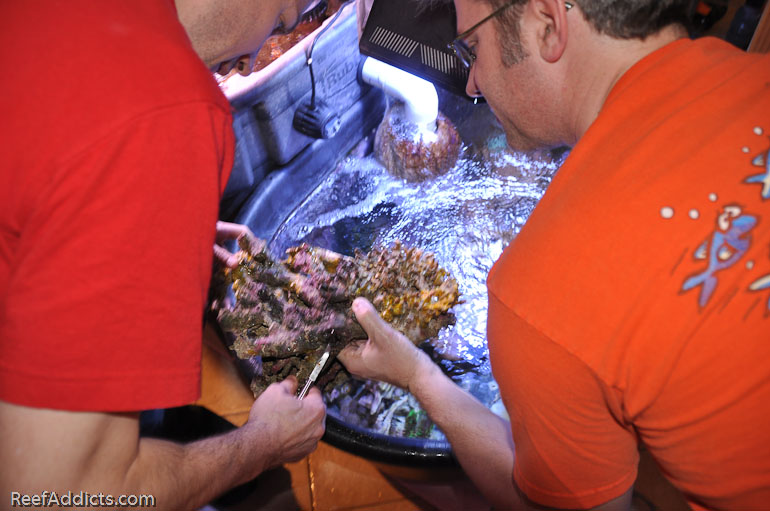
A couple of pieces of rock were liberated from the livestock tanks, but we had to carefully scrape away some of my ultra-rare red mushrooms. You know, the ones that plague every tank I've ever had in the past 13+ years?
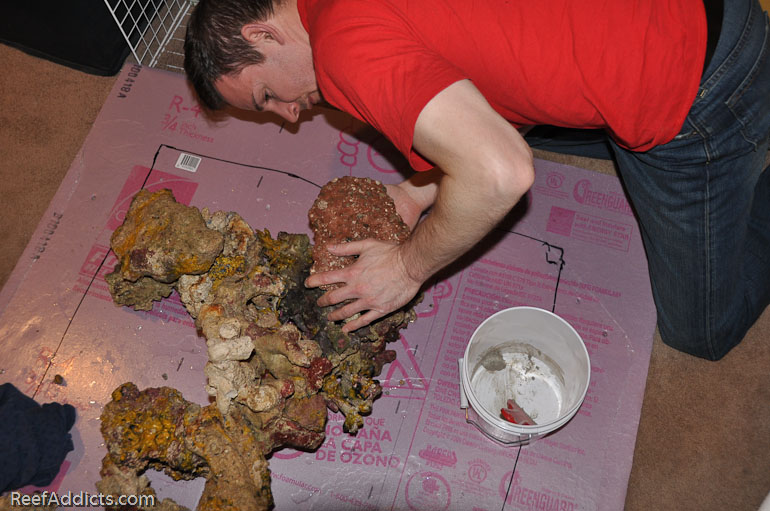
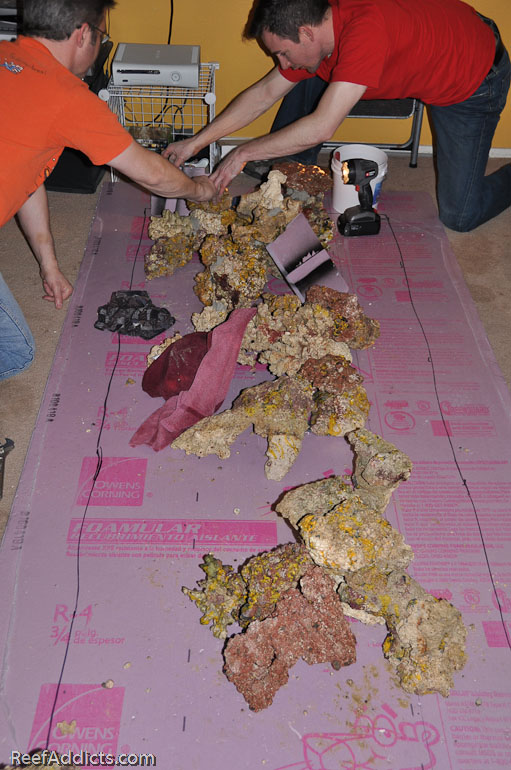
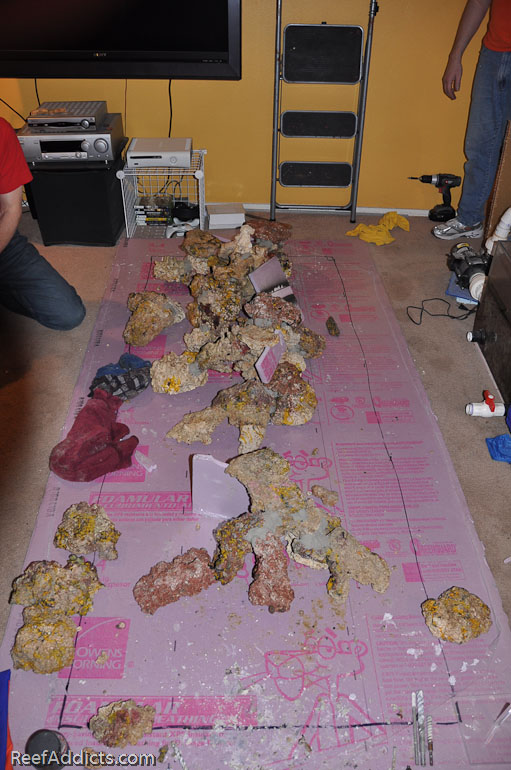
We puzzled together some pieces to create some alcoves, shelves, caves and more.
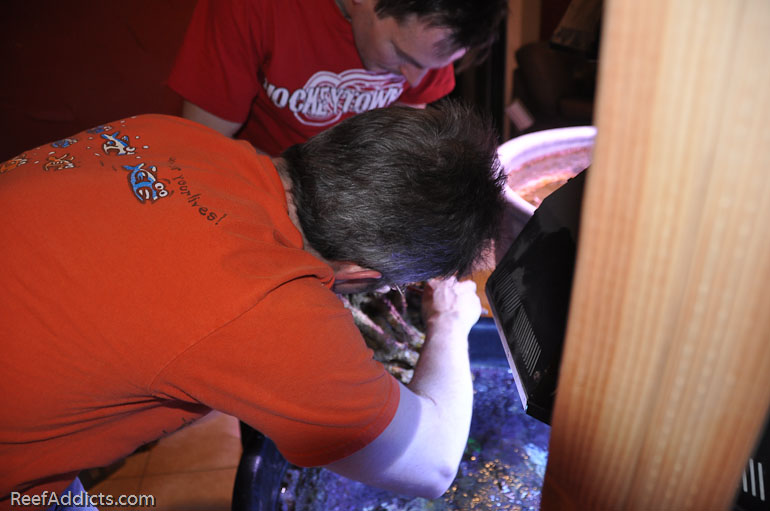
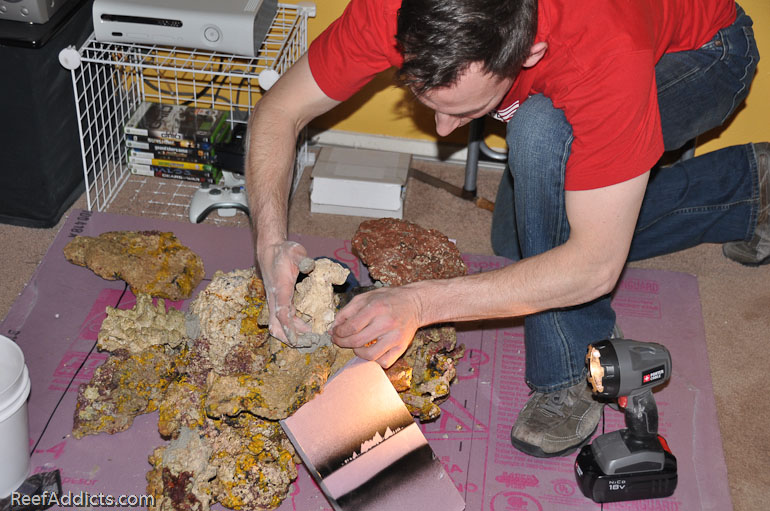
Ryan made a special trip home to retrieve the rock bonding kit from Marco Rocks. He had seen it at MACNA 2010 and felt it would be an asset to my project.
He told me that it has a 20 minute cure time, so I watched him as he worked the various pieces together, and we let them set up.
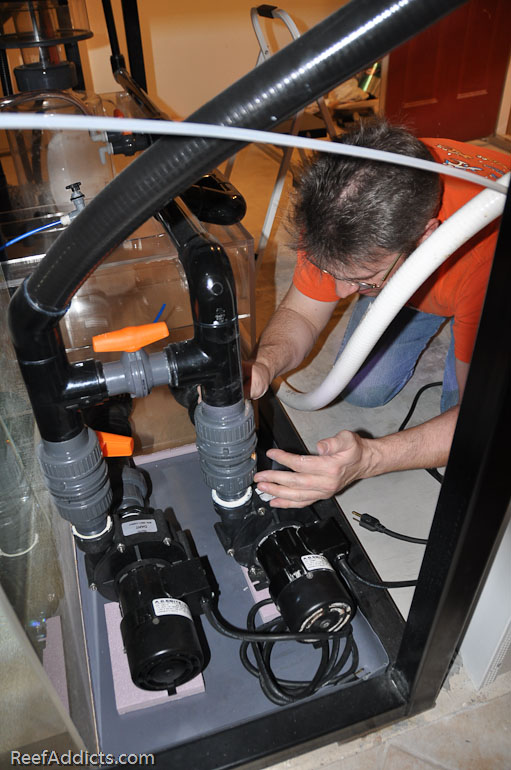
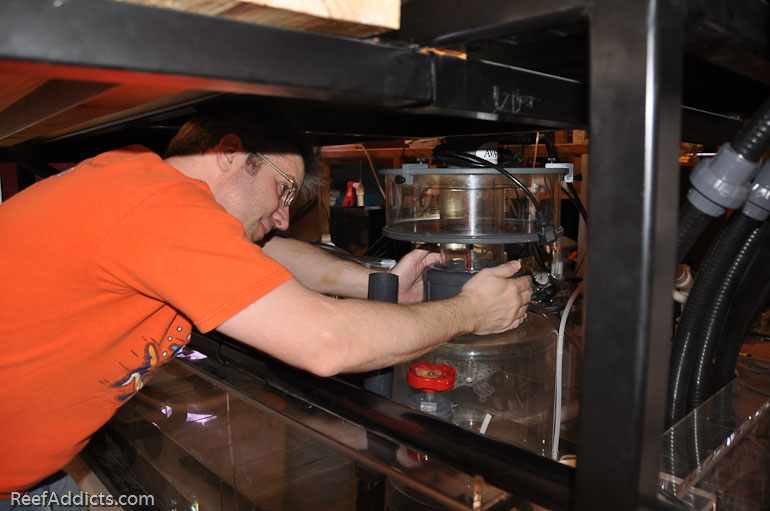
While Ryan was doing that, Wes and I worked on getting the tank ready for the rockwork. The Dart pump had to be moved from the existing manifold to the new one first.
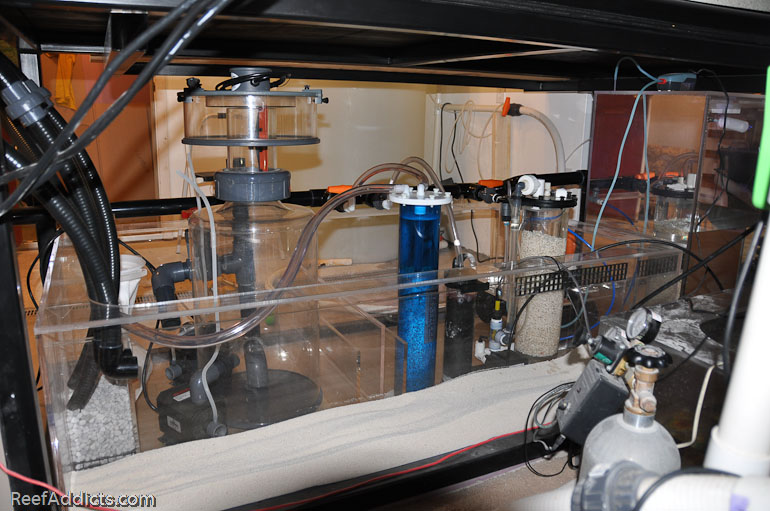
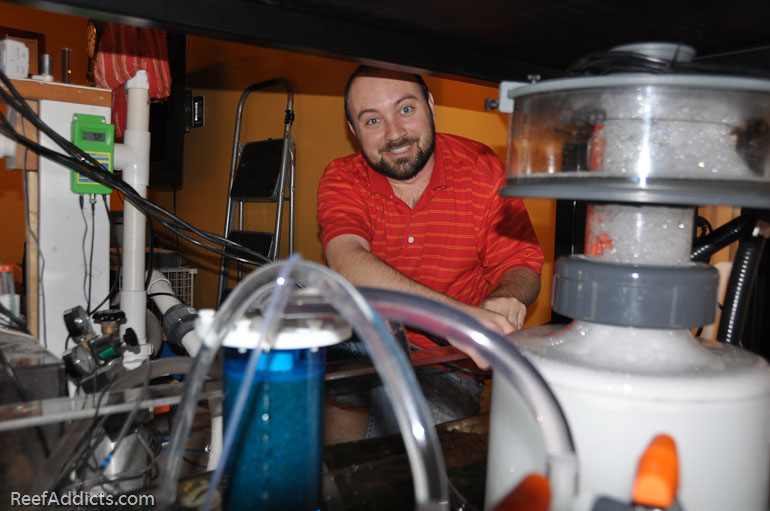
Prior to my friends' arrival, I cleaned my Euroreef skimmer and mended a broken part near its base. We are placing it in the sump now to see how it fits. We quickly realized that the skimmer needed a short stand to accommodate the two Eheim 1260 pumps. In my former sump, the skimmer was on a 4" stand, but for this one it only needed to be 1.5" tall. I cut the legs down to size and slipped it under the skimmer. It fit perfectly in the space provided both in the sump as well as the vertical height needed within the stand.
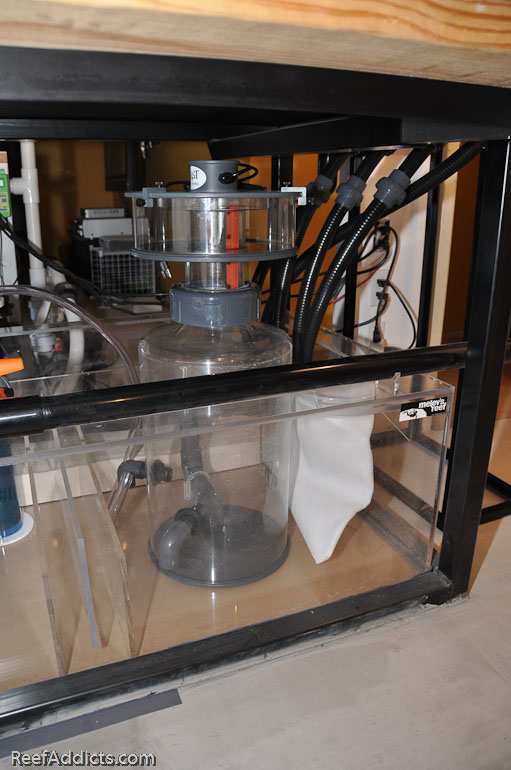
That thing on top of the lid is a small motor. Avast Marine sells a Skimmer Swabbie, and fabricated the lid with the motor attached. It runs a squeegee inside the neck a few times each day to keep the skimmer operating efficiently.
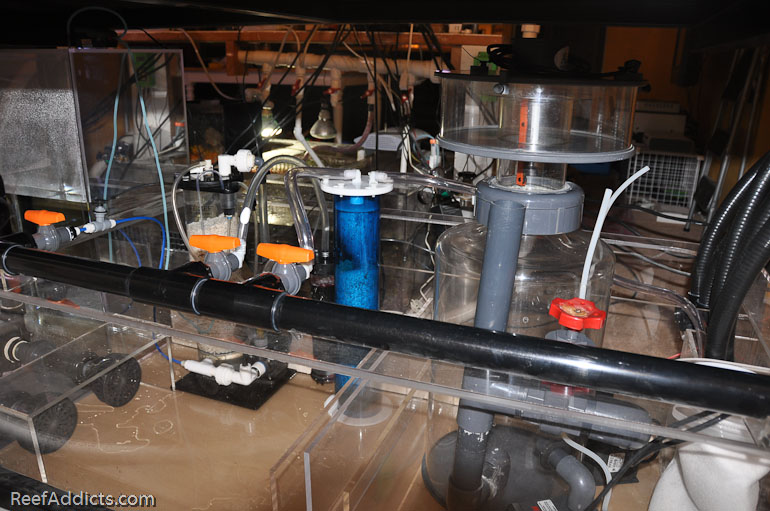
We moved over the Calcium Reactor, and I cleaned out the TLF's Phosban (Carbon for me) reactor, replacing it with new GAC (granulated activated carbon) so it could extract the toxins from all the new plumbing parts and glue solvents.
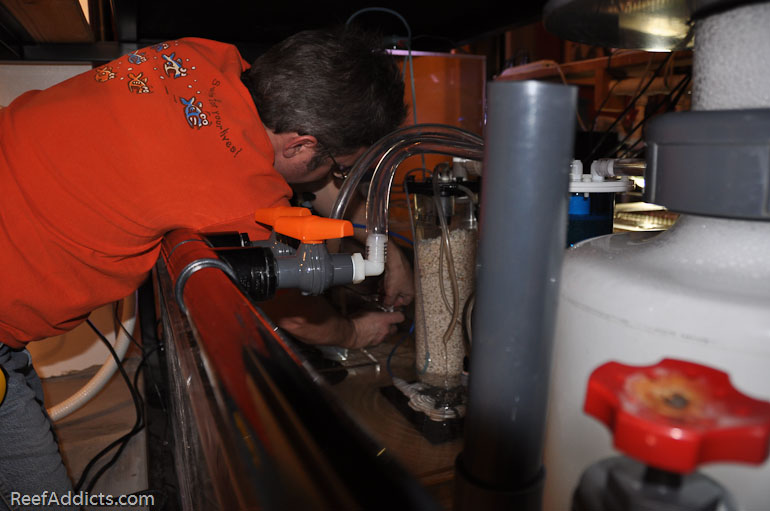
In this picture, I'm connecting the 1/4" blue tubing to the Calcium Reactor's inlet port, which is a brand new John Guest fitting I installed.
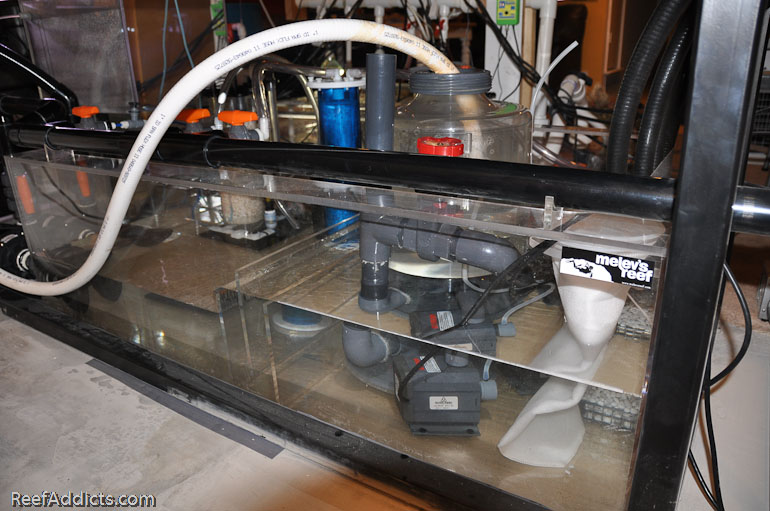
Wes suggested we fill the sump and make sure the manifold was working leak-free. Using a section of spaflex pipe that was feeding the LR barrel for the past half year, I connected it to the new plumbing that comes off the 265g poly tank. Both sections used the DUBV (Double Union Ball Valves) so it was easy to unscrew and reconnect that pipe to the new spot. Knowing the skimmer would bob up as the water filled the sump, I removed the collection cup and inserted the pipe to fill the skimmer first, which fills the sump easily.
Once the water level reached the normal level in the sump, the flow was stopped and the pipe removed. The collection cup was reinstalled and the skimmer was turned on.
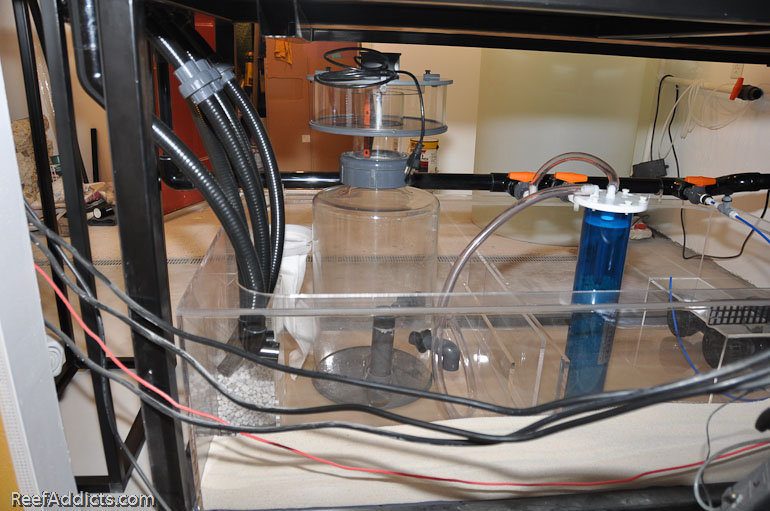
We filled up the refugium side next, and then used a Mag pump and some vinyl tubing to supply water from the return zone to the refugium zone. The pitcher was used to avoid disturbing the stand from the incoming water.
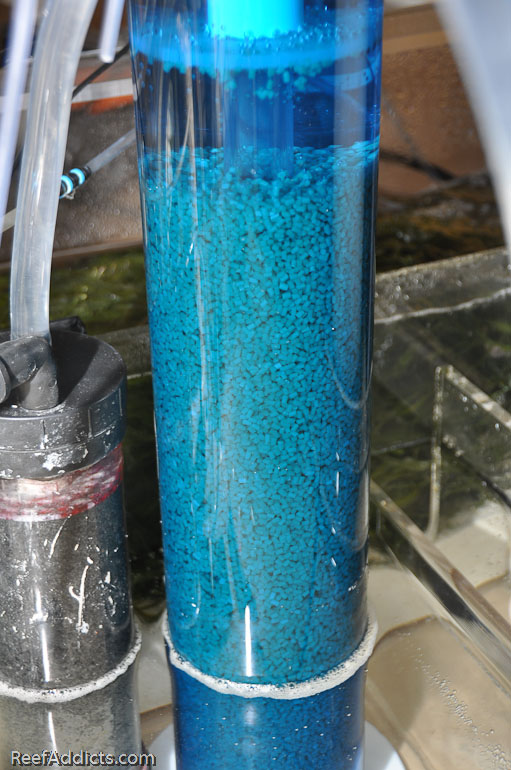
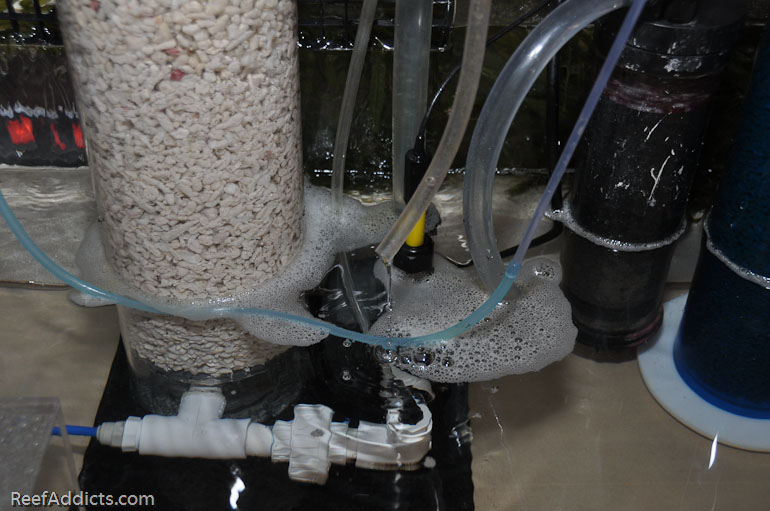
The NP media in the NextReef reactor looked clumped up initially, but after 20 minutes it finally broke up and started tumbling. I was worried at first that I'd ruined it by soaking it the day before and then adding it to the reactor without water for too long. It looked like sticky rice, but fortunately it wasn't a problem at all.
The Calcium Reactor's effluent is trickling back into the sump.
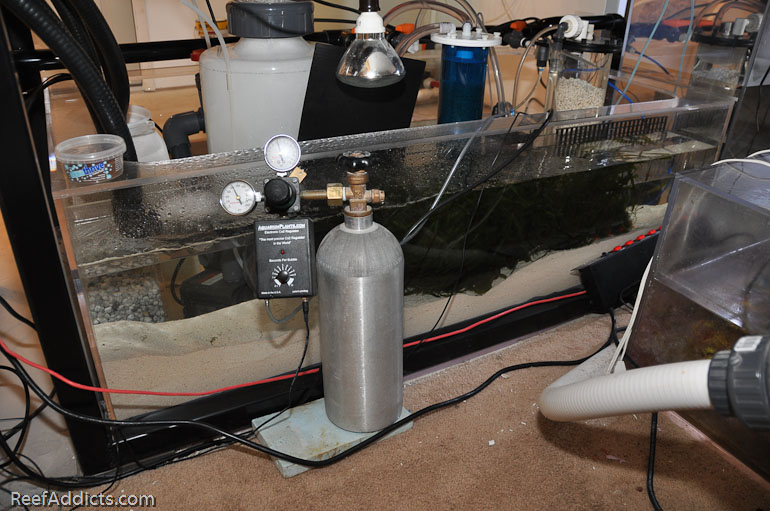
This is the CO2 tank feeding the reactor, and I'm using the electronic regulator by AquariumPlants.com to control the bubble rate.
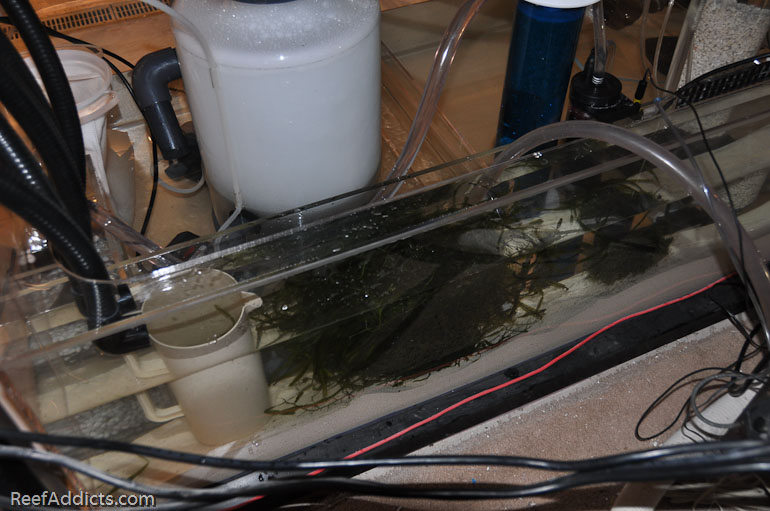
Wes rigged a single refugium bulb over the macro algae, as seen above.
At this point, I had a fully functional sump sitting under an empty tank. That's so like me though, right?! :lmao:
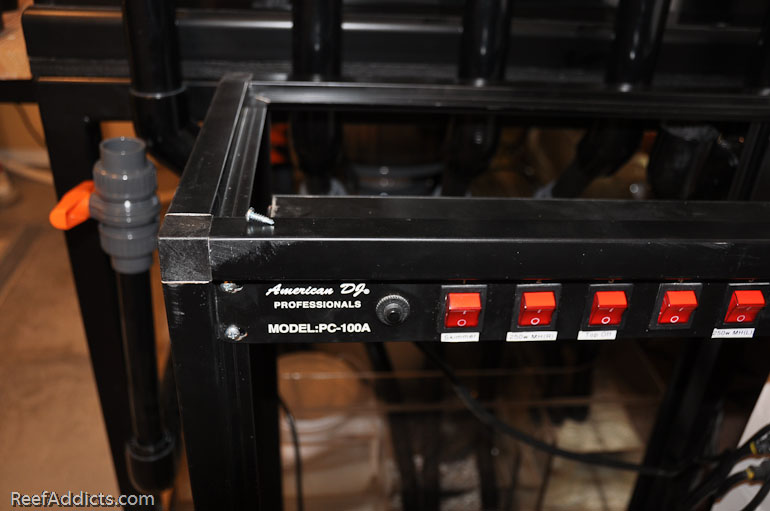
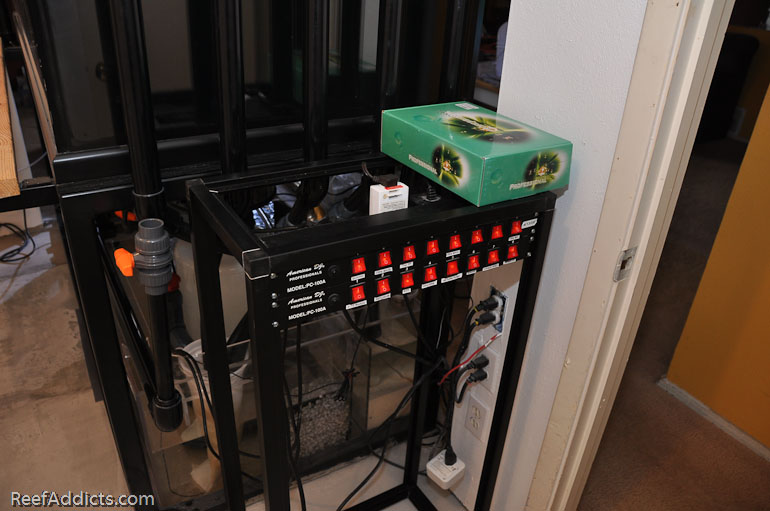
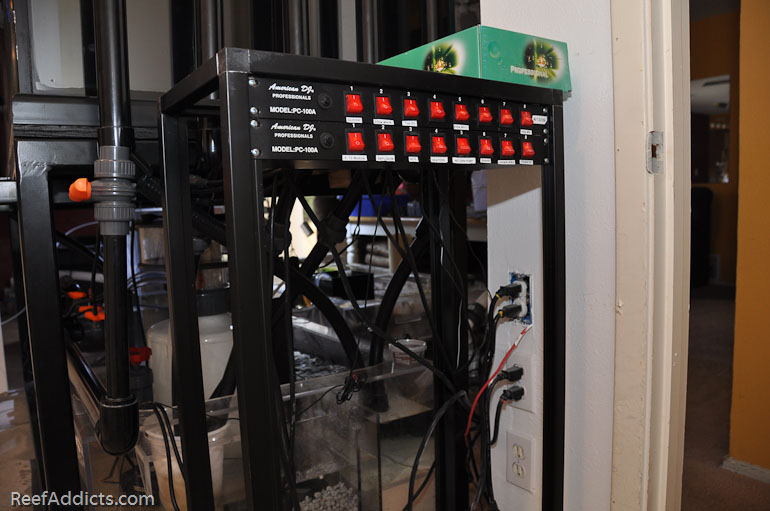
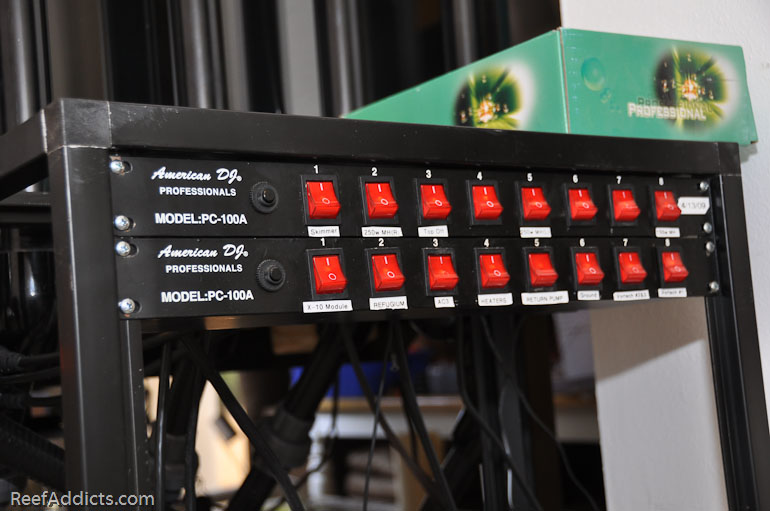
I saved the best for last. As you know, I made a small stand for the frag tank, using EzTube from EzTube.com The dimensions of the stand seemed small initially, but there was a reason to my madness: It would be the perfect spot for my DJ switches. Using self-tapping screws, they were quickly installed with a handheld drill.
A third one will be installed later.
Everything was ready, the rock cement was curing, and we were watching the clock. It was about 1:30 to 2:00am now. I wanted the rock in the tank, and submerged in water.