melev
Tuesday evening update

by
, 02-02-2011 at 01:02 AM (6851 Views)
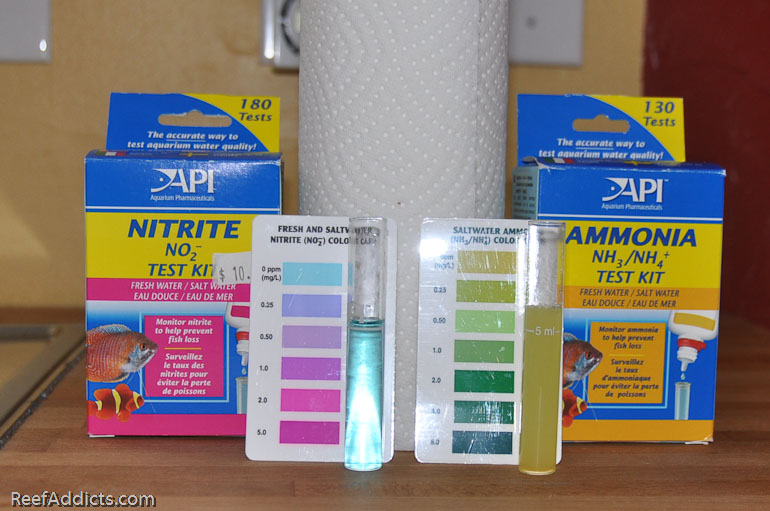
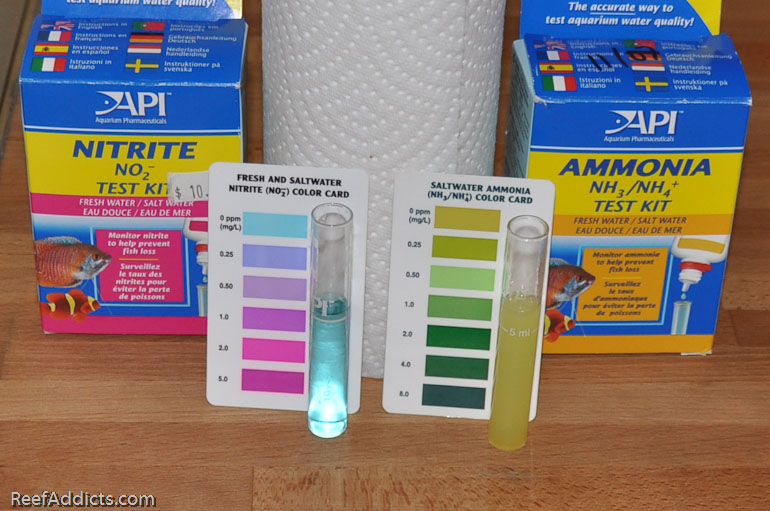
As you can imagine, I'm itching to move the livestock into the tank and get my living room devoid of old tank stuff. I want the sump out of the way, as well as the crusty Dart pump sticking out in the way. I want the two 100g troughs out of the way, and the Lumenbright pendants up on the light rack. I want the livestock in the tank so I can see my fish and the corals that are still hanging in there. I did a couple of water tests today. First I checked the 400g for Nitrite and Ammonia. Both came back zero.
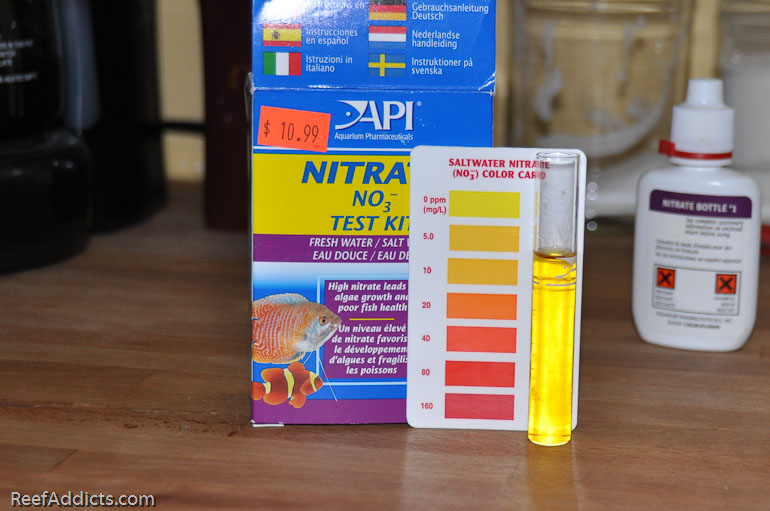
And I checked the main system for Nitrate. Less than 5ppm for sure.
Alkalinity had dropped in the troughs because the Calcium Reactor has been installed in the new system. Using the Tropic Marin Alkalinity kit, it was measuring 7 dKH, too low. For a few hours, I had the reactor drip its effluent via a spare length of tubing into the old sump to help bring up the Alk level.
Both Wes and Drew both told me today that I should connect both systems together, basically combining about 700g of total water volume. Drew was adamant that I mix them very gradually over the next two days. I don't want to wait two more days to start to think about moving over my livestock.
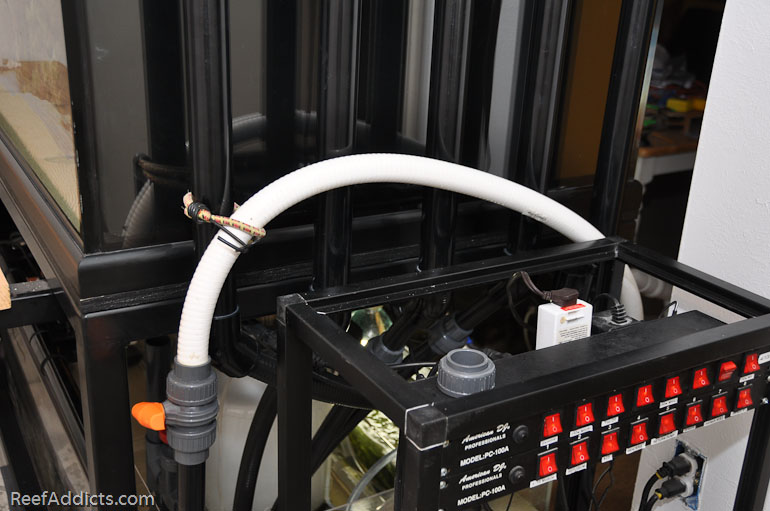
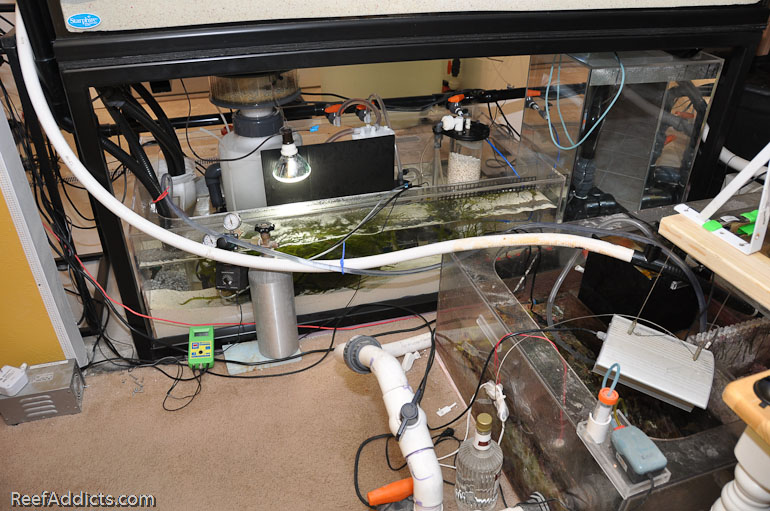
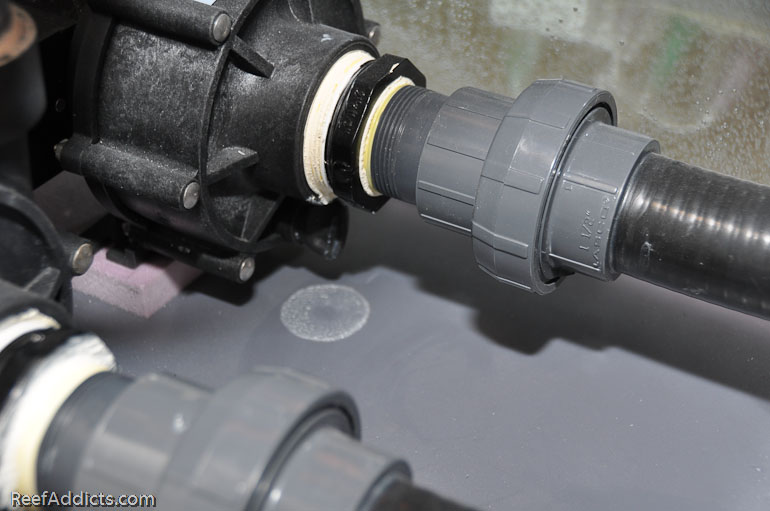
However, they are giving me good advice so I started looking at what I have on hand to work with. Both sumps are at floor level, so I can't use gravity to match them up. Using spare parts, I plumbed the two together. It isn't pretty, and it isn't something I would advise anyone else to do ever, but it'll work for a brief duration as long as I watch it like a hawk.
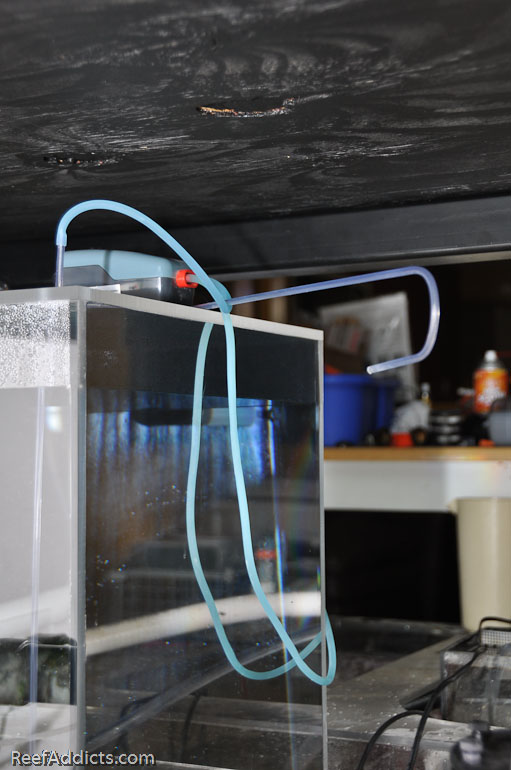
I connected my feed tube to the valve that will feed the frag tank, and secured it to one of the drain lines to avoid stressing the vertical plumbing.
The tube runs over to the old sump.
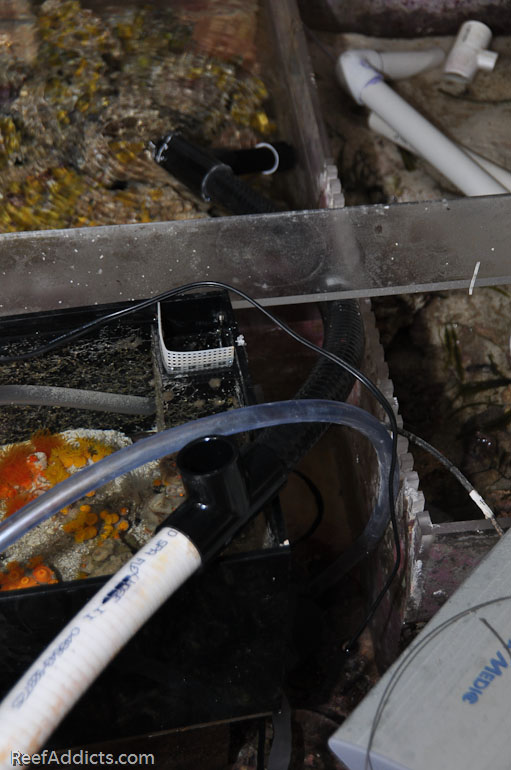
I didn't even have a single 1" coupling to use, but I did have this Tee. So I used it to bridge to some left over black SpaFlex that used to be the drainline to the Angled Tank. Note the water rippling at the top half of this next image. That's water flowing into the old skimmer section.
I found an old Maxijet 500 (yes, ancient by that model number) to feed water from the return section to the intake section of the new sump, using clear 3/8" tubing. Same picture, this time look at the tubing coming up from behind the suncoral tank.
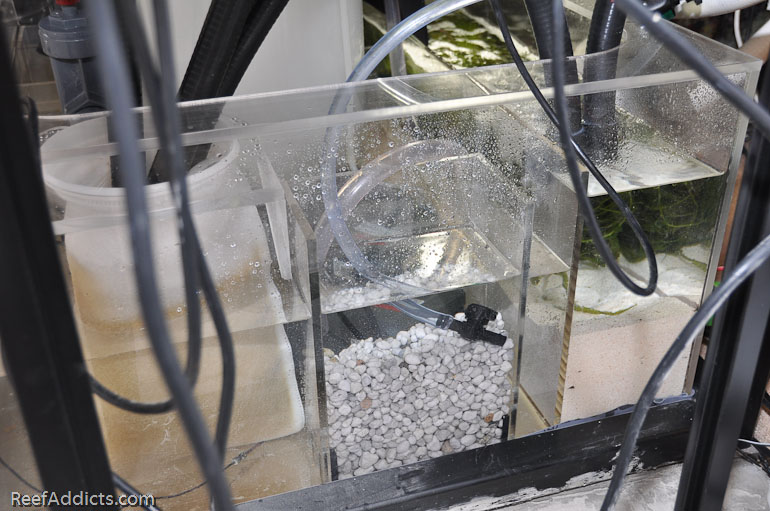
It feeds into the Matrix-filled bubble tower. I used a spare valve that came with a TLF Phosban Reactor to reduce the flow rate.
I'm trying to balance out the flow of water between the two systems, which is super dumb and highly known for failure. It only has to last a couple of days, allowing the water to mix from both systems until I can take the old system offline forever. Let's hope that it works out with minimal headache.
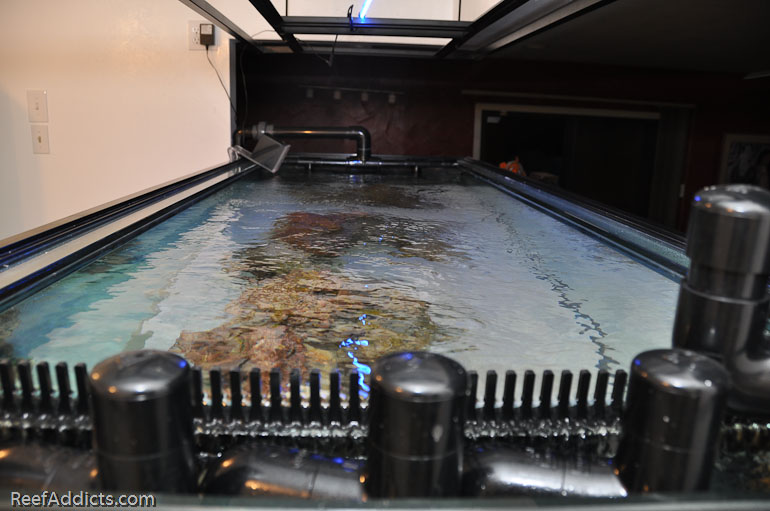
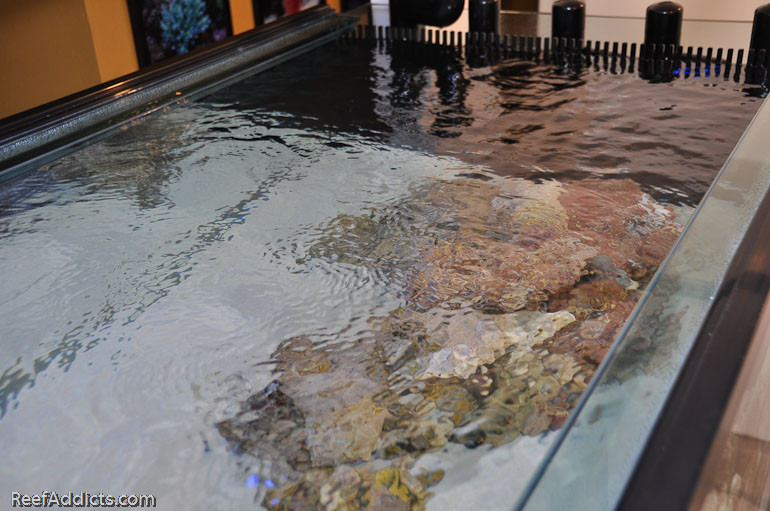
In other news, the flow in the display with the penductors is really impressive. I love the way the surface moves.
And the flow through the teeth is very quiet. Just perfect.
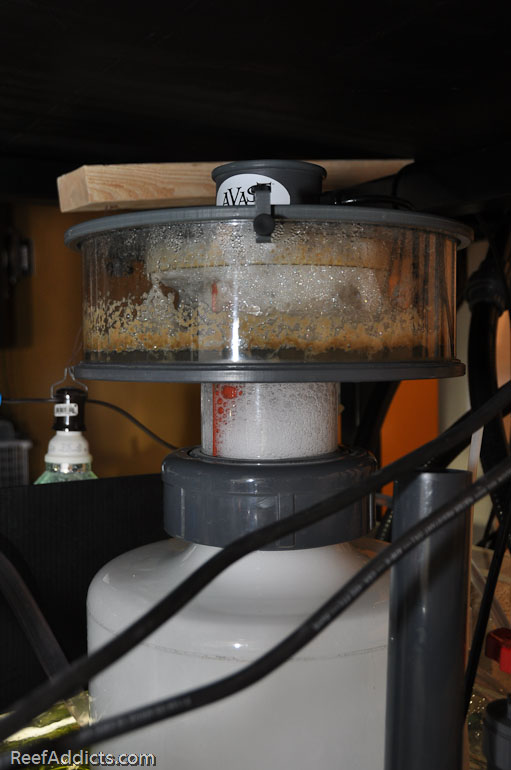
The skimmer is pulling out some grunge.
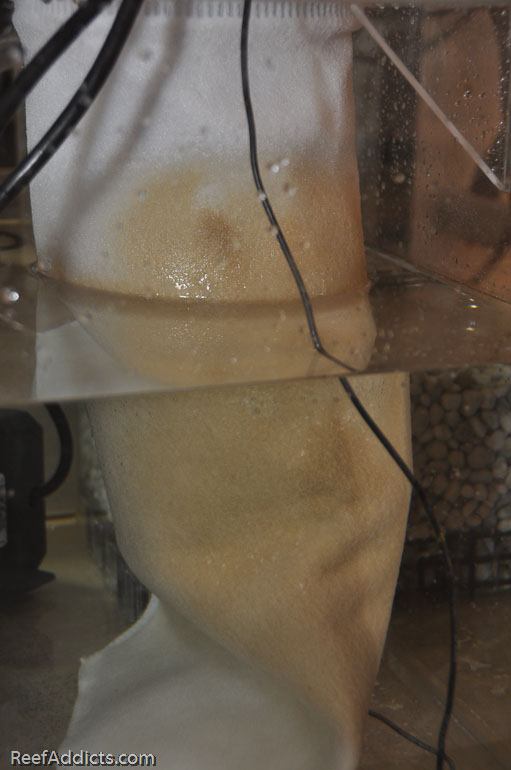
As is the filter sock. With it being icy cold outside, I'm in no hurry to rinse it out. Tomorrow's forecast is 16F for the high.
Both the 265g Poly tank and the 45g ATO reservoir are full. I started filling them up Sunday morning at 7 a.m. and was done collecting almost 300g worth of water Tuesday night around 10 p.m. (63 hours)
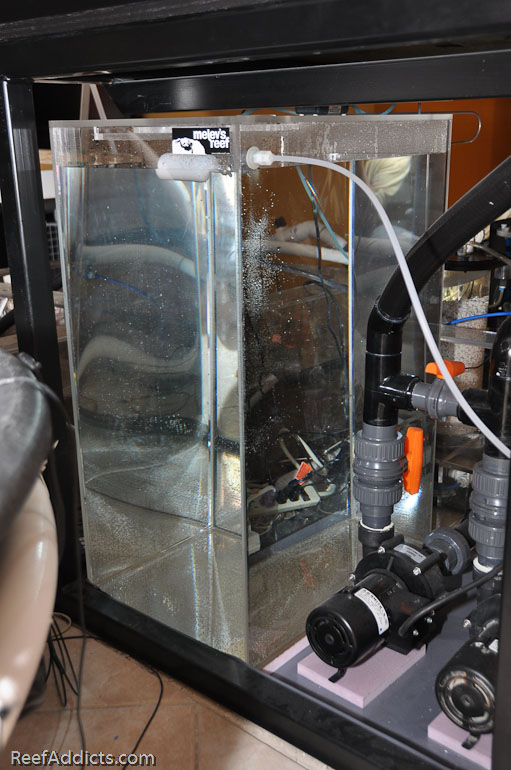
This is how the ATO replenishes top off water. I didn't get a good picture of this previously and it still needs a little bit of work, but this works for the time being.
Speaking of "for the time being," I had to put some light over the Rose BTAs and other assorted corals in the sump, so I rigged another death trap:
Basically, don't do any of this yourself. It is super temporary and I want it all gone as soon as possible.
The small drip under the Dart has virtually taken care of itself.
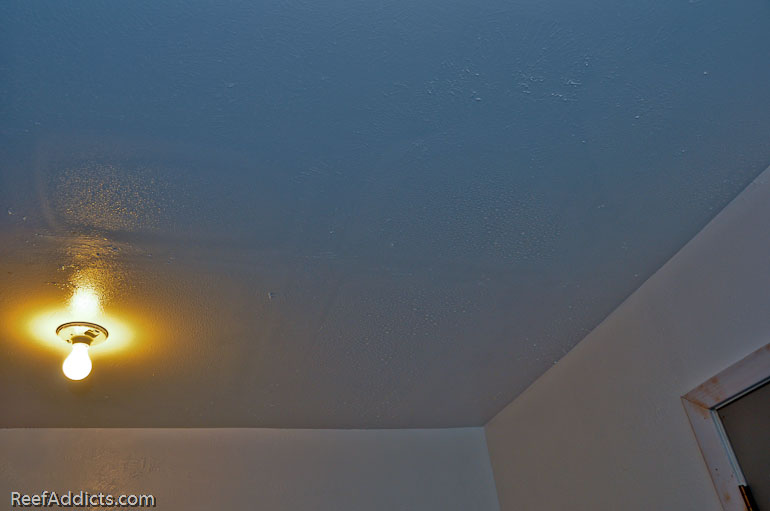
And this was an eye opener. The ceiling of the fishroom is soaking wet where no insulation was replaced. Part of the ceiling above lacks decking, which would allow me to walk around more easily when necessary. I wiped away all the water droplets; there were a lot. The 73F of my home vs the 15F of the cold attic plus the 700g of water is creating some serious condensation. I have got to get the vent fan installed in the fishroom very soon.
What else is next? Wes has kindly offered to come back over on Saturday to help me create the acrylic peg support system I originally wanted under my rockwork. It really would be nice to get this done, even though I know it will be a beating.
And more importantly, I'm going to have to pick up another 20 ton jack. Looking at the tank full of water, it (like its predecessor) is down the left side about 1/8". I want to use two jacks and 4x4 posts to lift the tank up high enough to insert an 1/8" shim on both end corners (front and back) to get it completely level. When we filled it up last Sunday, we both immediately saw how it wasn't quite right, and I was extremely annoyed to see the same occurrence as the last tank even after all my painstaking work to make sure this one was 100% level. I have two 200g poly tanks on the back patio, so the water can be pumped out for the lifting stage, then we can do the rock structure support system, and refill the tank again.
With that done, the livestock can be moved into the tank and I can get everything out of the living space and enjoy the tank the way it was meant to be viewed.
Lighting, vent fan, new sink... all that can be done thereafter.