melev
Lighting - filling up an empty light rack with MH and VHOs

by
, 02-10-2011 at 11:22 PM (19735 Views)
In a previous blog, I showed how I assembled and secured a light rack (using EzTube) to the ceiling. Here's the link: http://www.reefaddicts.com/entry.php...t-rack-project
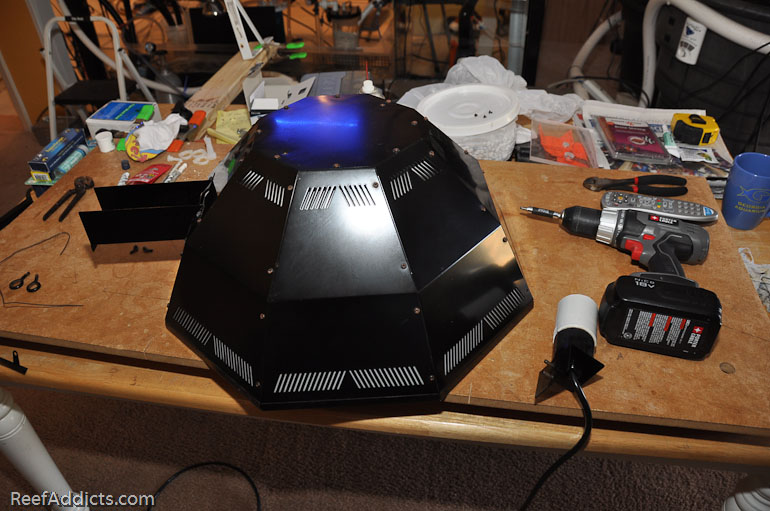
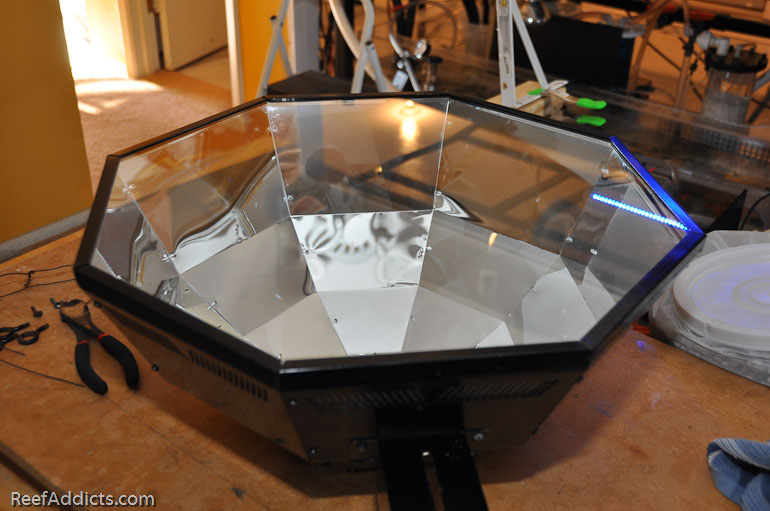
With the livestock in the 400g, it was time to get the lights placed overhead, and everything that entails. I use Lumenbright reflectors, and have had them for a few years. Every couple of months I take them down, remove the glass to clean both sides, and reinstall them. This keeps them nice looking and maintains good lighting. I hate looking up and seeing spatter or a smokey glass panel.
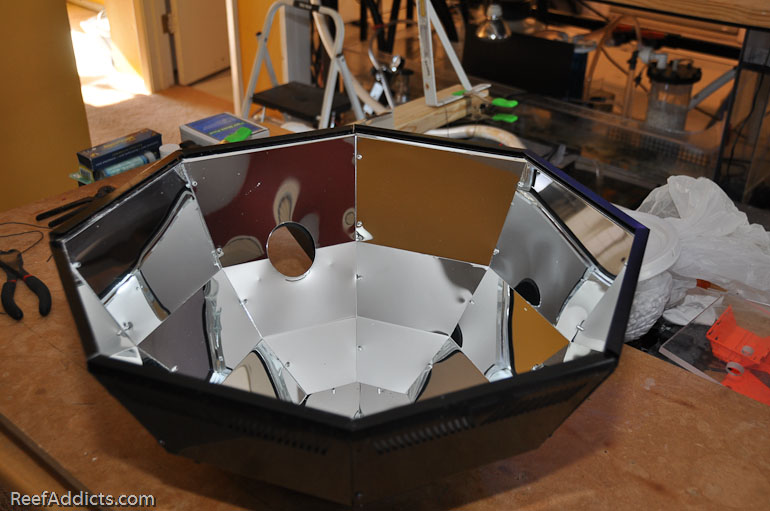
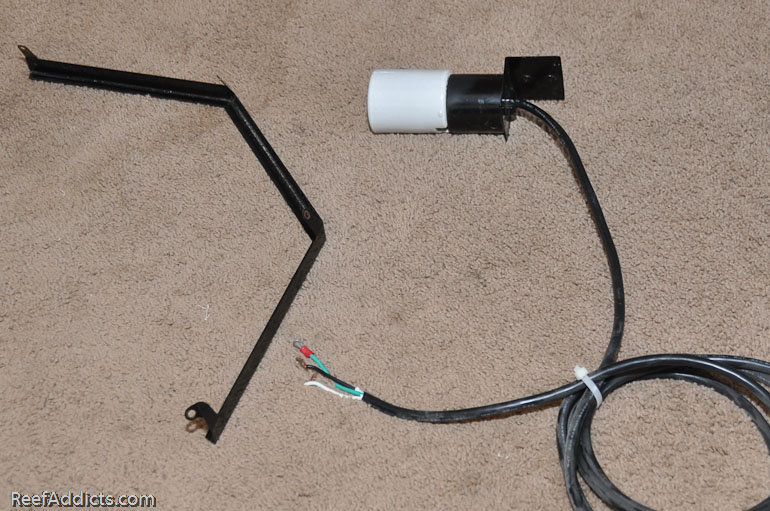
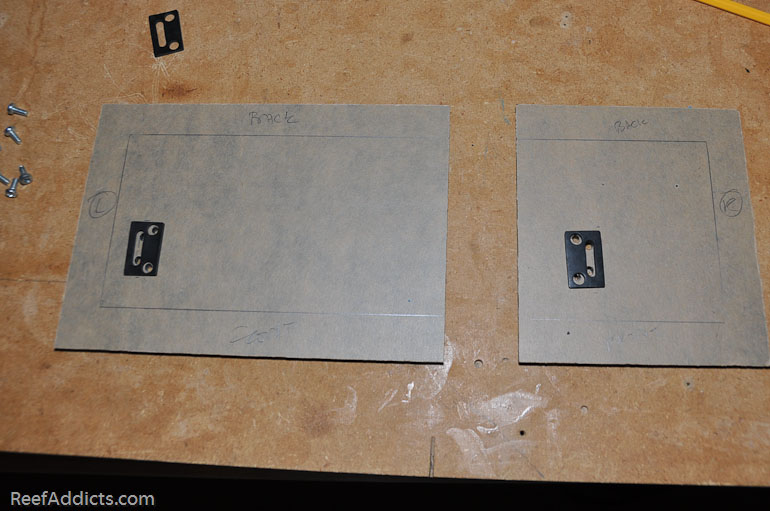
I removed the two eyelets (black metal pieces to the far left in the picture above) since they weren't needed, then proceeded to remove the metal retainer to take the glass out.
The socket comes out as well.
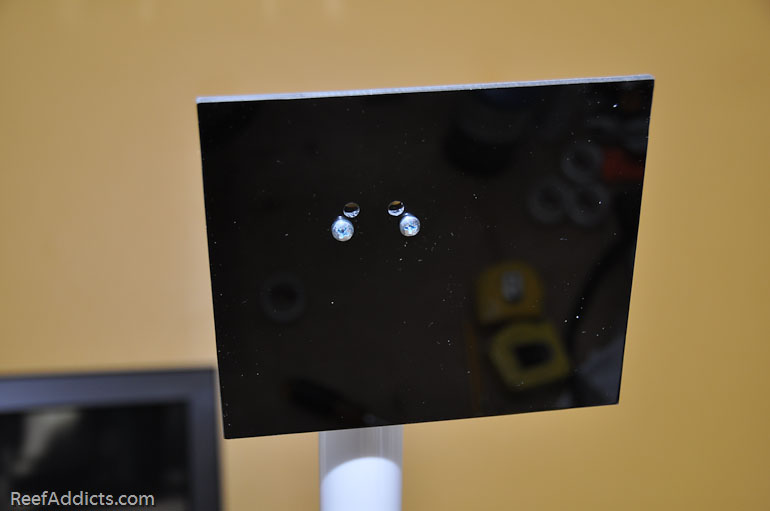
The glass was Windex'd on both sides. If you don't keep them clean, it ends up being much harder to remove salt creep. Vinegar or muriatic acid are your options, but I try to not let them ever get to that point.
All clean.
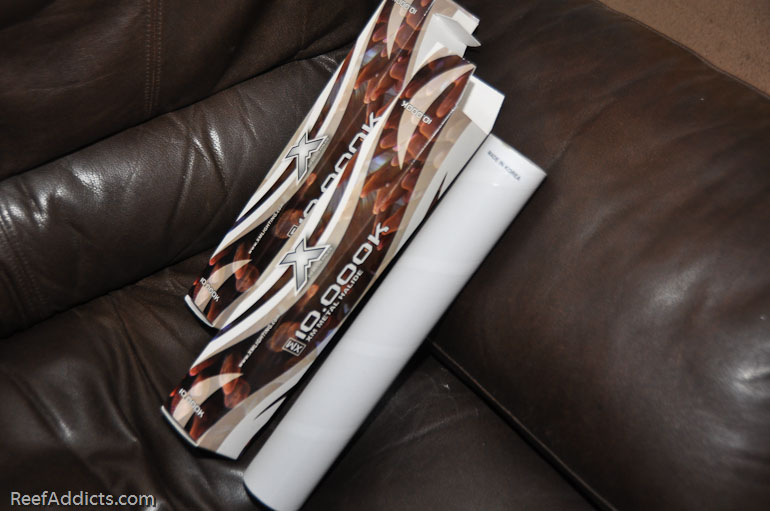
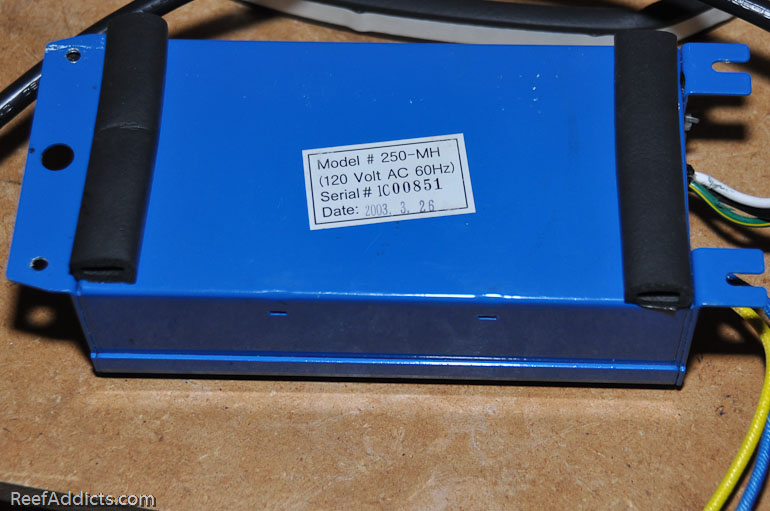
This time, I'm using XM bulbs over my tank. I've used them in the past, and when I was at Reefapalooza, I ended up buying some and got a couple given to me. The 400w bulbs are bigger in the center, so the only way to install those in the Lumenbright pendant is to remove the glass panel. With the 250w bulbs, the bulb fits in through the mogul socket opening.
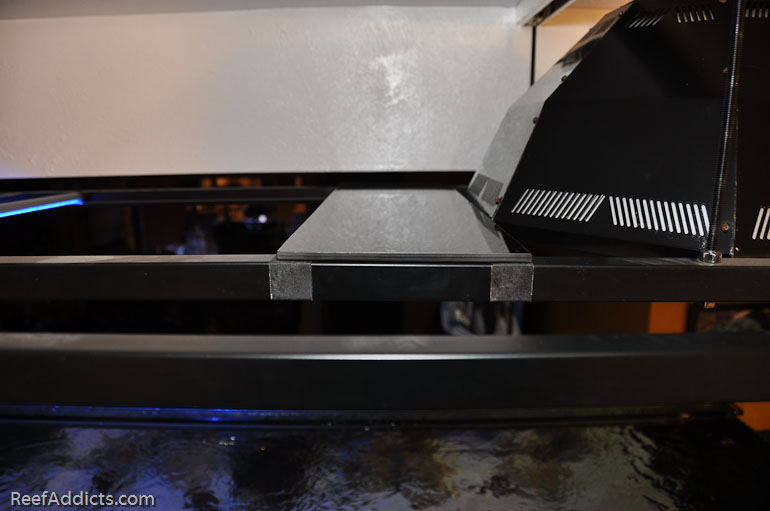
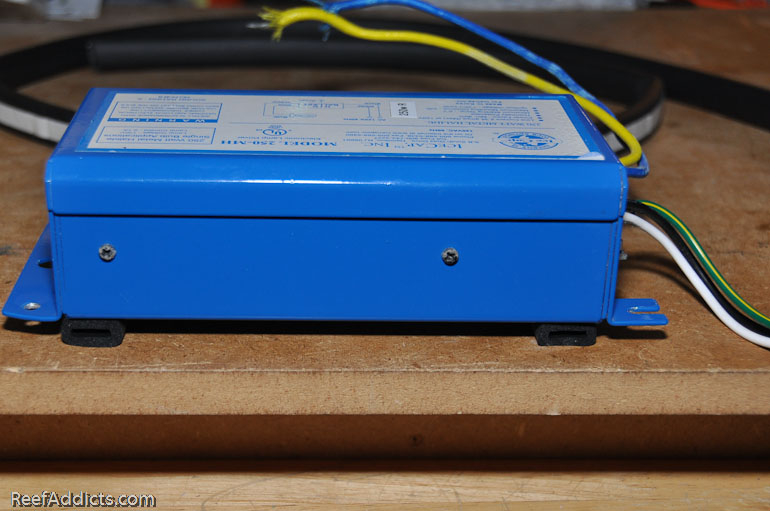
Each one was prepared the same way, then placed up on the light rack. Next was to be able to place the ballasts up on the rack as well. So here's where two ballasts will go.
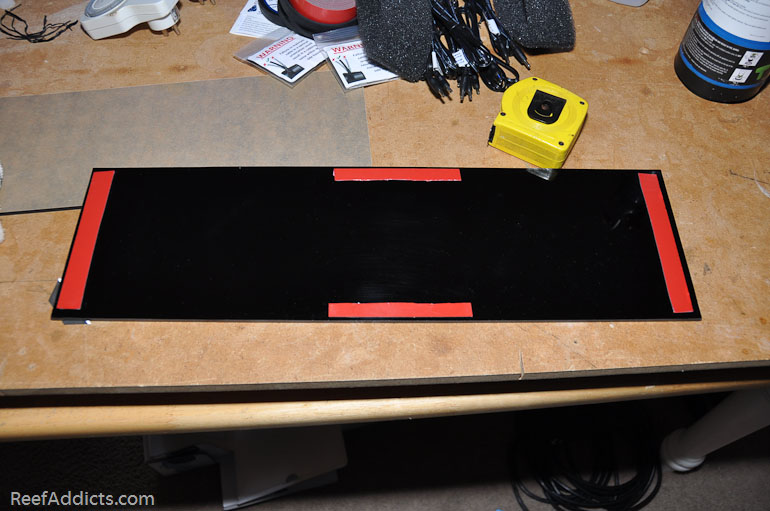
What I needed was a smooth surface, so what better choice than to get some black acrylic and secure it?
The 3M double stick tape is an expensive version designed for wet applications. I've used it in the past to hold controllers in place, and bought a bunch of it when we had to secure the board to the top of the stand prior to tank placement. I like it because it is very strong. It is 1" wide, so I had to trim it back a little so the sticky tape wouldn't be visible from beneath.
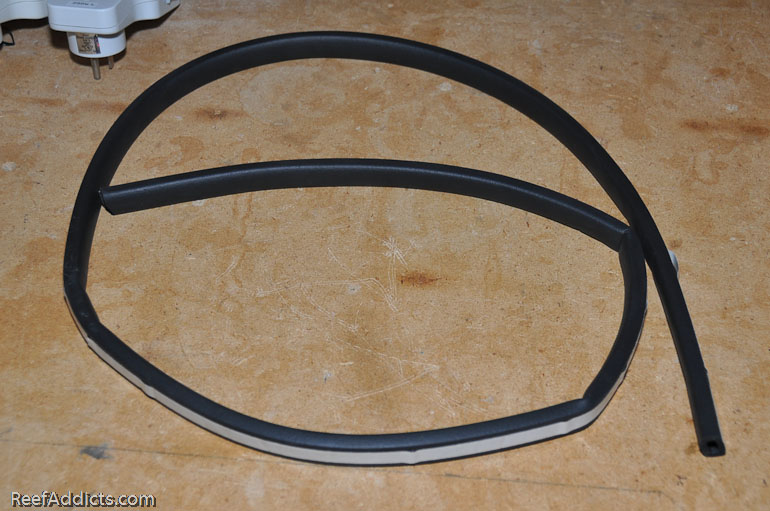
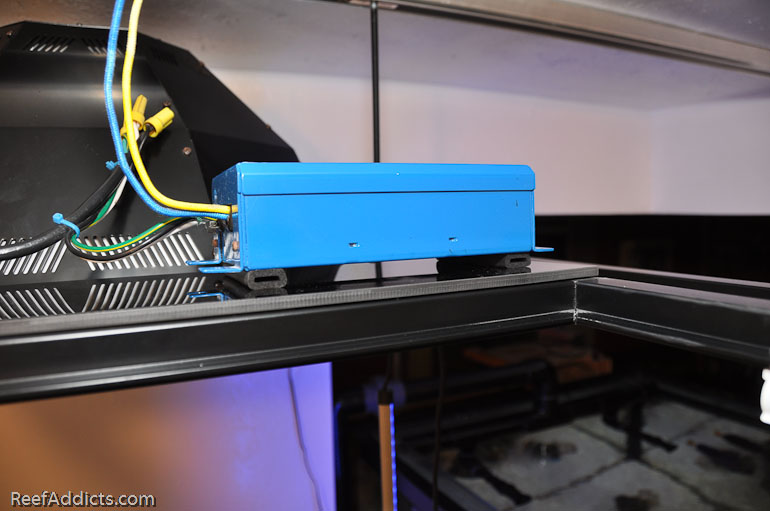
Now that I had a shelf, I needed a way to keep the ballasts from moving or slipping off when the light rack was rolled back out of the way. I wanted some rubber feet; I remembered that I had some rubber door trim in the garage, the kind you use around the door frame of your car. My son had to fix his last year, damaged by using a coat hanger to get into his locked car. He bought this stuff at Walmart or Oreilly's.
Cutting it with scissors, I peeled off the tape and pressed it onto the base of each ballast.
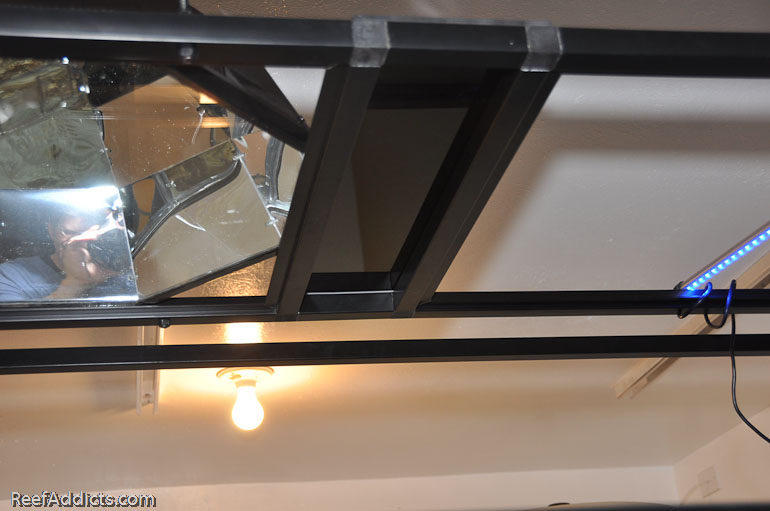
With the ballasts, reflectors and bulbs done, it was time to tackle the VHO project. I'd purchased new endcaps since I've read too many stories of them going up in flames occasionally. This is usually due to a lack of proper contact where the bulb and socket don't touch, leading to an arc situation. My endcaps didn't include the acrylic standoffs, but I didn't need them. Additionally, I wanted the VHO bulbs up inside the lightrack instead of hanging beneath, reducing space to work in the tank.
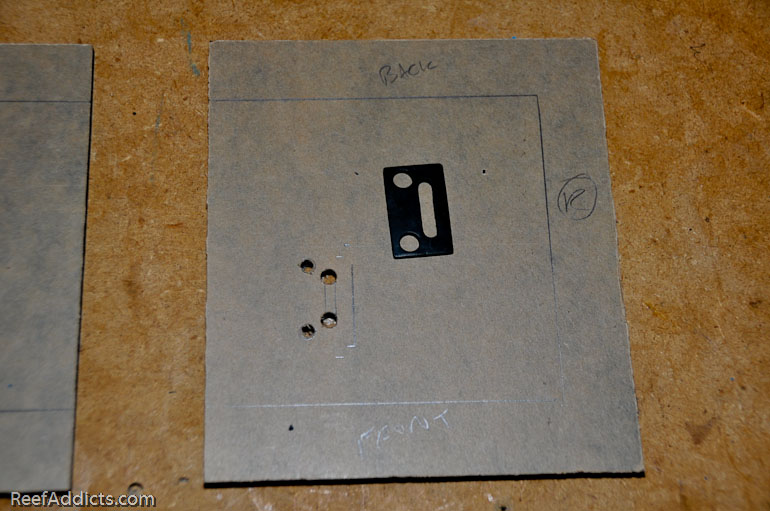
More black acrylic was cut to size. Then I scribed where the rack would be, and determined where each endcap had to be screwed to it.
Once marked, I was able to drill two holes for the screws and two more for the wires that pass through.
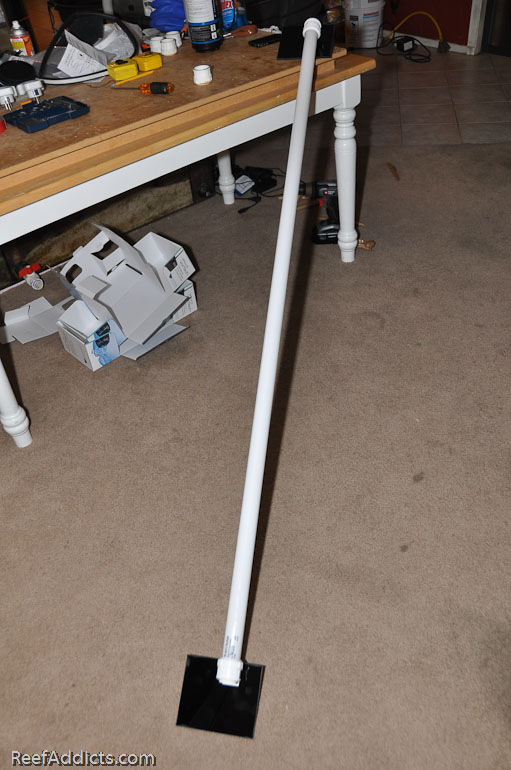
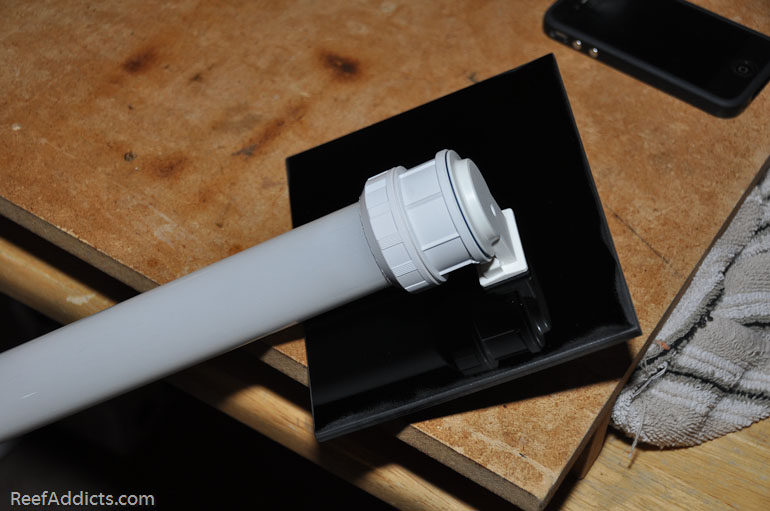
With the encaps connected to the bulb, I screwed the endcaps to the acrylic panels.
I flame-polished the edges so I wouldn't get cut when reaching above. The scorched marks face the light rack frame, and 3M tape goes there.
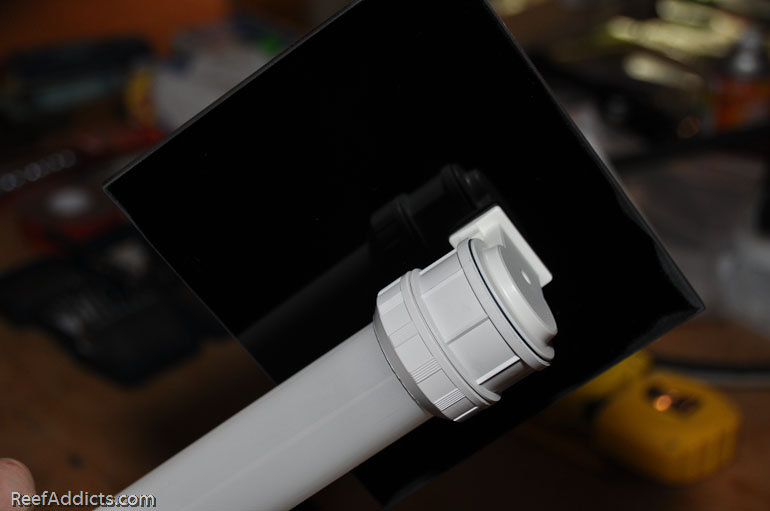
The wires will go in via these holes.
The entire assembly fit from above and dropped into the framework of the lightrack. 3M tape was applied around the three sides of each panel, and then bonded to the metal tubing.
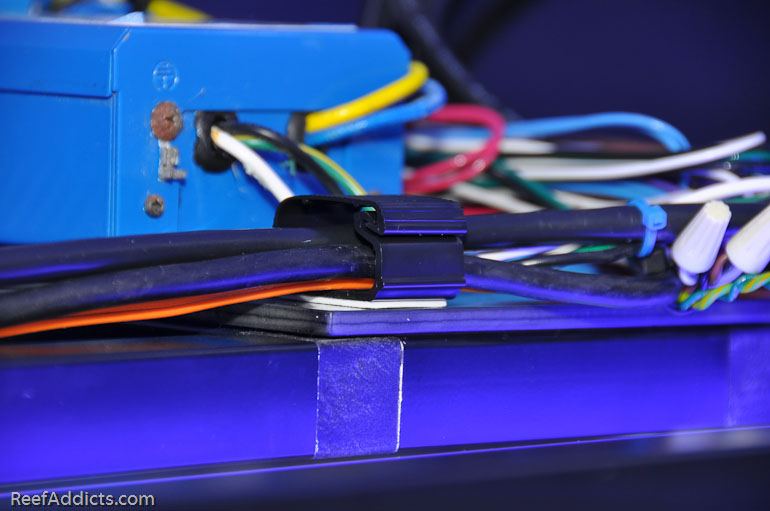
With wires hanging down around me, I could understand how some hobbyists get overwhelmed and nervous by the wiring. It does look a little insane, but it all goes together a specific way. Just take your time and do your work carefully. When everything was wired to the harness and then the Icecap 660 ballast was plugged in, they came on the very first time. That was nice to see.
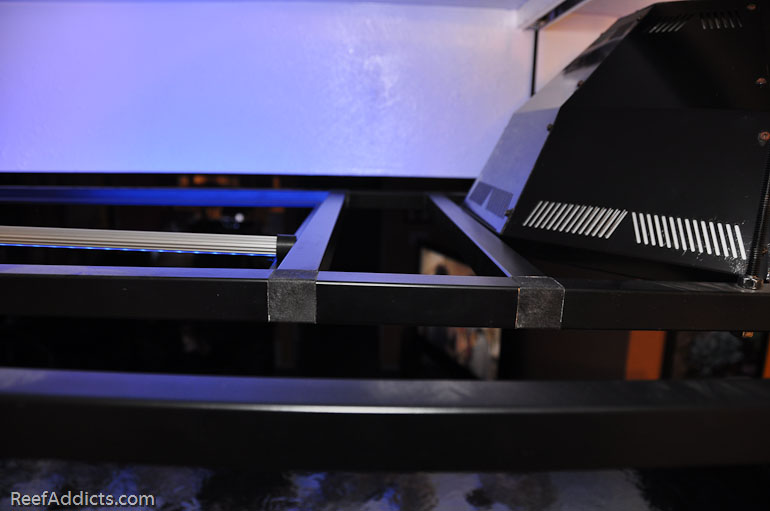
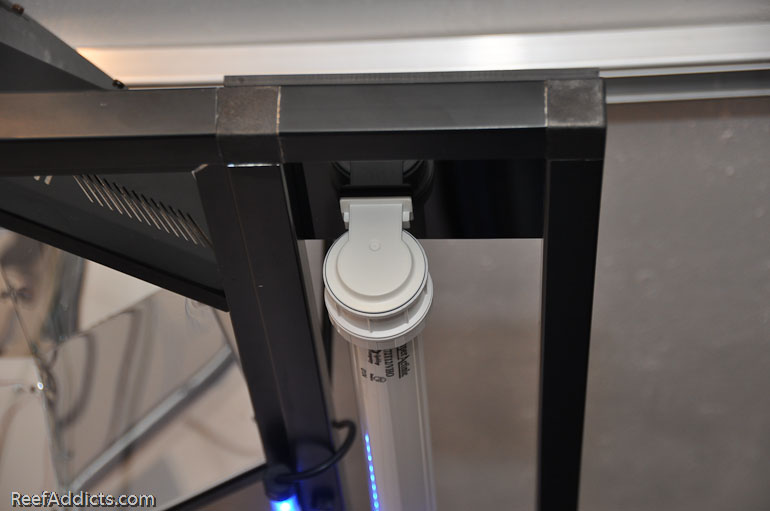
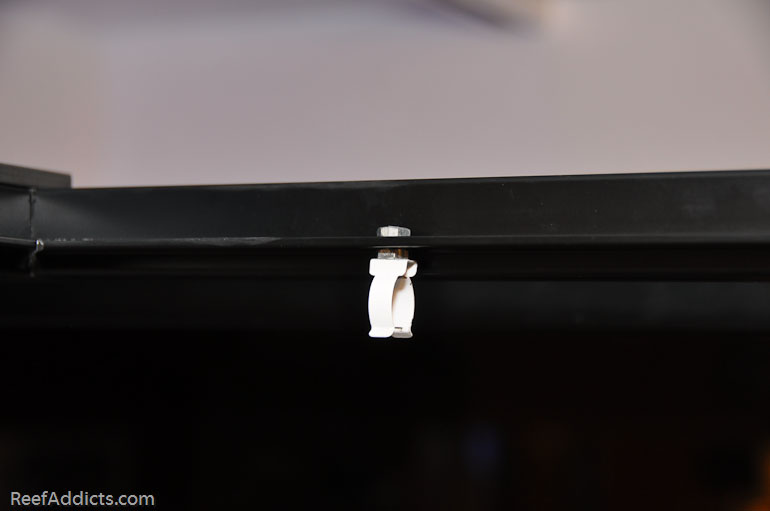
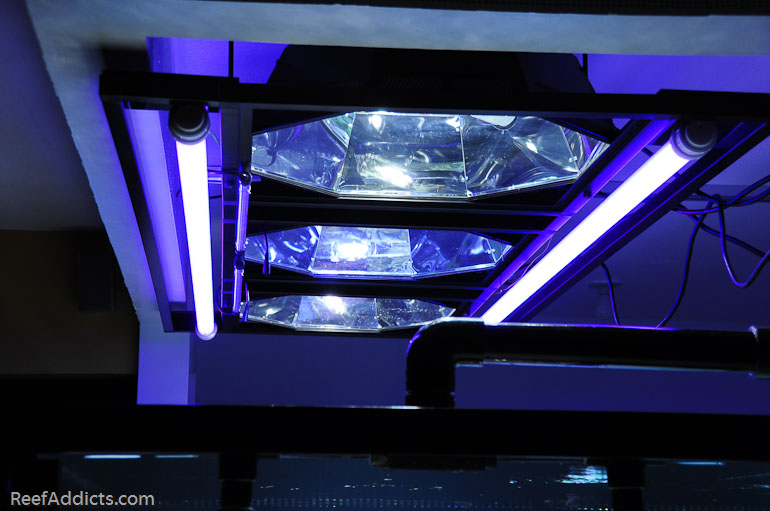
The last thing I added was the Icecap LED moonlighting. I used two 2' sections, screwing the twin retaining clips to the framework. I had to use an extra nut on the underside to offset or lower the clip so the bulb could fit under the metal railing.
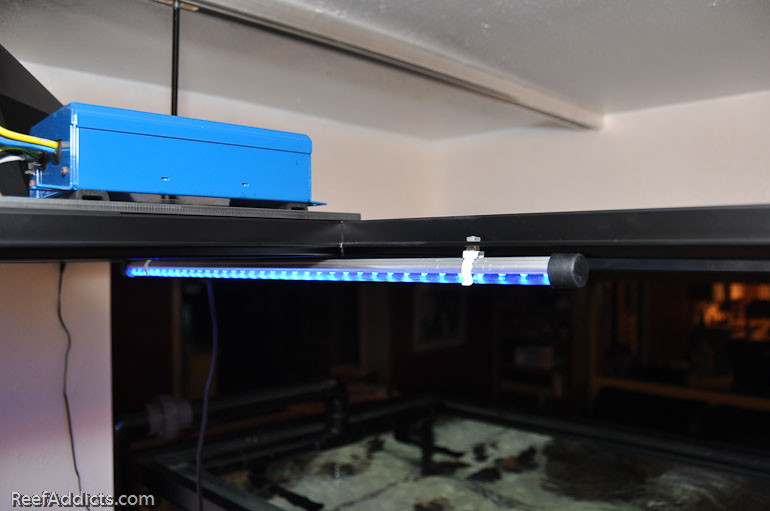
I tested the lights one by one to make sure everything worked. I'm really impressed with how easy the DC-8 was to set up. Wes uses one as well, and mentioned to me that a couple of outlets were designed for the low power items like my moonlighting. He told me to use #5 for those, so I did. They turn on and off as they should.
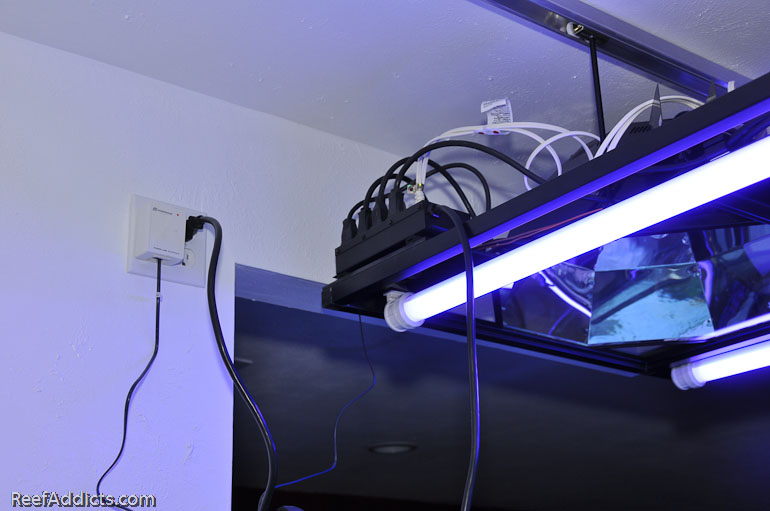
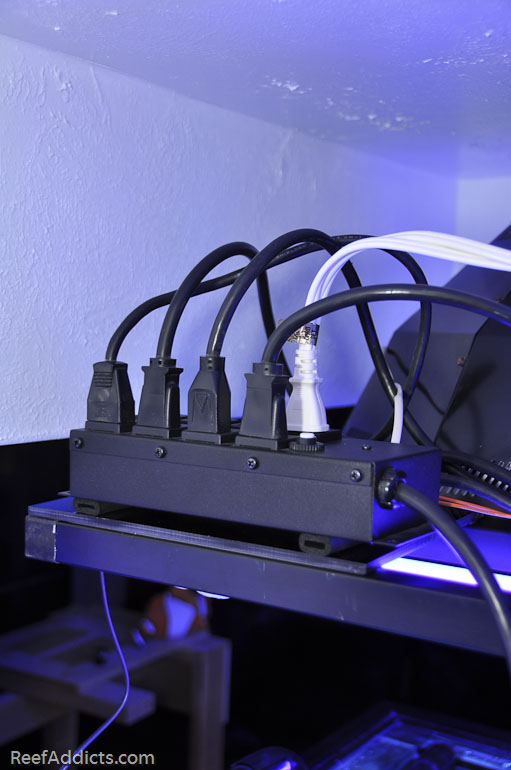
The final step was the installation of the Neptune Systems DC-8. It's a power strip that is wired to the Aqua Controller 3. I've never used one before, but purchased one last summer for a different project. It was set aside for this build instead.
When I was making the VHO's endcap holders, I make this one longer for the DC8. I could have made it 2" longer, but this will work out fine the way it is.
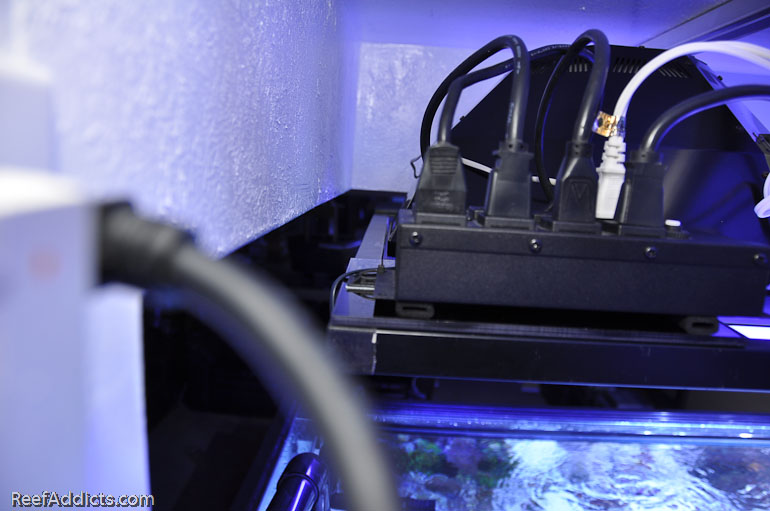
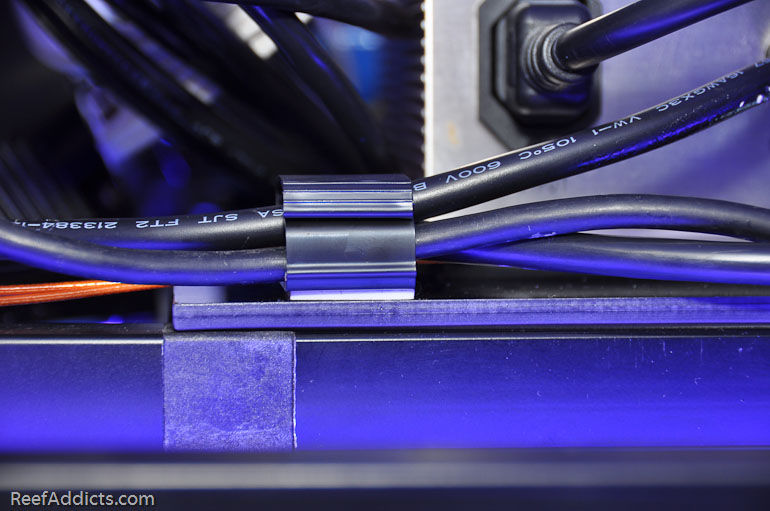
To make sure the DC8 doesn't fall off the side, I used some sticky holders and zip ties to fasten it down.
Last year while speaking at an event, I received a gift bag. It was a wiring tie-down kit made by Marineland, sold for cord management to make our aquariums tidy. Inside were these great cord holders.
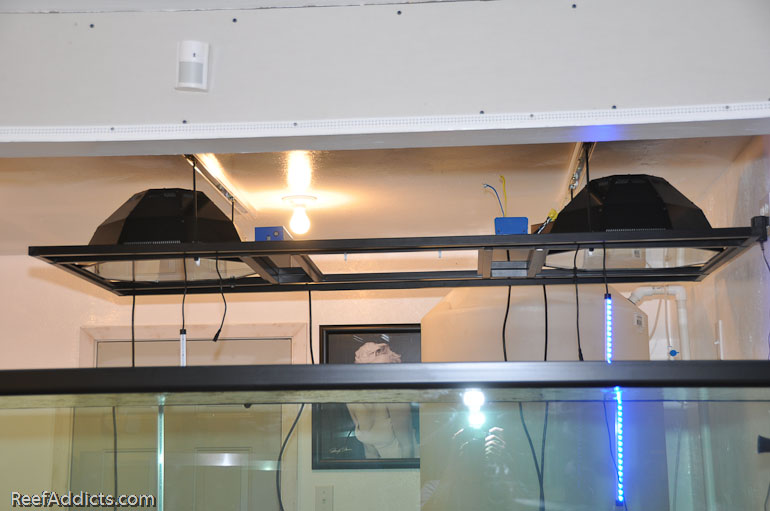
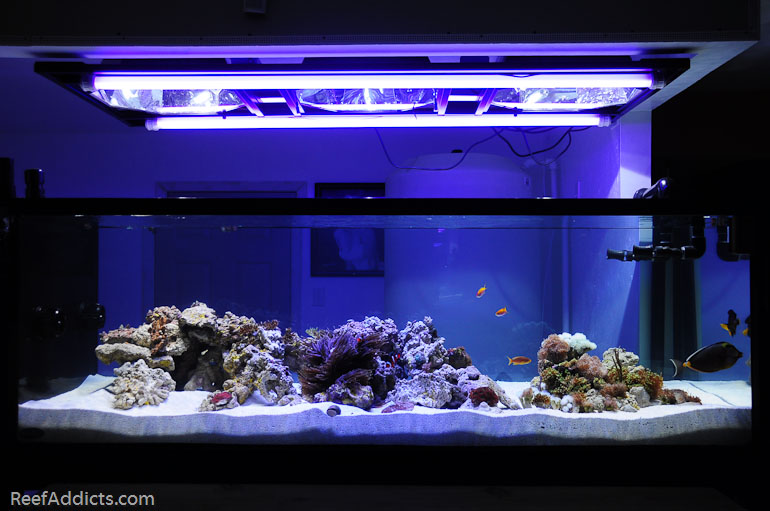
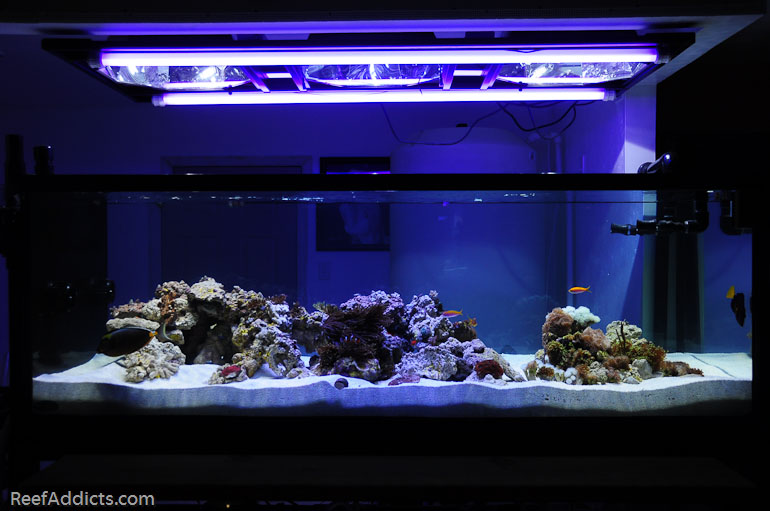
So here's the full light rack, all lit up.
It rolls back and forth smoothly. It probably weights about 80 to 90 lbs total, and the rolling kit is rated for 150lbs.
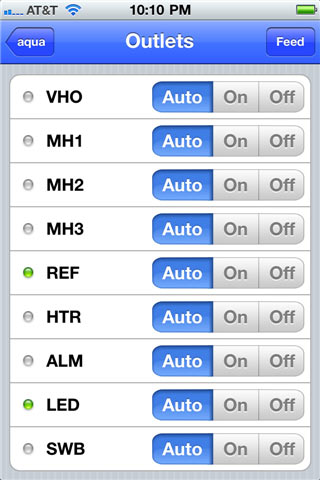
I've got the DC-8 communicating with the AC3, and everything is turning on and off as it should. I've very pleased with that. Here are two screenshots from the Aquanotes App on my iPhone 4.
The last one on that list called SWB is the Skimmer Swabbie. The AC3 is going to turn that on for one minute four times a day to keep the skimmer neck clean. I can enable it from the App in my phone if I want.
I'm running the same staggered lighting period I used last time. http://www.reefaddicts.com/content.p...d-Lighting-why
It's pretty much done, other than to secure the wires from the AC3 and the DC8 in a way that permits the light rack to roll back and forth without any type of tugging or snagging.