bbandu
bbandu's 150 build
by
, 02-28-2011 at 12:50 AM (2949 Views)
Ok everyone just starting the build but I just got the most important part today.
150g (60 x 24 x 25)
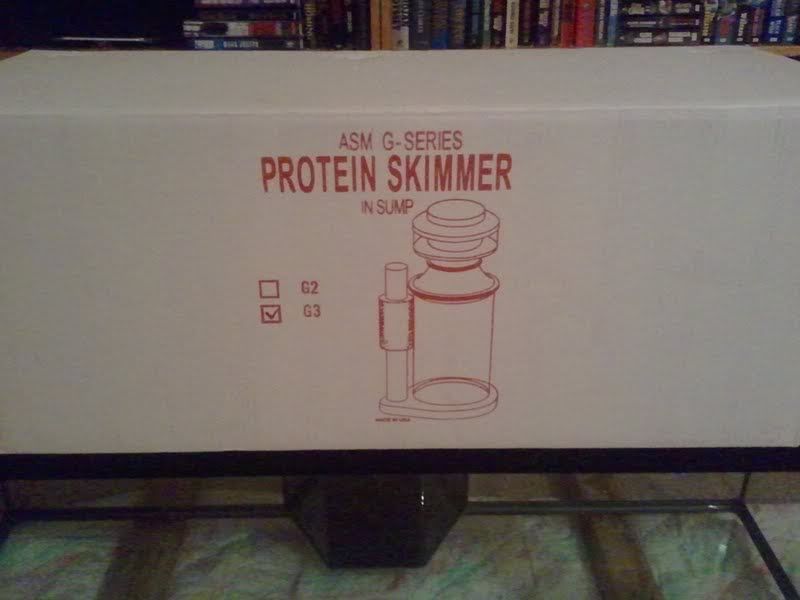
now the new skimmer
Ok so its been a week or so since I updated this thread, so here are some updated pics.
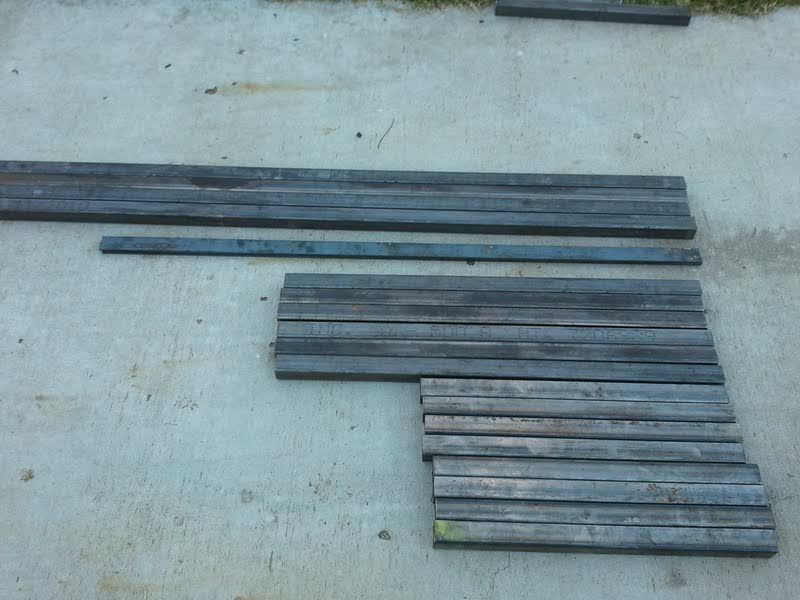
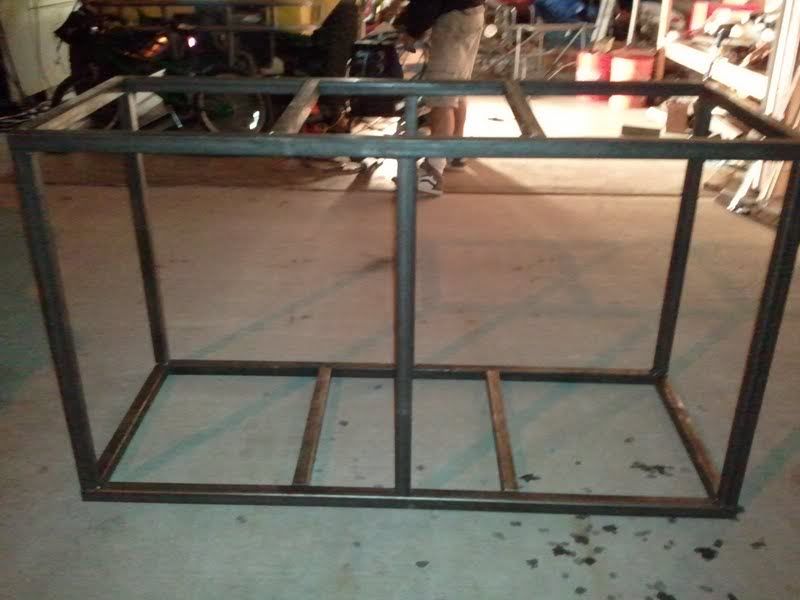
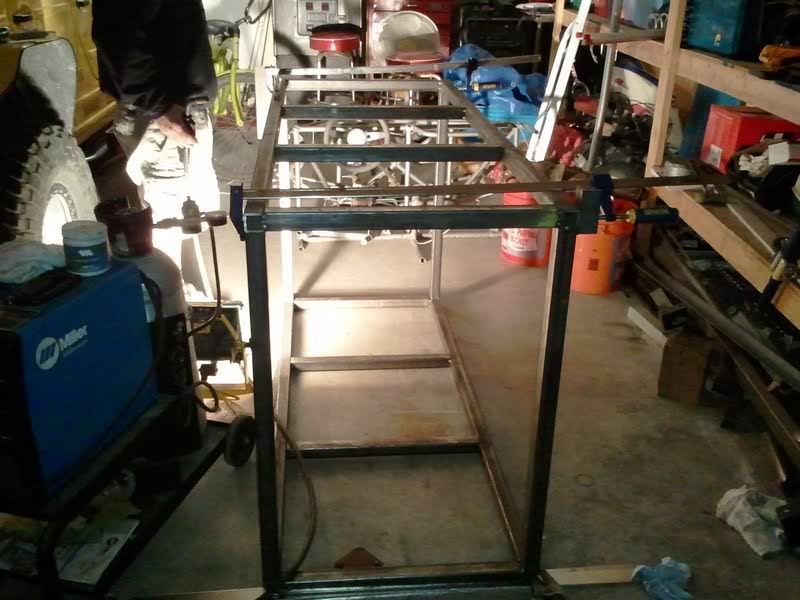
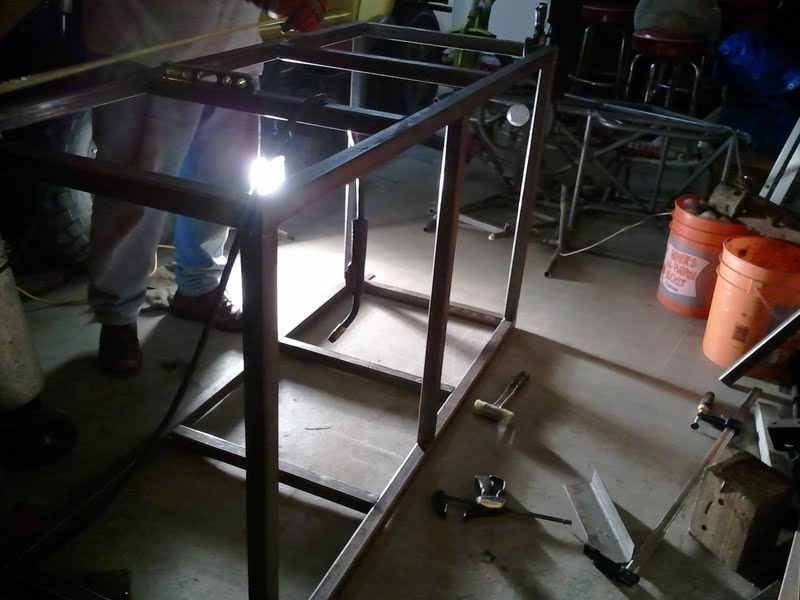
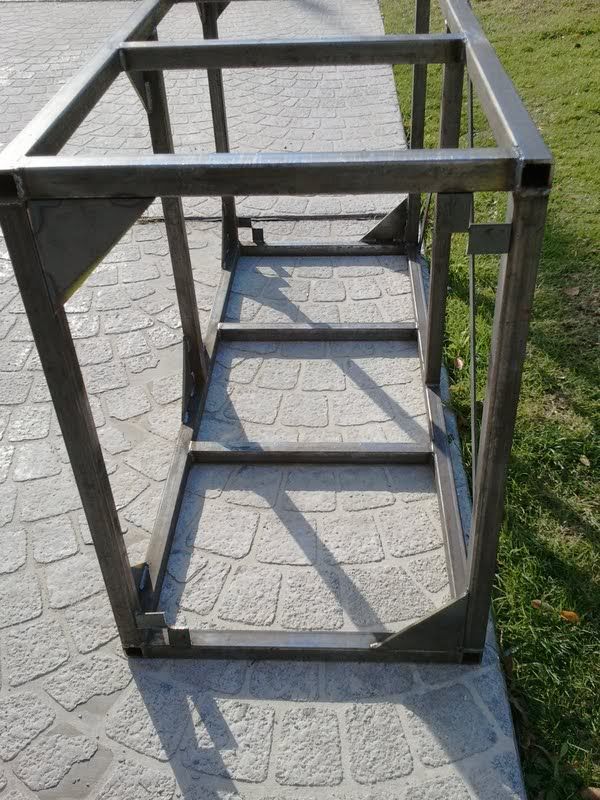
I am building my stand out of 1.5" steel tubing with a wall thickness of 3/16. The stand is not completely welded
yet, it is just tack welded. Will finish all the welding and cleaning up the welds tomorrow.
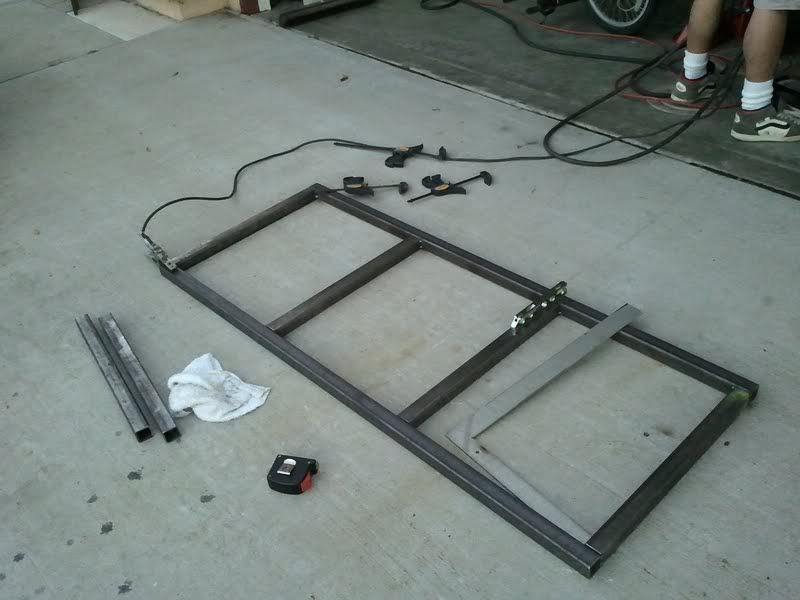
Here is the material
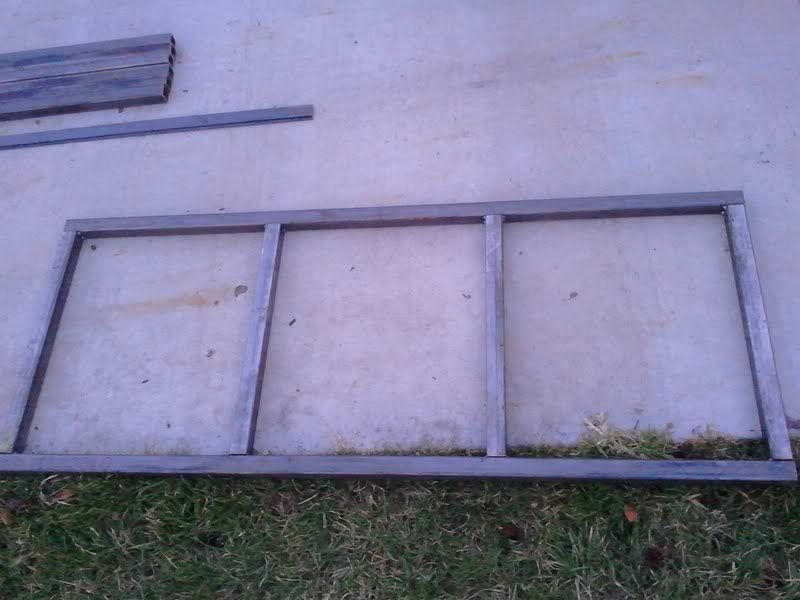
Top and Bottom of the stand
Have added the legs
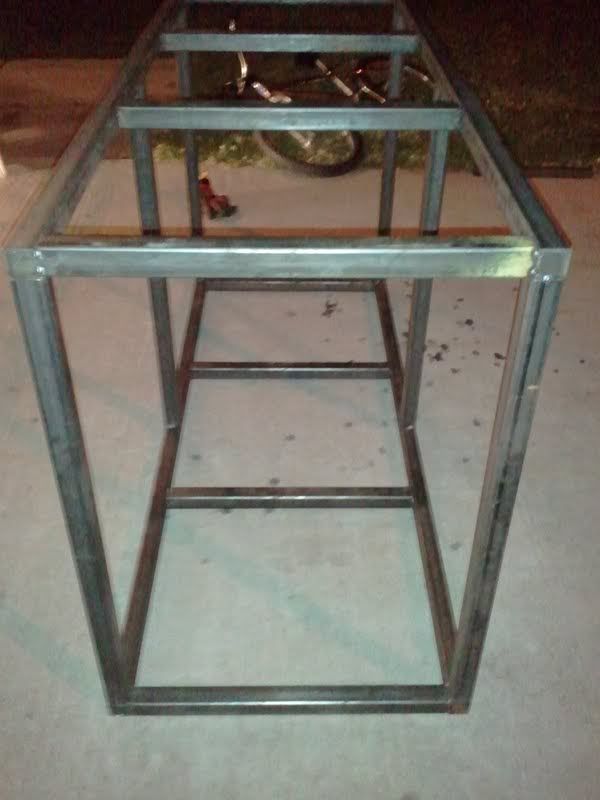
and just some additional pics of the tack welding
After the welding and cleanup, I intend to prime the frame and coat it. I am not
quite sure what I am going to coat the stand with but I am leaning towards
herculiner.
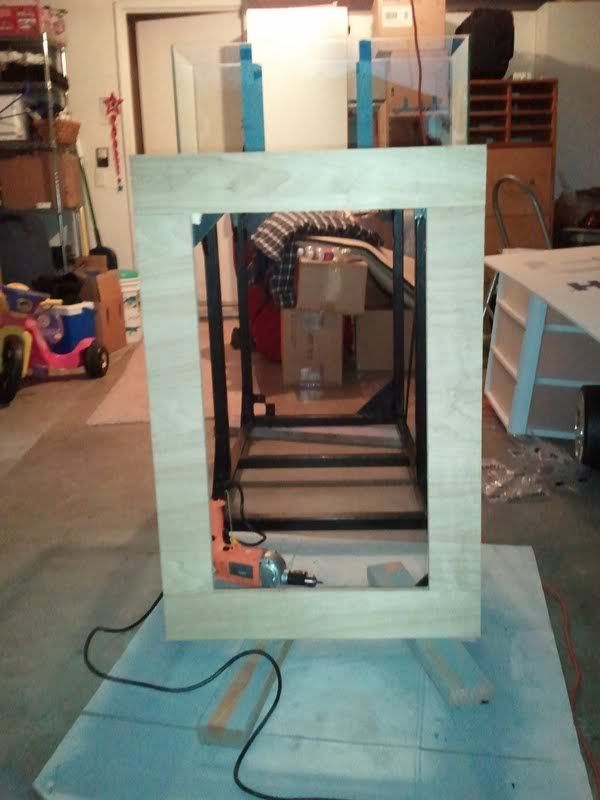
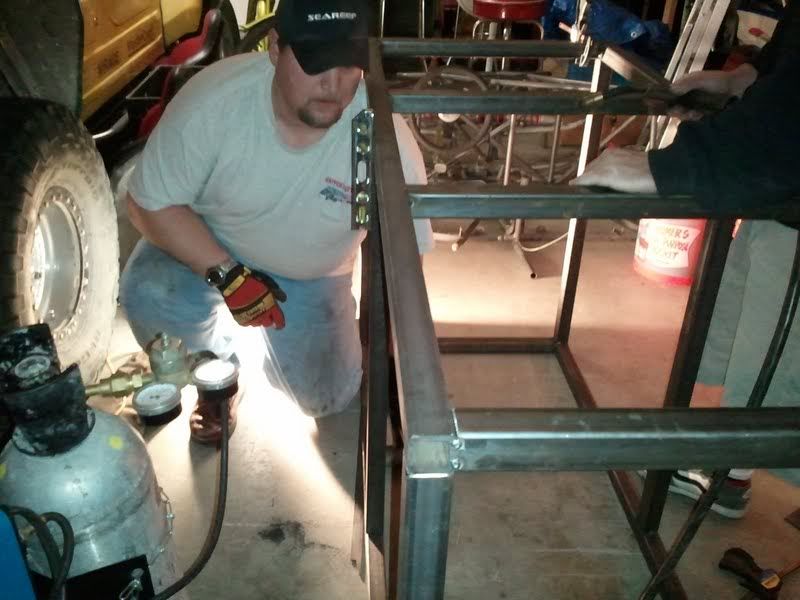
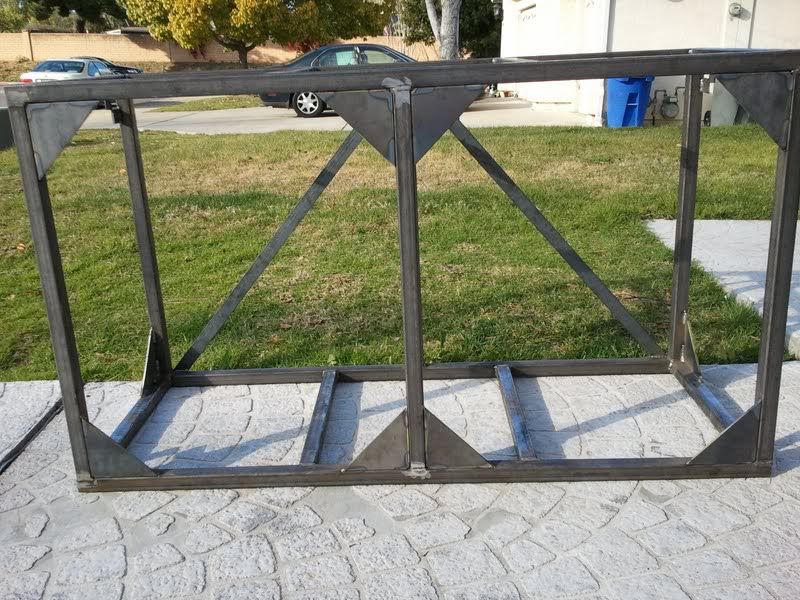
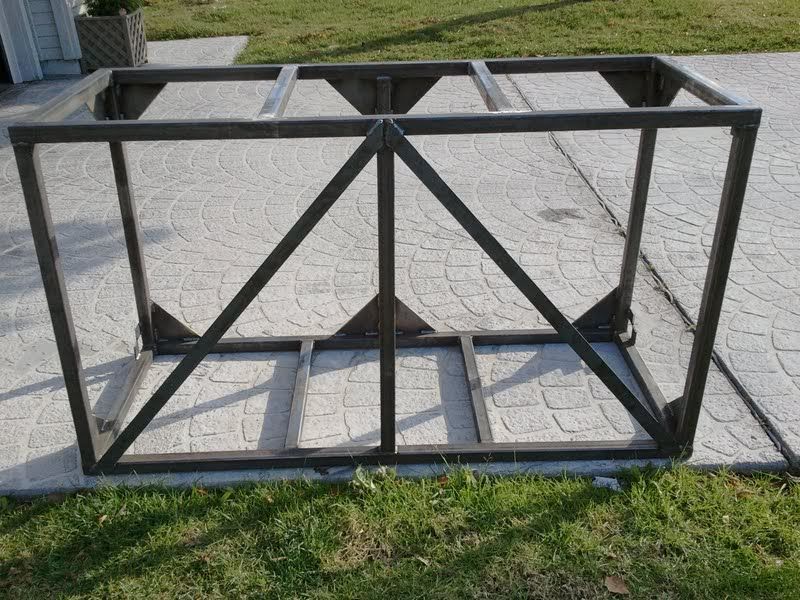
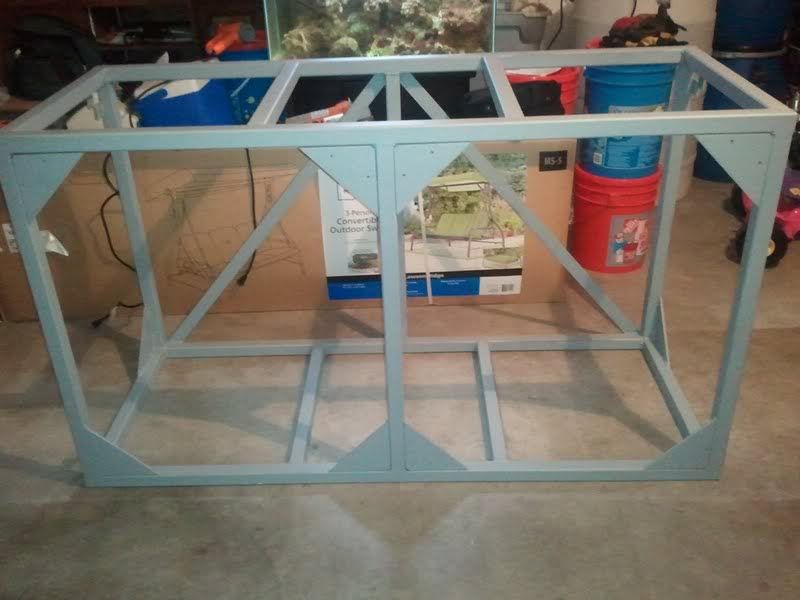
Ok well the gusset plates have been added and also added some tabs to us to anchor the wood facade
tomorrow I will try to finish grinding down the welds and get it primed.
Well one step closer to getting this thing ready for wood. The steel frame has now been primed and is ready
for the Hurculiner. I will start applying this tomorrow after work.
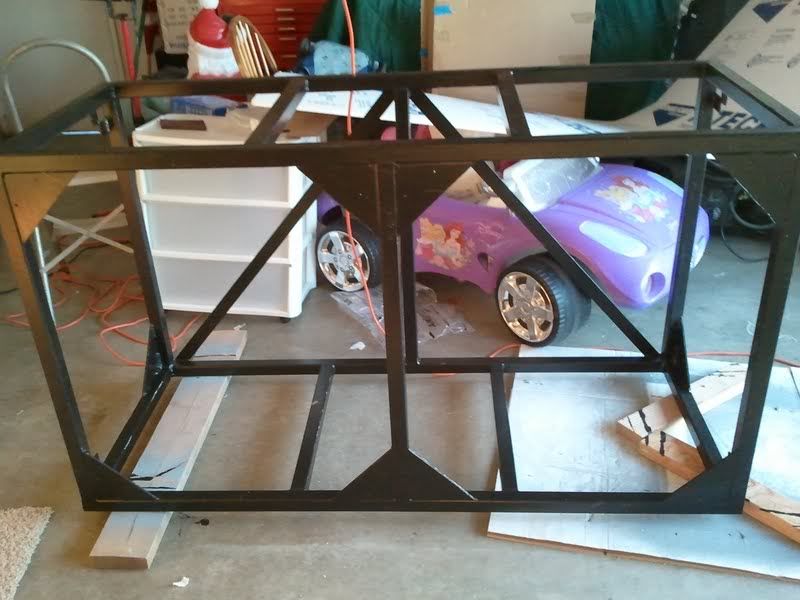
Well I was not going to let all the rain we got this weekend stop me from working on the stand.
The steel frame has now got a really nice coat if truck bedliner on it and is now ready for the wood facade.
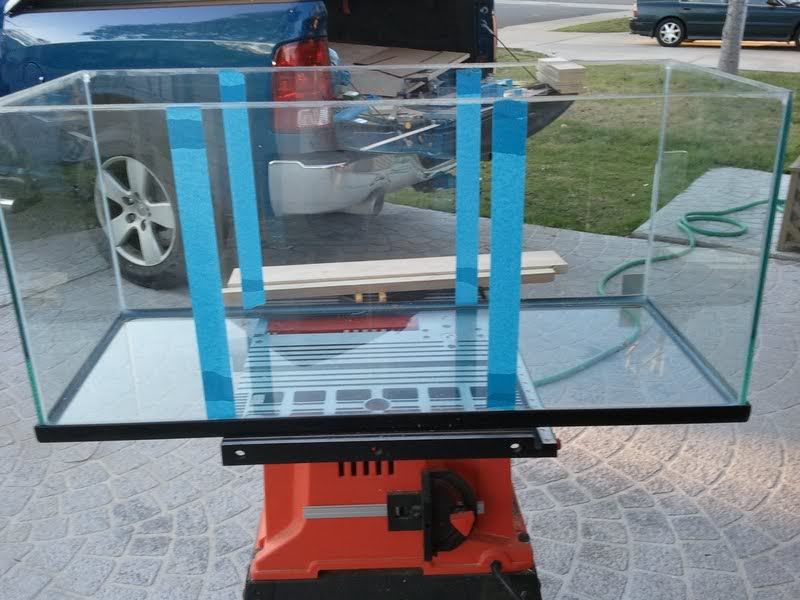
While I was waiting for the steel frame to dry, I started on my sump.
I could not let this weekend end without getting some wood (Birch) on the steel frame.