melev
Vortech Rattling? This is the solution

by
, 03-28-2010 at 12:45 AM (6970 Views)
When the Vortech pump starts rattling, the first thing to do is realign the motor with the wetside. If it goes back to silent, that's perfect. However, over time, the rattle may return and refuse to go away. When this happens, you need to replace a small part inside the wetside.
I had this problem recently with one MP40w, and obtained some new parts prior to beginning this little project. Having a local fish store with parts is ideal, but if you can't do that, they are now available on the Ecotech Marine site. http://ecotechmarine.com/parts-store/
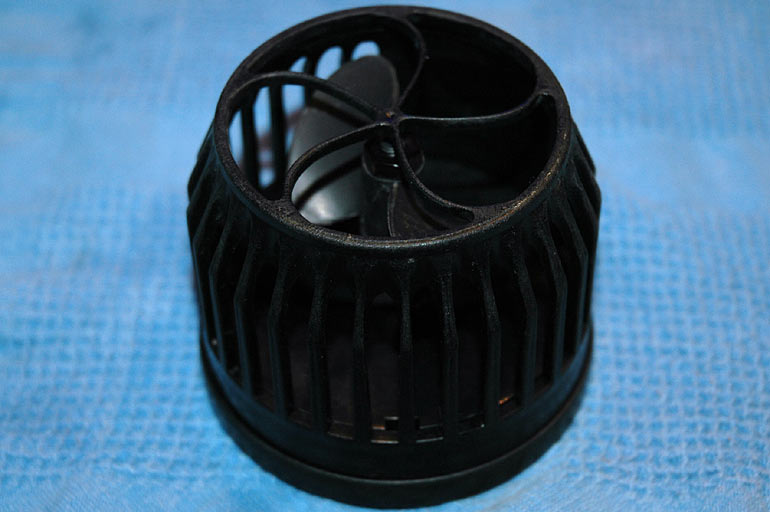
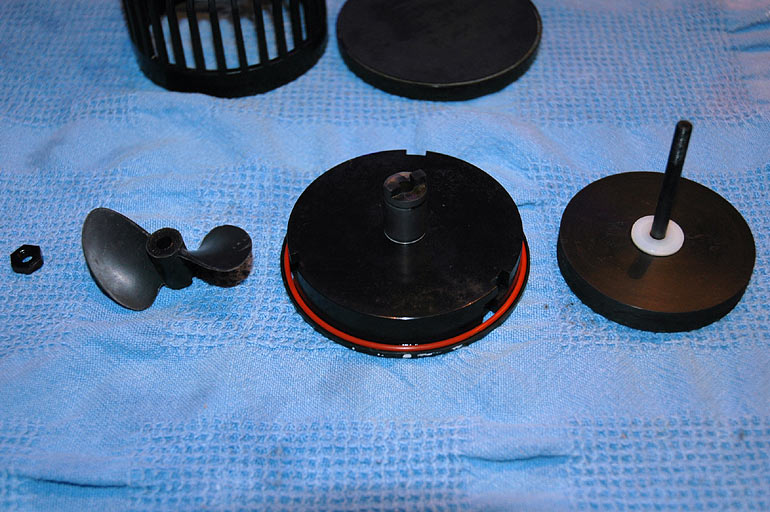
I unplugged the power to the pump's driver, and the battery backup cable. The wetside was pulled out of my reef and placed in a small container of pure vinegar for 20 minutes. I set a timer so I wouldn't forget. Once it was done soaking, I pulled it apart and cleaned everything with a reef toothbrush. Here it is, ready to go:
Removing the outer guard, the propeller section is accessible.
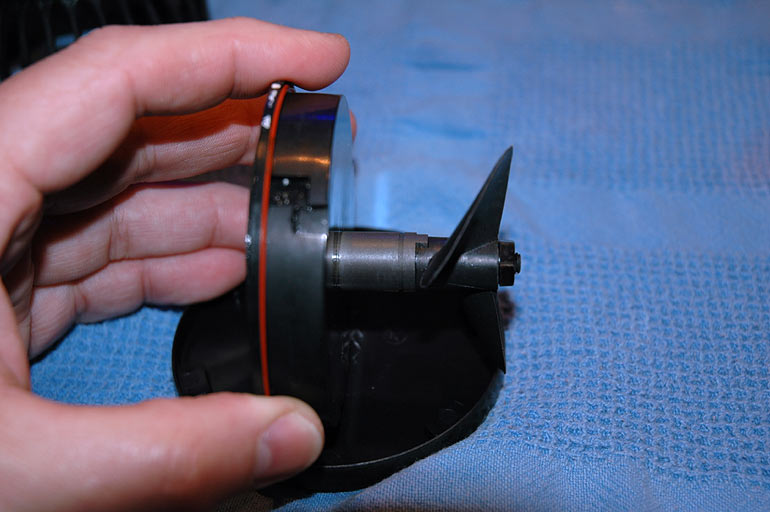
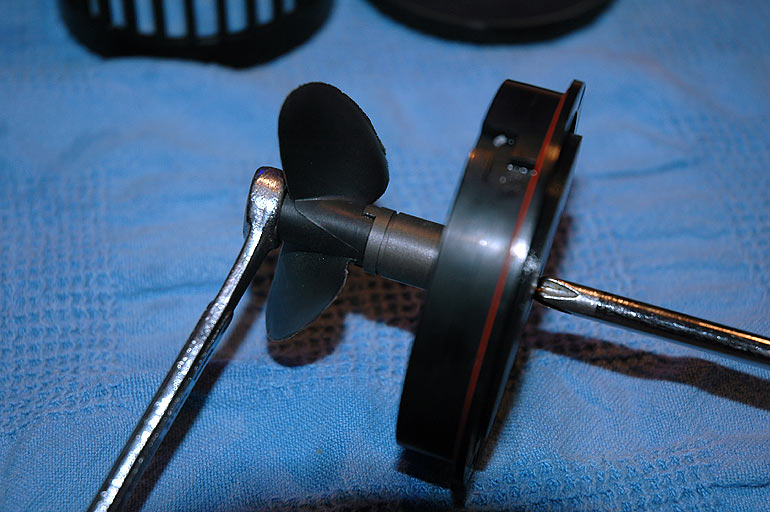
Using a Phillips head screwdriver and a 3/8" wrench, carefully loosen the screw holding it together.
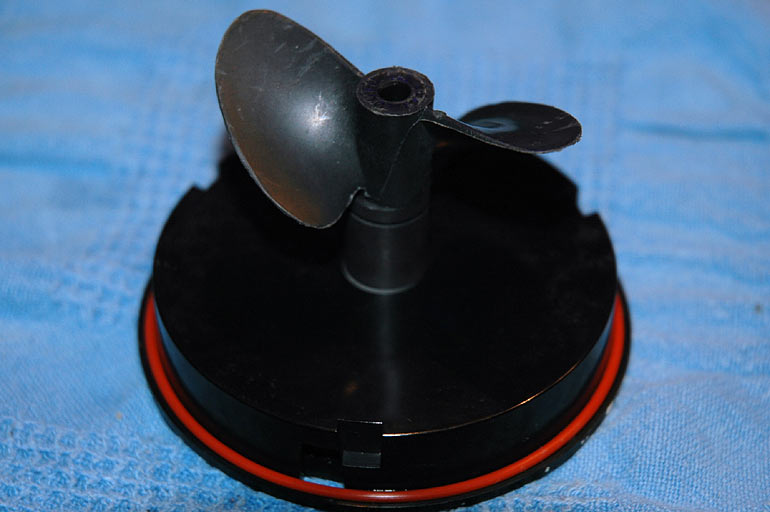
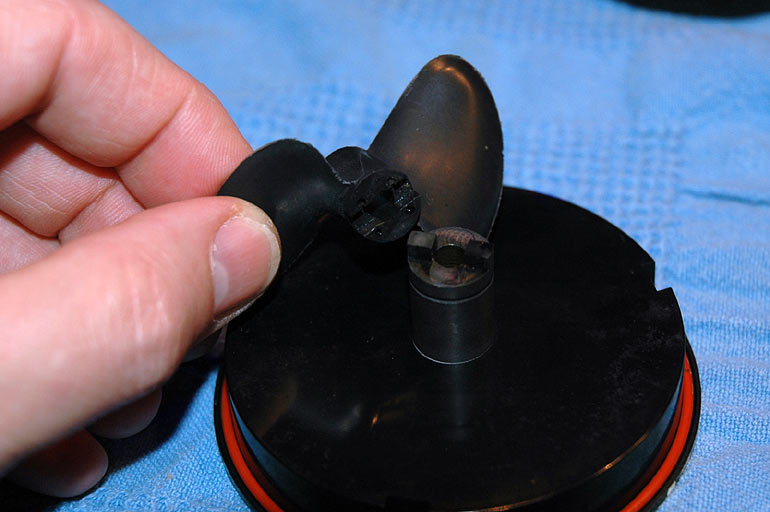
Here is it, broken down (mostly).
Note, the propeller and the shaft come apart in the middle, and have matching teeth to hold one another.
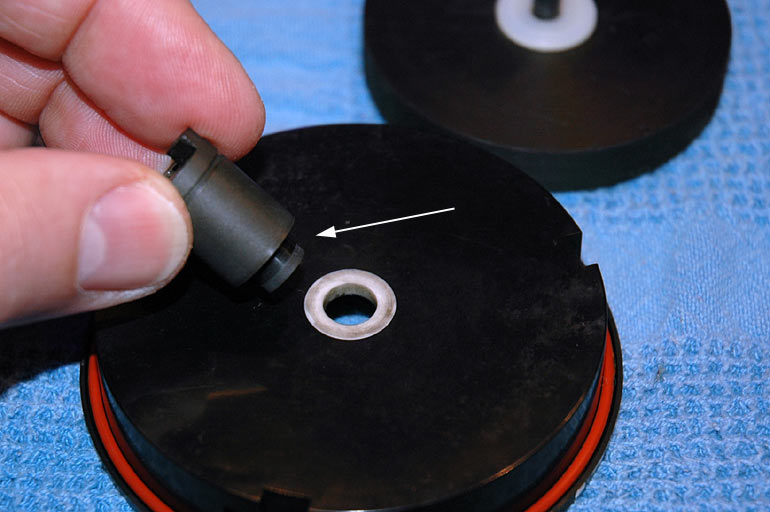
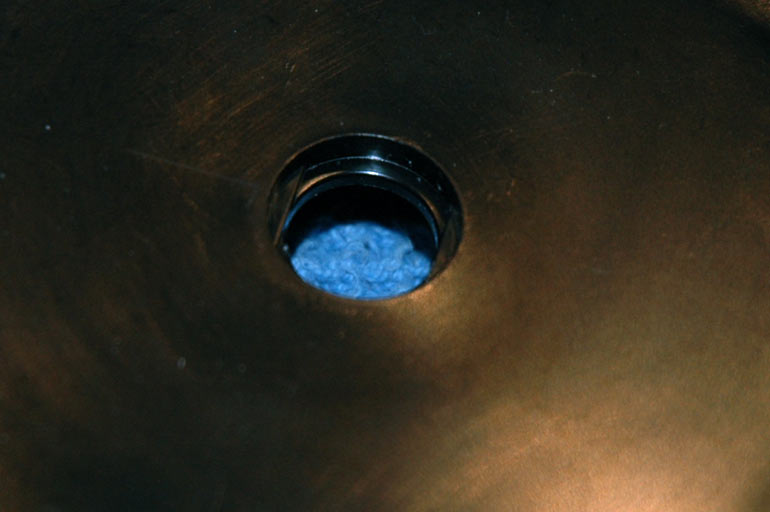
So what's causing the rattle? This little piece. Note where the arrow is pointing. That darkened spot is where the wear has occurred, allowing the shaft to wobble in the wet frame.
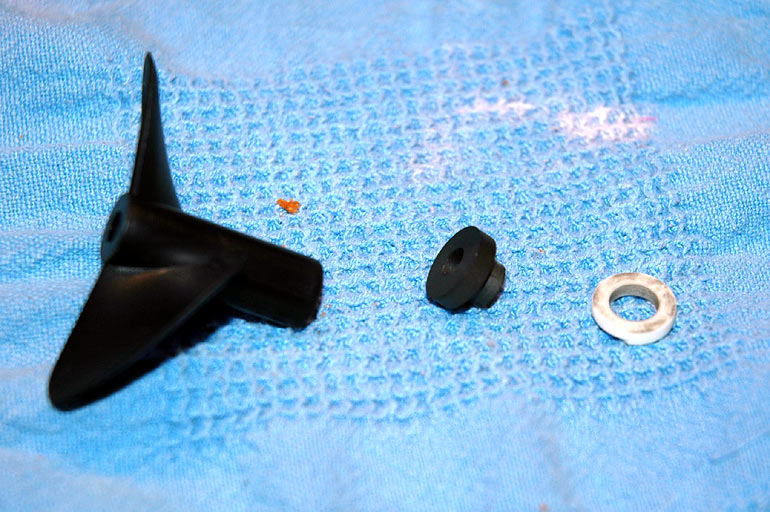
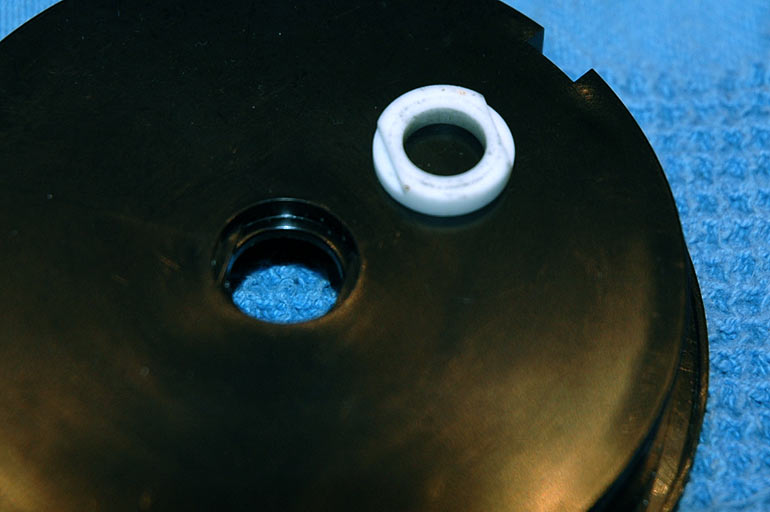
Here's where it gets interesting. The new parts weren't the same size and shape.
Even the wet frame plate was different, with two ledges in the recessed hole. The white ceramic piece matched to interlock into position.
My old wet frame seems to have the ceramic piece glued into position, because I was unable to remove it. So I ended up using the new wet frame, new ceramic bushing, new insert, and new propeller. From the old section, I still used the magnet, screw, washer, and nut, as well as the O-ring and strainer cover. Here are the new pieces stacked into position prior to inserting the screw from beneath.
After the nut was secured to the screw, I tested if the magnet could spin freely, making sure it wasn't rubbing in any areas and that it didn't resist at any point. When I felt it was going to work as it should, the basket was pressed and locked into place, and the bottom plate snapped on to cover the magnet.
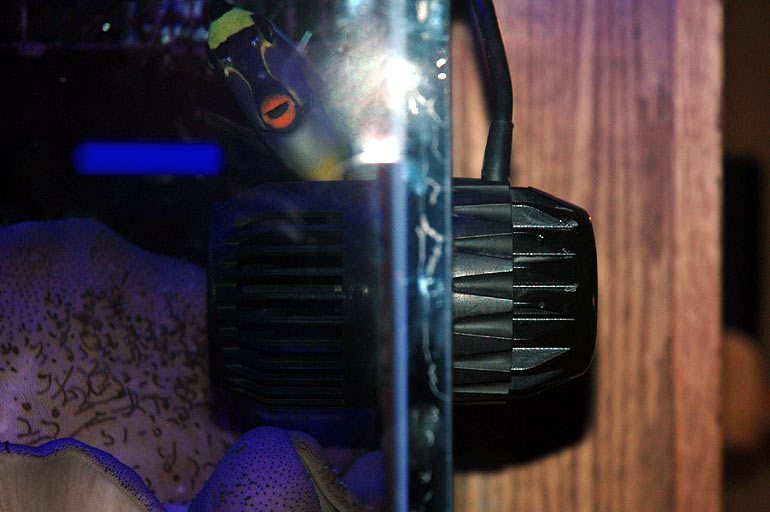
It was then aligned inside my tank with the motor on the outside. Spock was excited to see the clean pump in her home.
Once plugged in, it started up quickly and silently. The battery backup cable was also plugged back in for those times when the power fails in our area.
The entire process of repairing it with newer parts didn't take more than 10 minutes, once you ignore the cleaning session. I didn't think you'd want to see this demo with a bunch of dirty slimy parts. If your pump isn't running quietly, it may be necessary to take it apart and ascertain what it's going to take to get it back to top form. Once you know, order those pieces and get it fixed. It doesn't take long, and it isn't hard. When I visit people's tanks and they complain to me about little issues, I always wonder why they don't just make the time to resolve 'em. After all, if you don't, who will?!
.