A fancy upgrade to my RO/DI setup
by
, 10-28-2011 at 10:21 AM (13015 Views)
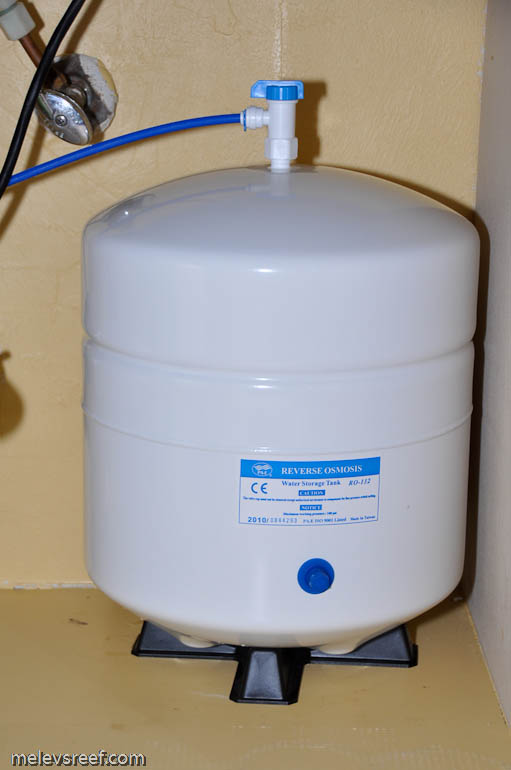
Six months ago, I ordered two components for my drinking water, and yesterday it was finally installed. The first was a bladder tank. This holds the drinking water (RO water, not RO/DI) under pressure for quick on-demand water use. It holds 3g of water, so I can use it to make coffee, ice tea, and fill up water bottles like the wind.
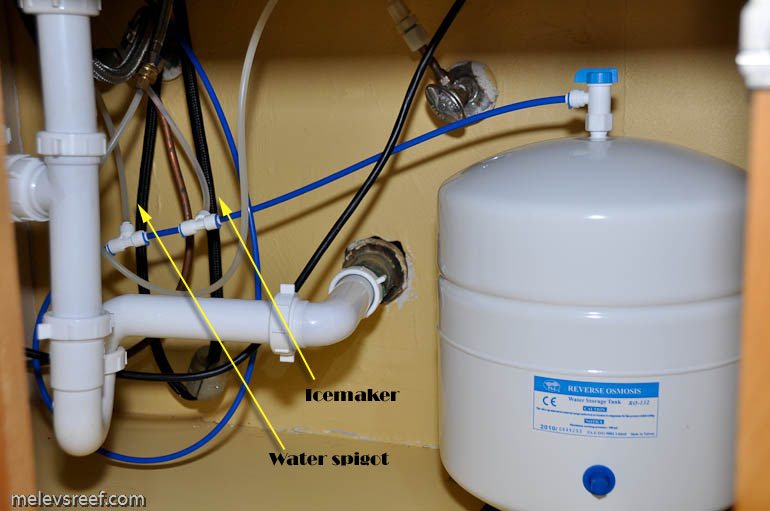
Blue tubing was run from the RO system behind the refrigerator and dishwasher to the bladder tank under the sink. A small hole had to be drilled through the wall from the utility room into the the area behind the fridge.
The RO tubing and JG Tee fittings made connecting it quite easy. In this next picture you can see how the blue tubing that leads from the left side of the cabinet to the bladder tank. The two clear lines going upwards feed both the spigot and the fridge's icemaker.
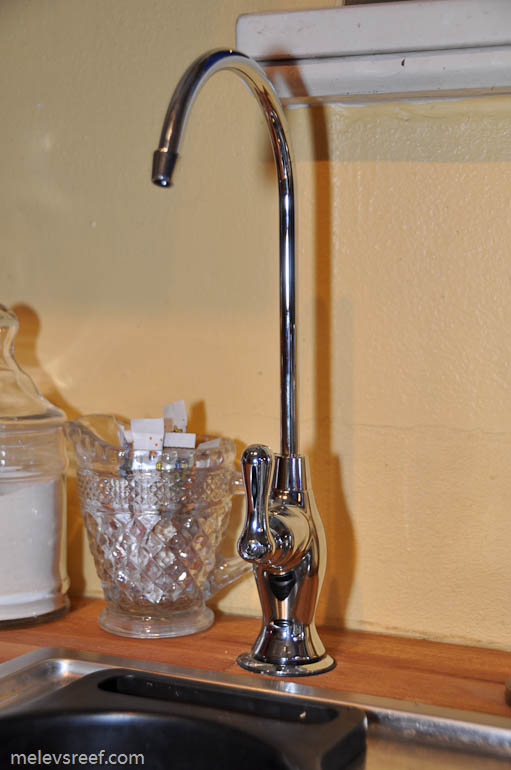
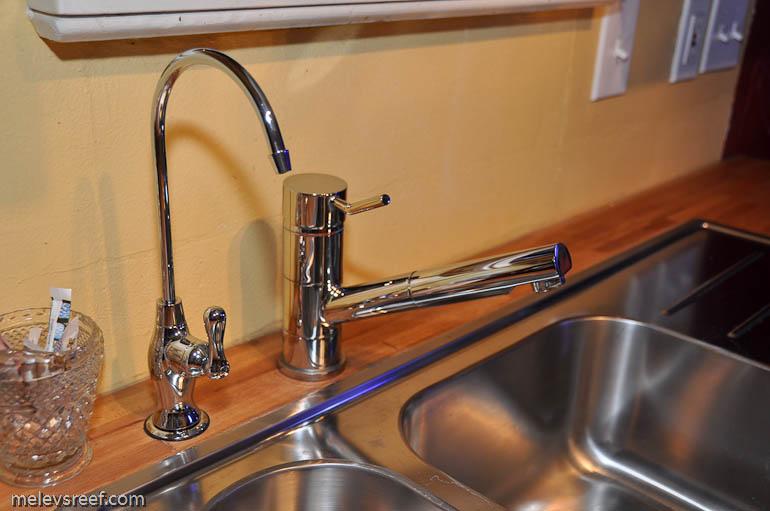
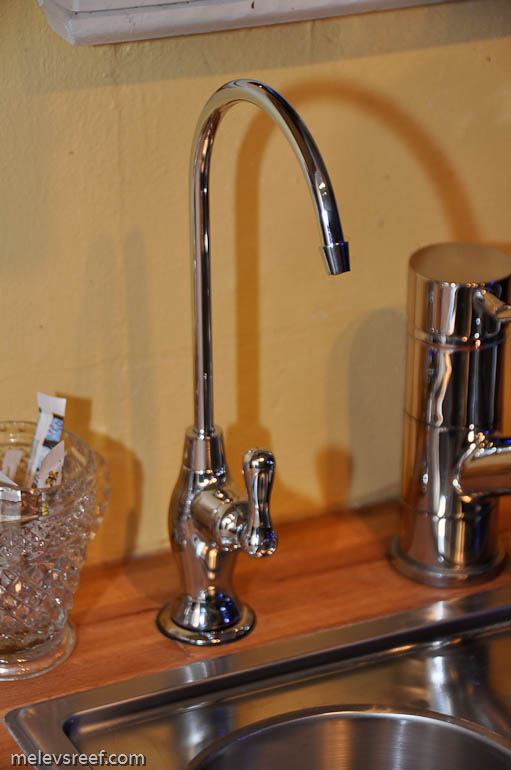
The second part was this spigot. I've seen the cheaper kind, but didn't like the look. This one accents the sink better.
I had to drill a 9/16" hole in the countertop for the spigot, which then is secured from below with a nut. A quarter turn of the handle is all it takes to get pure water at full strength.
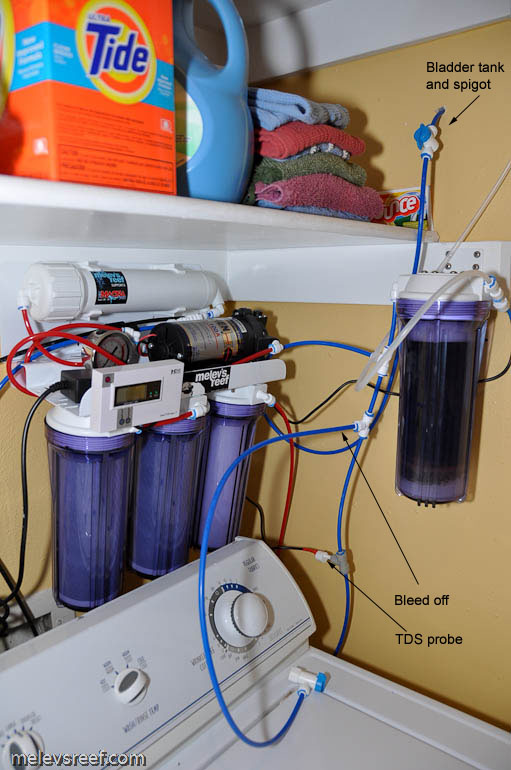
The RO/DI system got a little more complicated with even more tubing tied in. The valve up high on the wall is open to fill the bladder tank, and closed when making DI water for the reef. The bleed off line is to toss out the first minute's worth of water to avoid wasting DI resin to TDS creep.
The bladder tank doesn't need electricity to run, it is a self-contained pressurized system. The one rule you must remember it to close the valve to avoid sending pressurized water through the DI resin. That's it. I'm using an inline ball valve in the image above, but you can turn the handle on the top of the bladder tank instead to get the same results.
This upgrade kit will be added to my online shop page in the future.


