syedjilani
Bubble Killer
by
, 07-20-2010 at 04:20 AM (3782 Views)
UPDATE
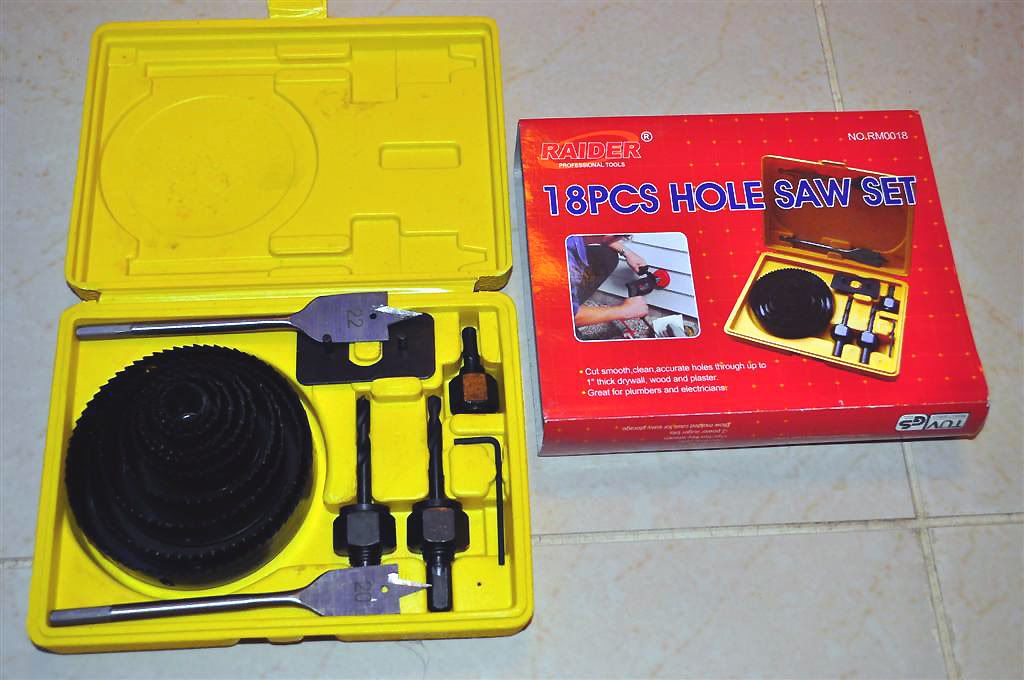
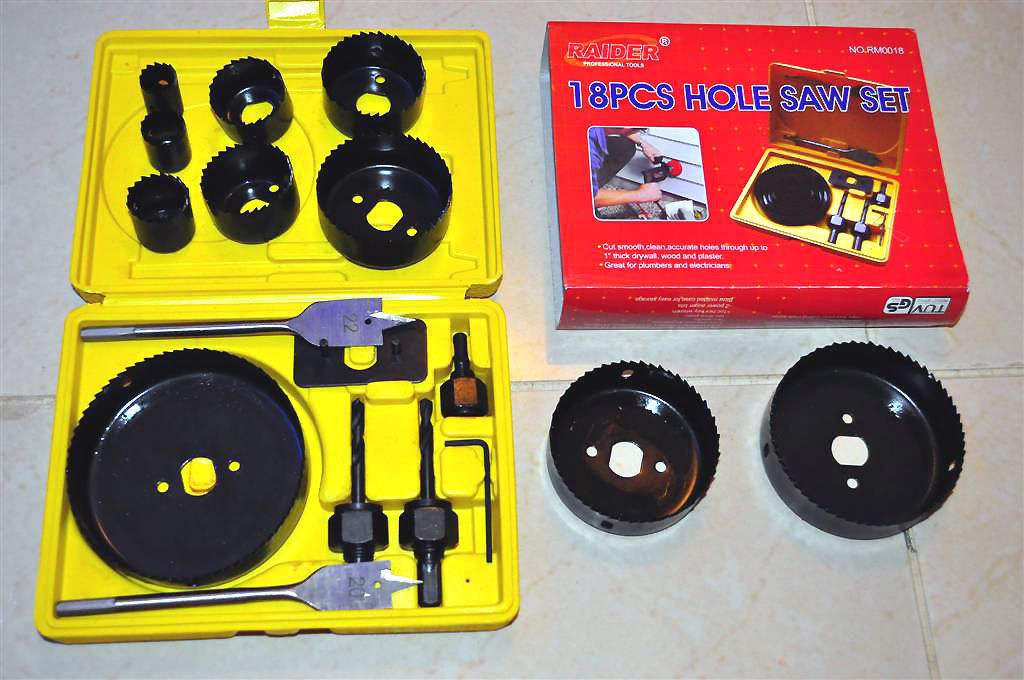
OK guys & girls, got some updates to show you. Picked up a couple hole saws and got started DIY Bubble killer to reduce water splash/bubbles and noise in the sump. ..... If you've never seen a closeup of an arbor and hole saw, here it is.

It fits most hand drill chucks. Note the alignment pins and threads on the arbor.
I got this idea from RC.
At last I decided to plumb my tank with a Durso style overflow system for various reasons. As we all know, bubbles are synonymous with Durso overflows. Here's what I did to battle the relentless bubbles.
The parts list consists
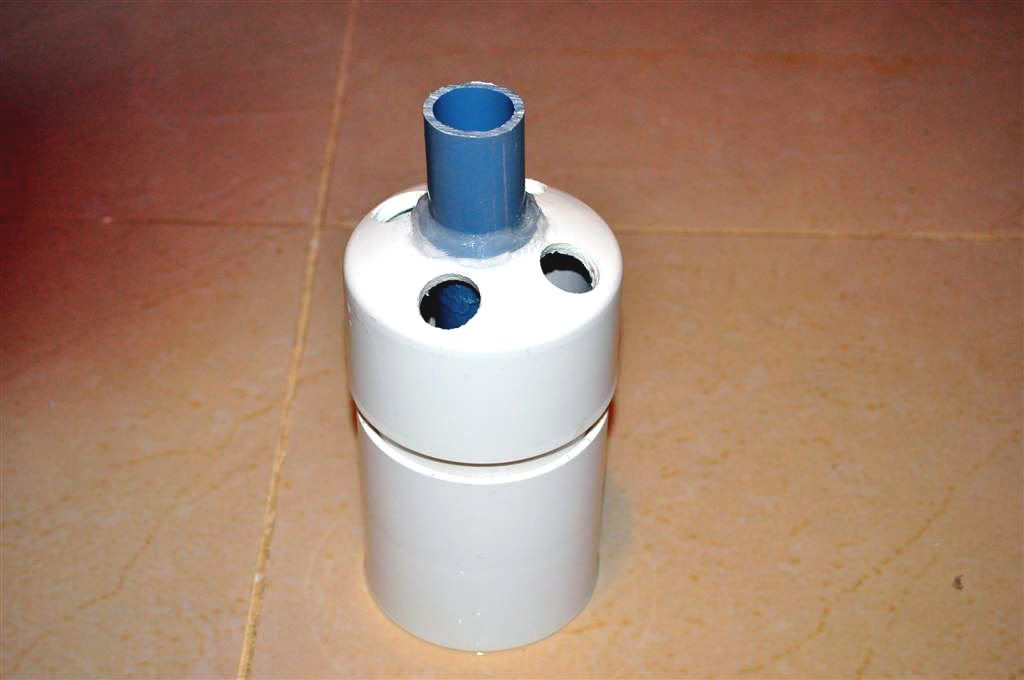
4" PVC Cap (modified)
4" Coupler
Piece of 4" PVC
1.5" piece of PVC for the drain.
I modified the 4" Cap by using a hole saw to cut the large hole in the center of the Cap, this is to accept the 1.5" drain. The hole was slightly little big so I used silicone to fix it. The machining has to be precise so the 1.5" PVC fits snug inside the Cap.
I also cut 4, 3/4" holes in the Cap to allow air to escape the system.
I cut the 1.5" piece of PVC with a 45 degree angle on one end for the drain. I found that an angle on the end of the pipe helps reduce turbulence as the water drops into the sump. I measured so the top of the 45 was right at the water level of the sump so any back pressure is eliminated.
1.5" PVC drain fitted into the modified Cap. My drains fit into holes, which are on the sump, thus the short length of 1.5" PVC.
After putting the Cap assembly together with the 4" PVC and Coupler I ended up with this. No glue was used in putting the pieces together. It's all dry fit so I can take it apart if necessary.
The final product is quite large. Here's my DKNY watch in reference to the Bubble Killer.
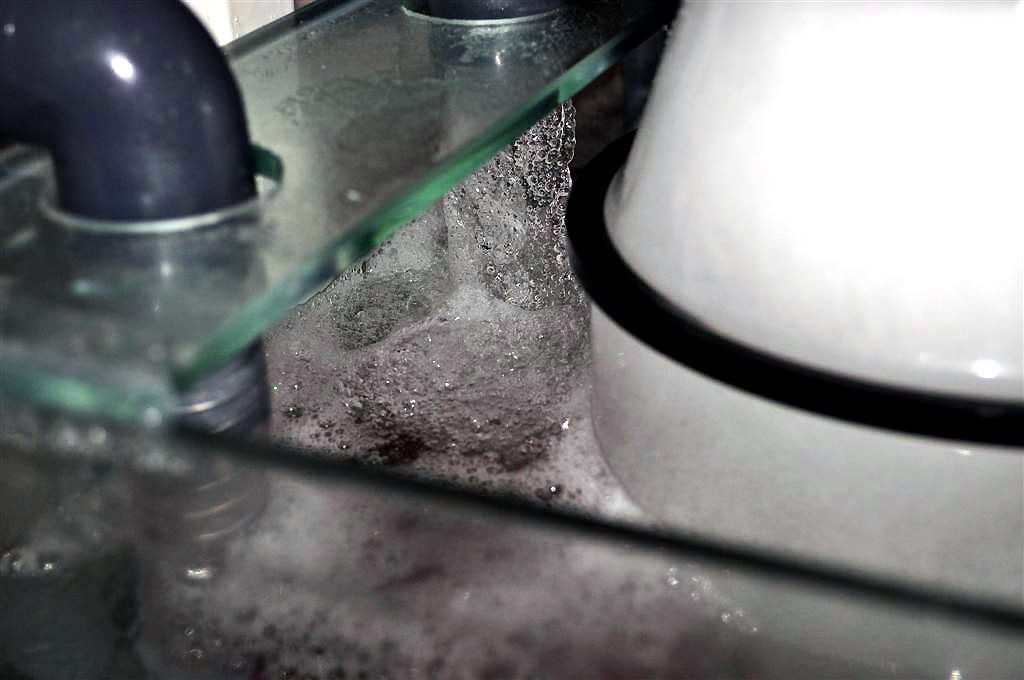
Sump with only a straight piece of PVC drain into it. Lots of bubbles and a lot of turbulence in the drain area of the sump. I took out the PVC for modification.
Side view of the drains.
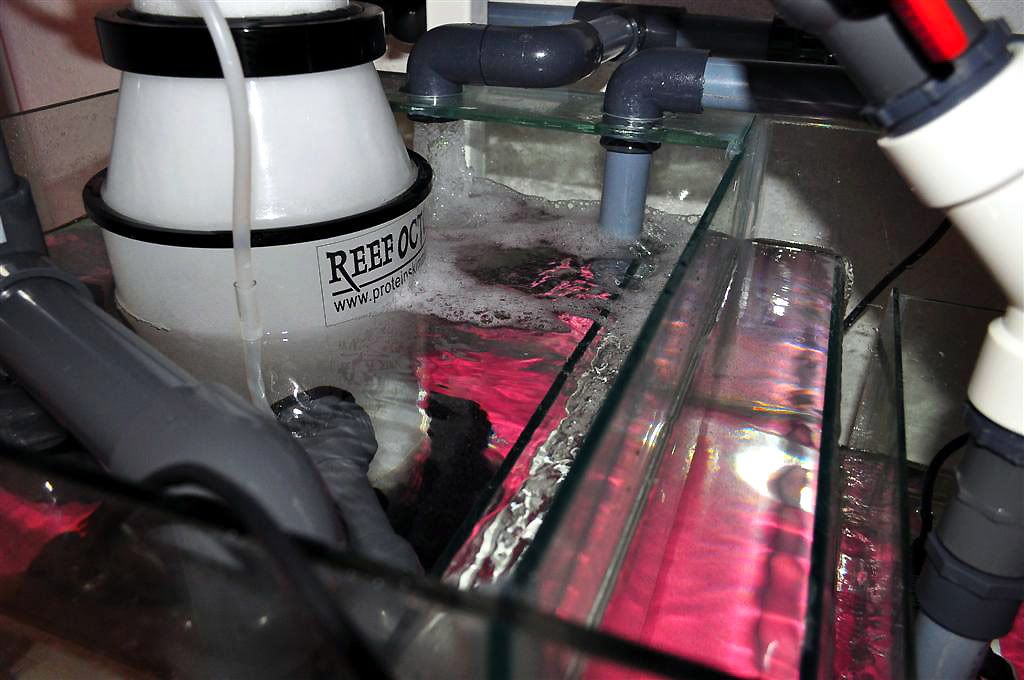
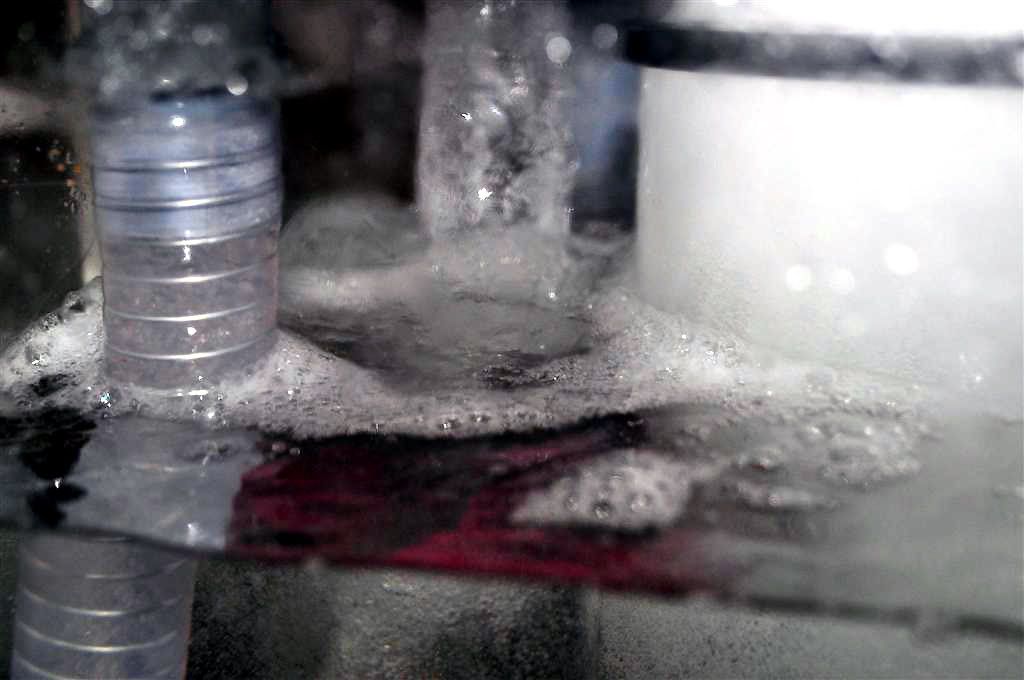
A shot of the sump with the Bubble Killer installed. Air escapes out of the 3/4" holes in the Cap and the bubbles and turbulence are eliminated inside the Bubble Killer.
Water splash totally killed,minimized noise ....
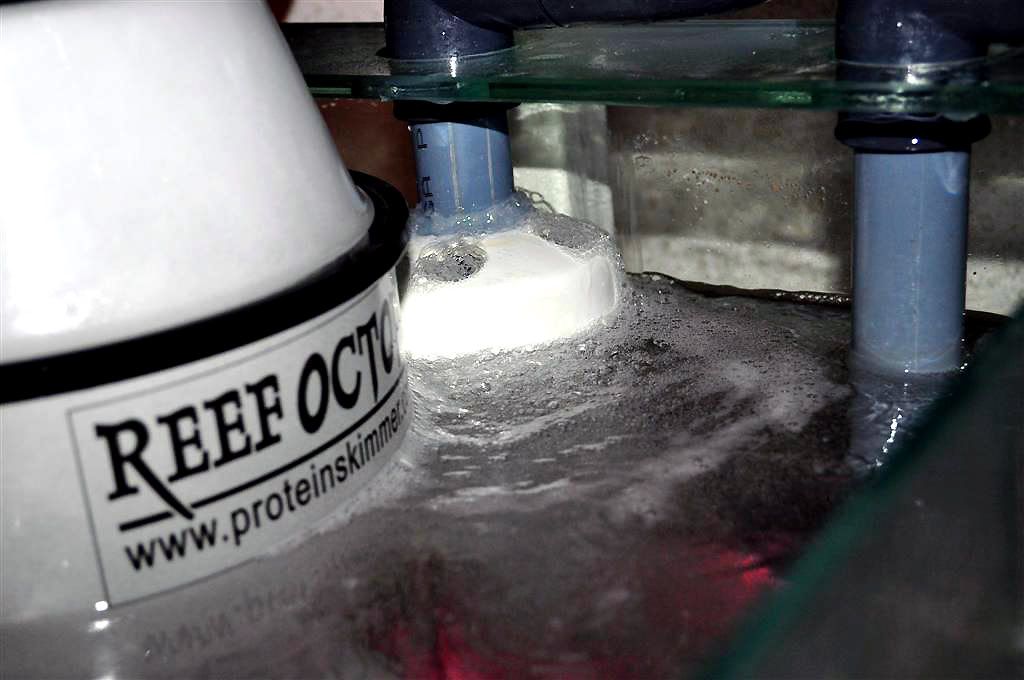
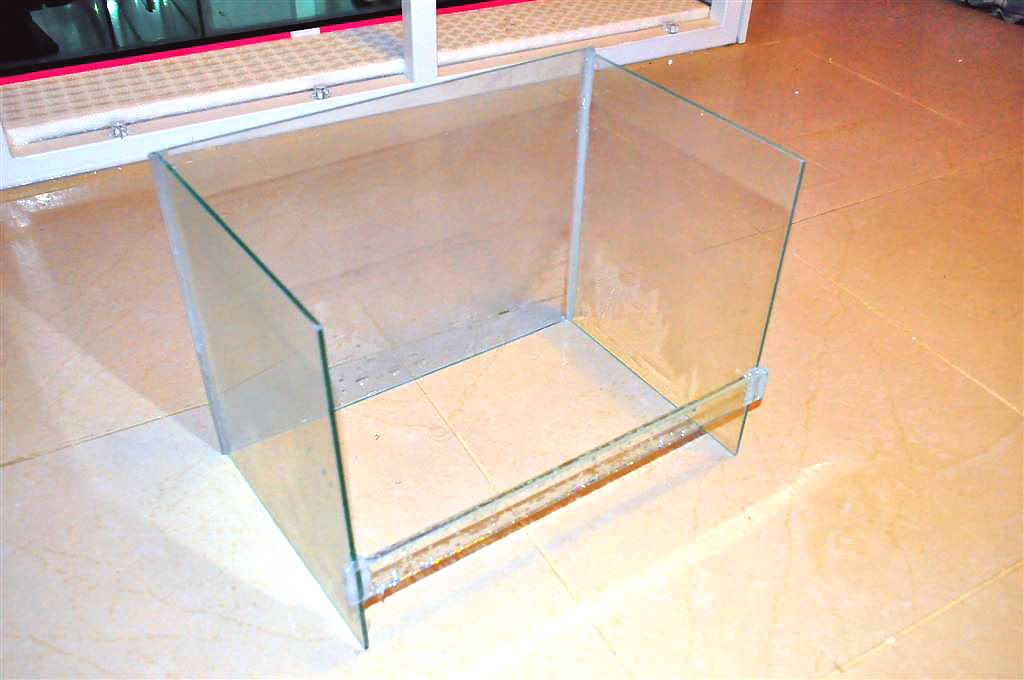
Rest of the bubbles were reaching to the return pump. Baffles are not able to hold the micro bubbles. To prevent return pump I made DIY three-sided glass box.
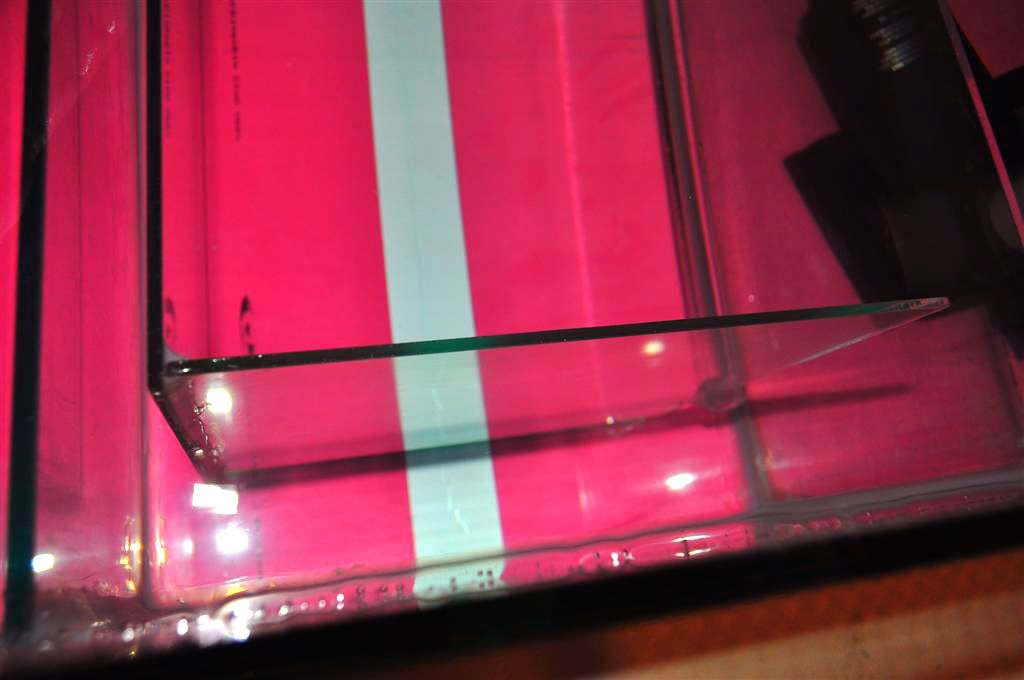
DIY three sided glass in the return pump compartment.
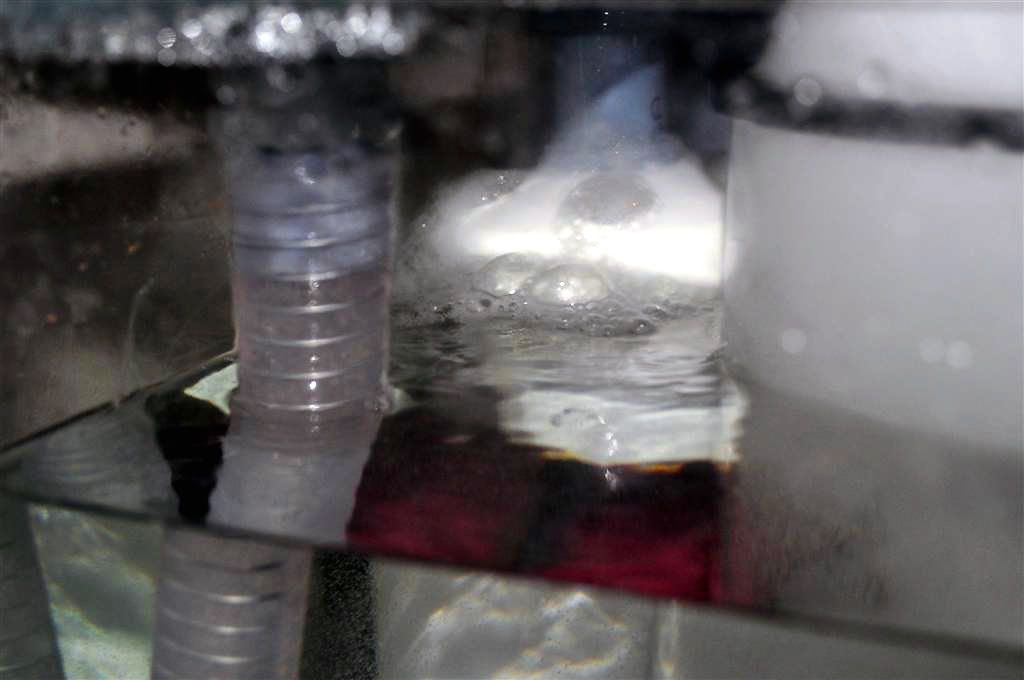
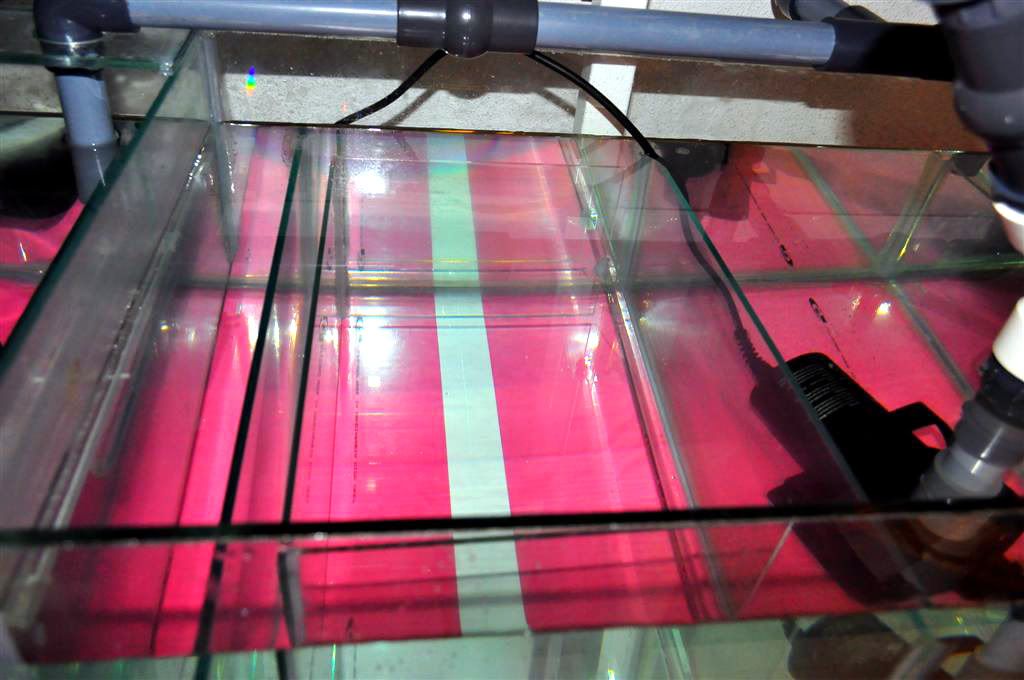
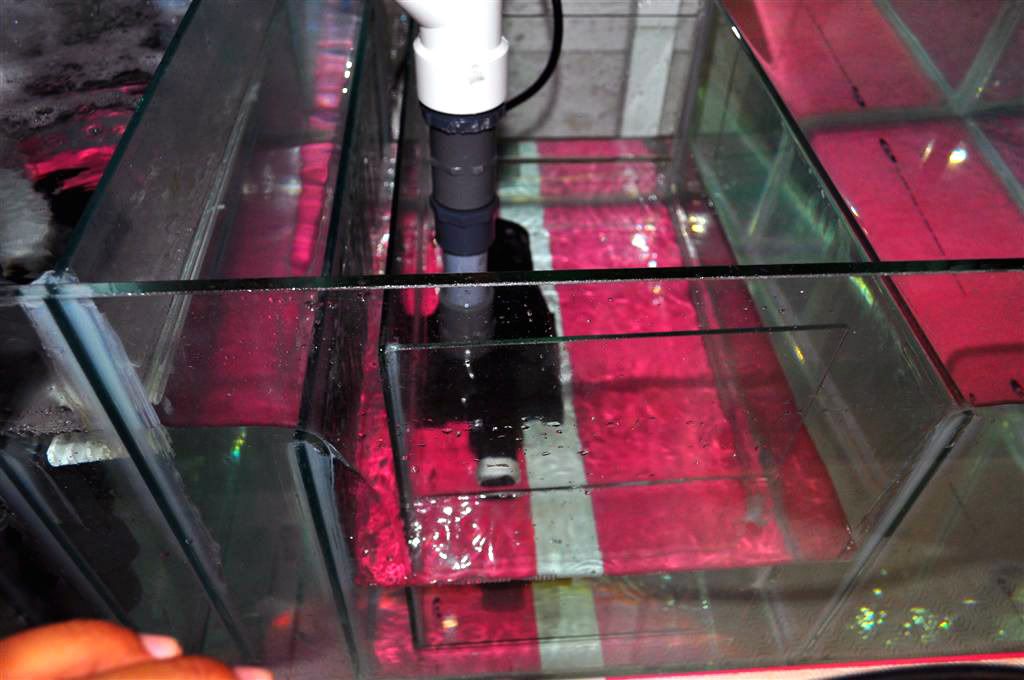
Restarted return pump
Bubbles trapped, now bubbles cannot reaches to the return pump.