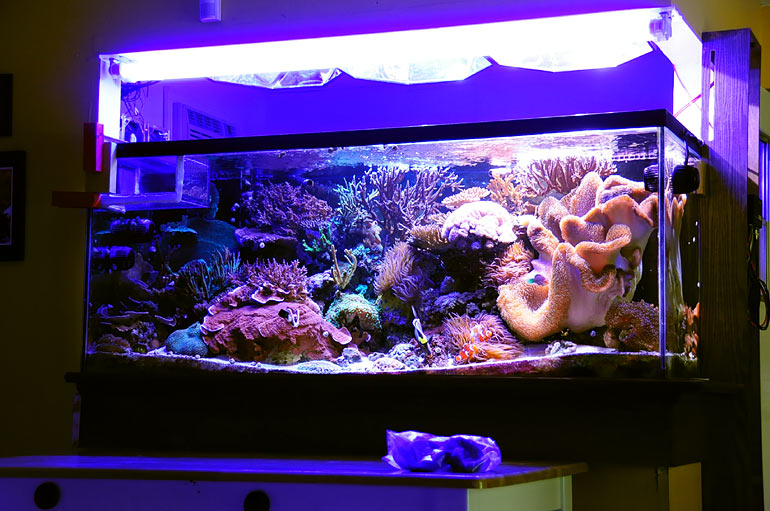
• The breakdown of my 280-gallon reef tank

    While the glue was curing, we began pumping the newly mixed saltwater into the sump, and simultaneously started pumping water out of the display tank into the upper trough. It was important that the reef tank stay full at all times to keep the dry box from falling away from its corner. Once the first trough was filled, it drained into the secondary one as we continued to pump all of the 110-gallons of saltwater I’d premixed.


    Wes set up his iPhone 4 to video some of the breakdown. If it gets edited down to something usable, it'll be posted on our Reef Addicts YouTube channel.


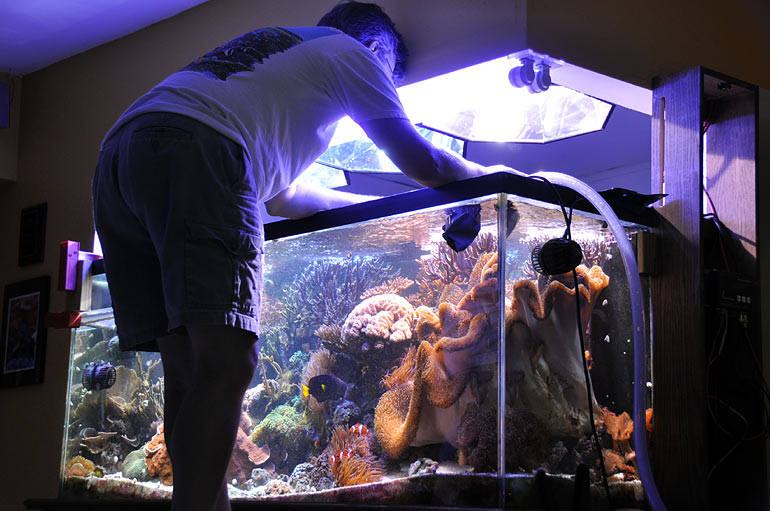
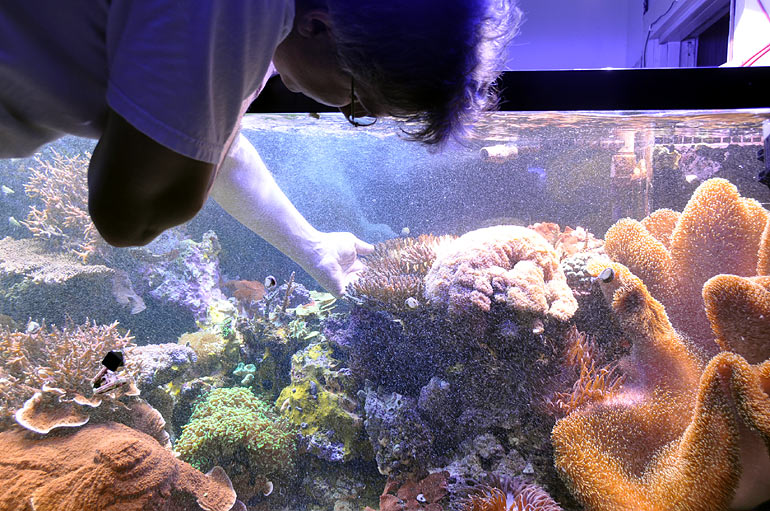
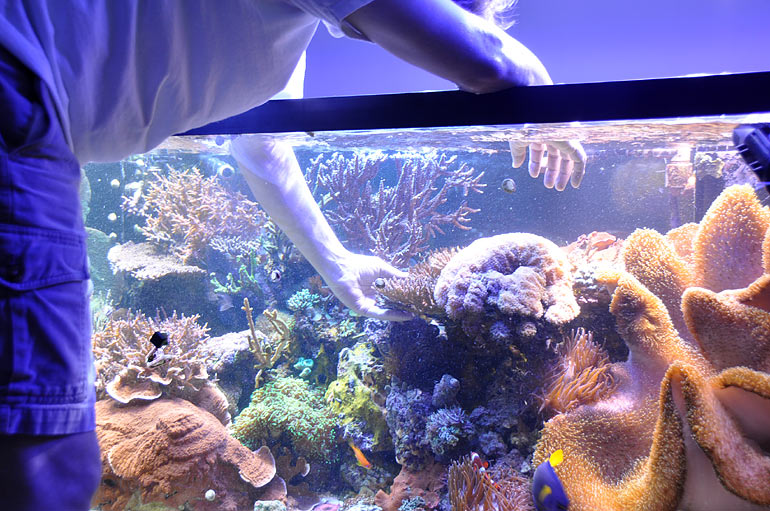
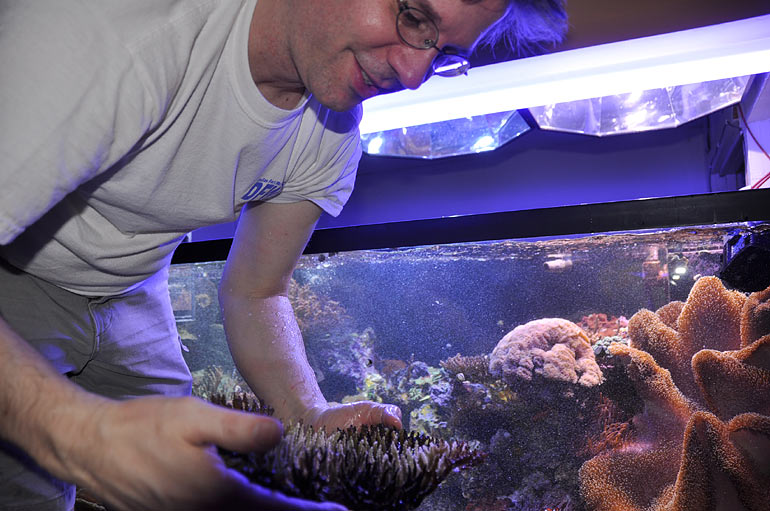
    With a long final stare at my reef, I took a deep breath and willed myself to pull out the first coral. It may seem dramatic, but as a general rule I try to keep my hands out of the tank as much as possible, and even now I couldn’t help resisting the inevitable teardown of a perfectly functioning ecosystem. Starting with the corals near the surface, I certainly appreciated the size of some of the colonies that had grown in from tiny fragments over the years. They were carefully lifted out of the tank and passed to a pair of waiting hands that would lower them into the water-filled vats nearby. SPS were put in one vat, and LPS corals in the other.


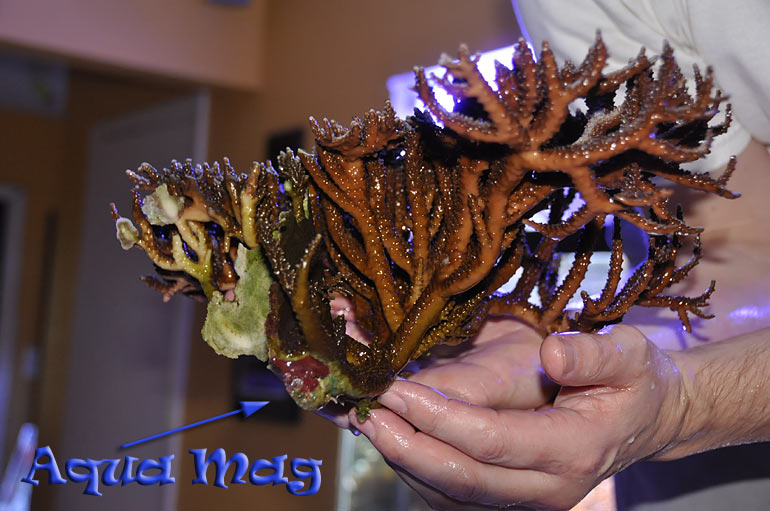
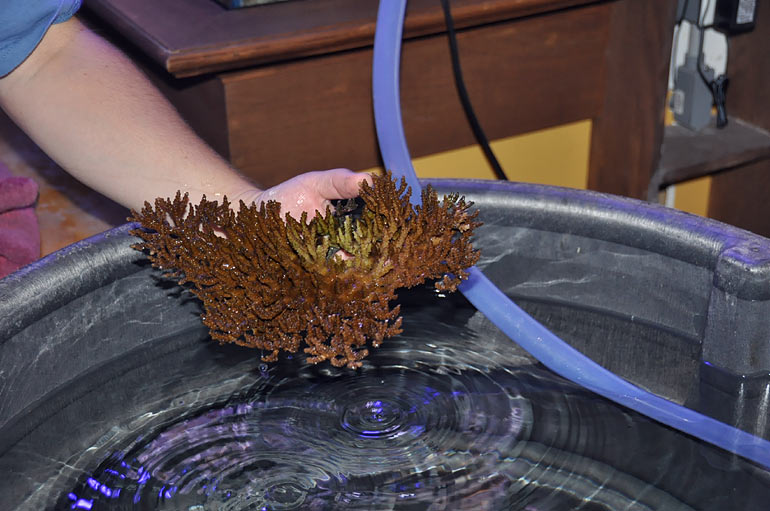
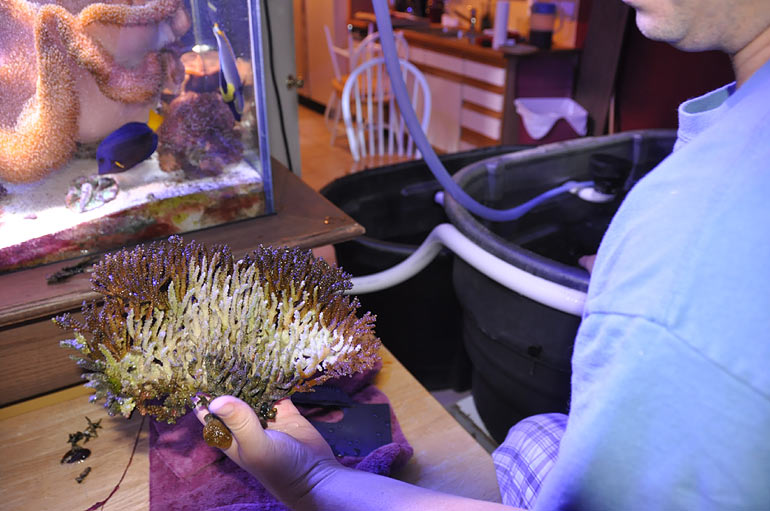
    The first coral came out perfectly, still holding the shape it had formed as it grew on the sides of the overflow. The A. formosa was a 2” frag secured to an aqua-mag originally, and the magnet is still embedded in the coral’s core.

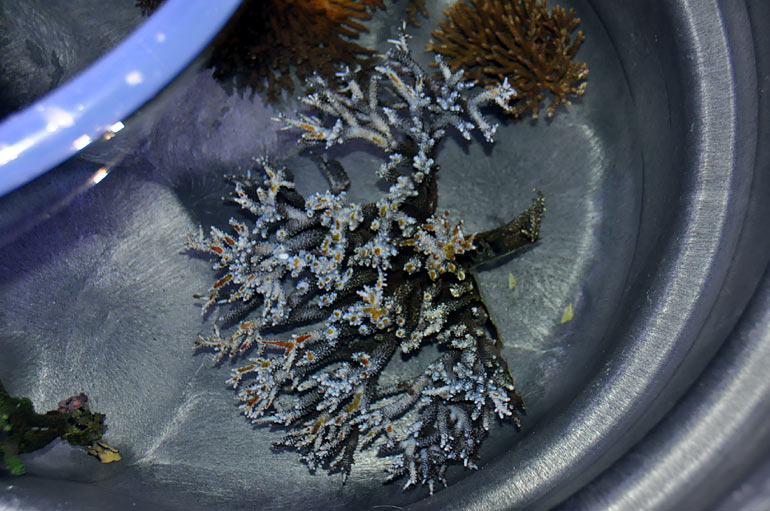


    The parent colony was pulled out in its entirety, just barely clearing the space between the upper wall and the top edge of the tank. It was later inserted into an empty ARM container used as a pseudo vase to stand it up and retain space for more livestock in the SPS vat. The water line was just barely above the tips of this coral.
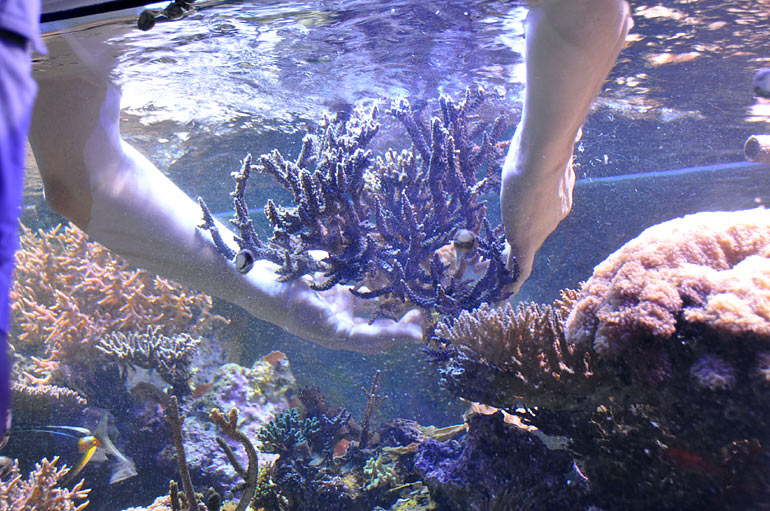
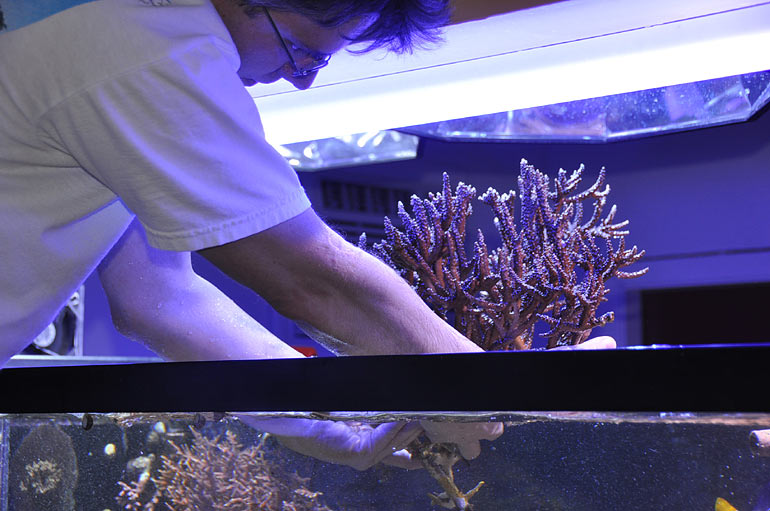
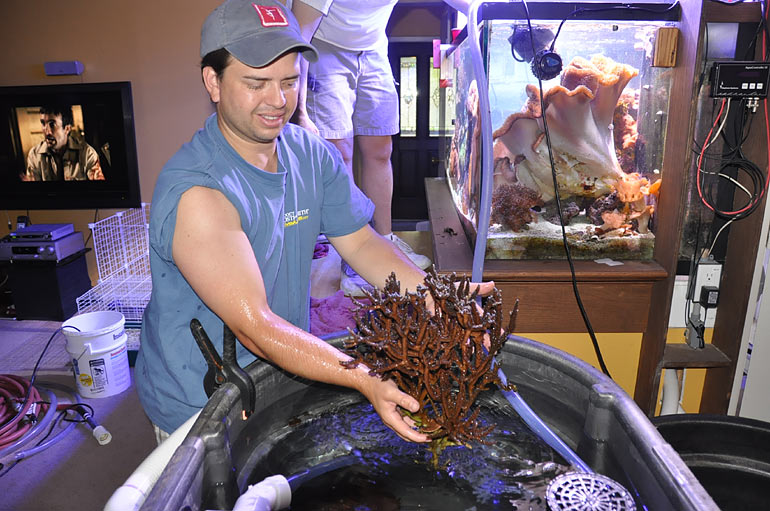


    The tabling A. plana was taken out one layer at a time. Areas that had been shaded by the layer above were dead, essentially bone white where tissue had once been. These lower sections were sacrificed and used as a support structure for the living shelf above. The leading edges continued to grow since they received light and better flow.


    Comments 22 Comments
    1. Snakebyt's Avatar
      Snakebyt -
      awesome post documenting the whole ordeal, I really hate to see this tank coming down, but i also look foreward to the new one taking its place, it will be amazing im sure
    1. upster's Avatar
      upster -
      Thanks a bunch, that was a great read. I was amazed that you found the sand bed un-clumped. How long did the entire tear down take?
    1. melev's Avatar
      melev -
      We had it down in a matter of hours. Maybe five, as we didn't have to rush fortunately. There was some prep time with the vats & plumbing, but the tank was empty for all but that last two fish in hiding by 10pm, which is when we went out for dinner.
    1. agsansoo's Avatar
      agsansoo -
      Six years to build ... five hours to take down. Ouch ! Question: How long is the silicone seams suppose to last in an aquarium ? I've heard around 5 years.
    1. Ryan's Avatar
      Ryan -
      Wow Marc, that is some setup to get all that livestock into. I hope I can help with something on your new tank. I know it can't be fun to go through all of that, but at least you have a lot of people to help you through it. Just in the last year or so of being in this hobby I know you've helped me out a bunch with your knowledge and I really appreciate it. Let me know if I can help in any way...even if it is grunt work.
      This is definitely interesting.
    1. jays333's Avatar
      jays333 -
      Marc,Thanks for documenting this in such a calm and systematic manner. There are many opportunities for disaster in our micro worlds, and you have proven they can be dealt with. Looking forward to the updates. My wife's reaction was "This could happen to us?........."
    1. Elchicano's Avatar
      Elchicano -
      Thanks for documenting the whole ordeal..After reading this blog I think just about everyone ran to there tank to checks there seams ..
    1. Wes's Avatar
      Wes -
      great photo breakdown marc, thanks for taking the time to put this together. i like that animated gif you made
    1. melev's Avatar
      melev -
      Jessy made that gif. Have you had any luck with the iPhone video yet, Wes?
    1. Hat39406's Avatar
      Hat39406 -
      Great documentation! I bet it was a great relief when you had everything out of the tank.
    1. NightShade's Avatar
      NightShade -
      It's sad to see everything happen that way but at least you caught the leak before a major failure happened. And can't wait to see what you get going.
    1. mro2you2's Avatar
      mro2you2 -
      Which one is Drewlicious????
      sorry about your tank. I am sad that a tank I envy is gone
    1. Cookiejar's Avatar
      Cookiejar -
      Great job with the pictures and descriptions. you had me rolling on the floor with the description of the 'niagra falls' from the pond liner folding. Moving aquariums and flooded floors go together like peanut butter & jelly.
      Looking forward to seeing how your new tank setup goes. Best of luck with everything!
    1. Ownzordage's Avatar
      Ownzordage -
      Holy cow!! Good job keeping a level head and thinking everything thoroughly through before doing this. I hope most-everything survives.
    1. Rachel's Avatar
      Rachel -
      This is simply heartbreaking. I look forward to hearing about your new tank. I hope all your fish and coral survived the tragedy.
    1. melev's Avatar
      melev -
      So far so good. I just posted a blog with a bunch of pictures of the livestock today.
    1. seapug's Avatar
      seapug -
      unbelievable. what an incredible, epic article. Something tells me that system of troughs and lighting rack is going to end up as a permanent addition somewhere in your house. Has the time come to turn the garage into a coral propagation facility?
    1. melev's Avatar
      melev -
      If the garage wasn't unbearably hot, that would be a possibility. With the new tank, I'd really like to build a nice quarantine system to incorporate in the room, but a friend just suggested I get a coral propagation tank set up to start selling corals to pay some of the supplies I use on a monthly basis. I've never been big on selling corals, as I just wanted them to get bigger. I doubt I sell 10 frags a year.
    1. Chris Witort's Avatar
      Chris Witort -
      Does this make you consider acrylic rather than glass on the next aquarium. The durability is what made me go acrylic. I love the scratch resistance of glass but the idea of inevitable seam failure sealed the deal(so to speak) for me.
    1. mhowe9's Avatar
      mhowe9 -
      Marc, having this system set up for a little over three months now. Is there any thing that you would do differently? or any long term issues that you ran into. I am shortly going to be doing something similar as I upgrade my tank.