How to wrap teflon tape correctly
If you wrap the tape on the threads backwards, it will peel off as you screw in the part. It is very important to wrap the tape in the same direction as the threads, as this will keep the teflon tape in place as you screw it tight.
Hold the fitting in your right hand.
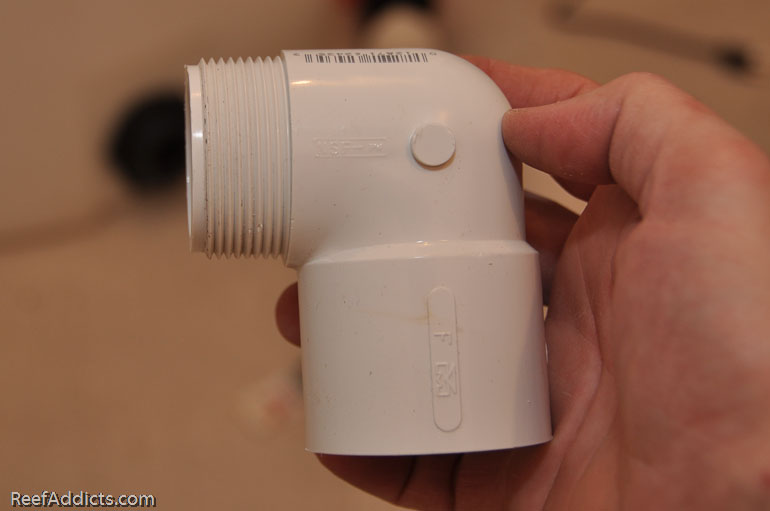
Using your index finger, hold the teflon tape in place at the top of the fitting and pull the tape down and under, then back behind and around. You'll wrap the tape around the fitting clockwise four to six times.
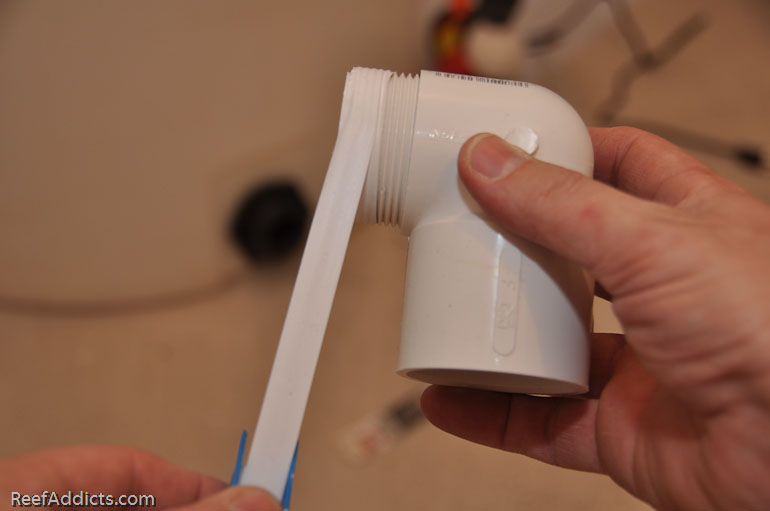
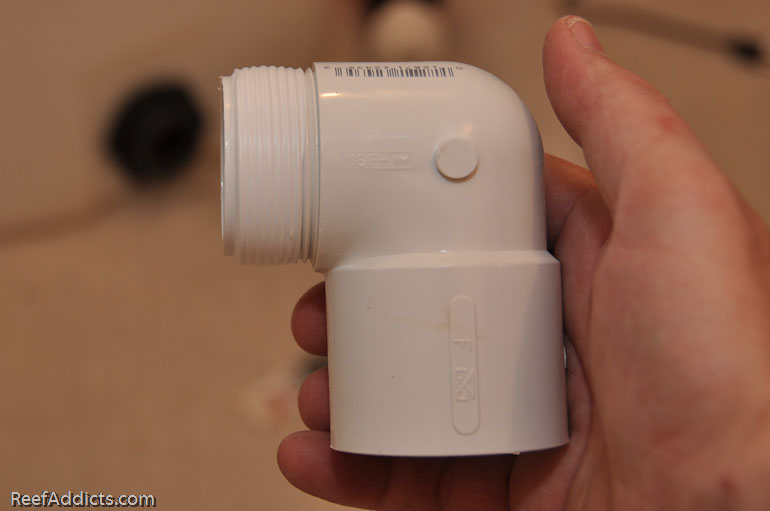
Once you have a thick layer of tape, tug hard to rip it, then smooth it down into the threads.
For added security, you can also use Teflon Paste. I use this on all threaded fittings, especially when installing external pumps. It is going to be trapped in the threaded fitting so it is very unlikely to come in contact with saltwater. If it has, it hasn't affected my livestock. As you work, inspect the insides if you can and wipe away excess if necessary.
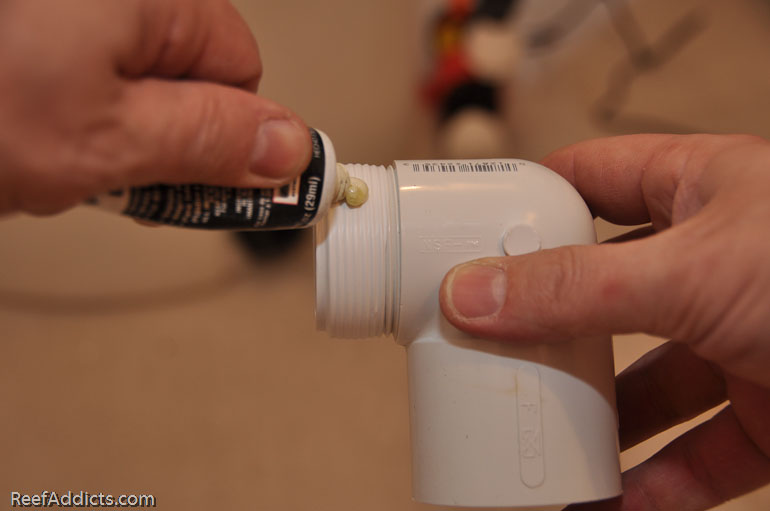
Smooth the paste to fill all the threads. If the fitting is somewhat oval, the paste will fit that tiny gap.
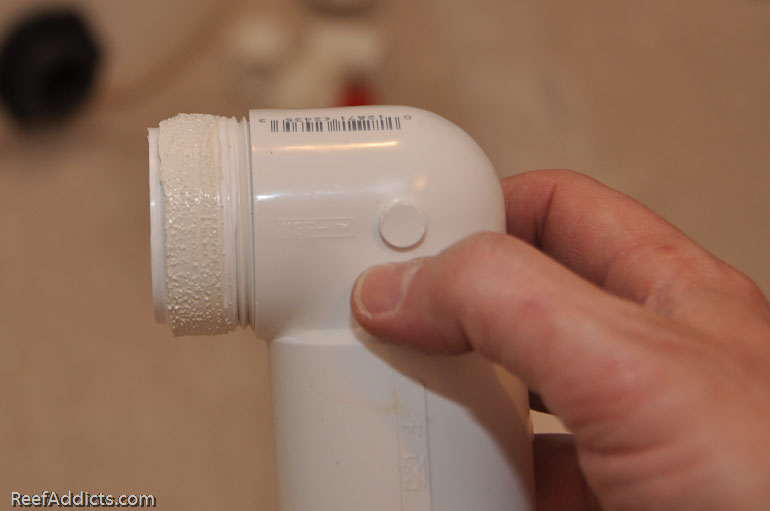
Screw it into place, as snugly as possible. Don't use wrenches -- you may crack the bulkhead over-tightening. You want it very firm, but don't go crazy okay?
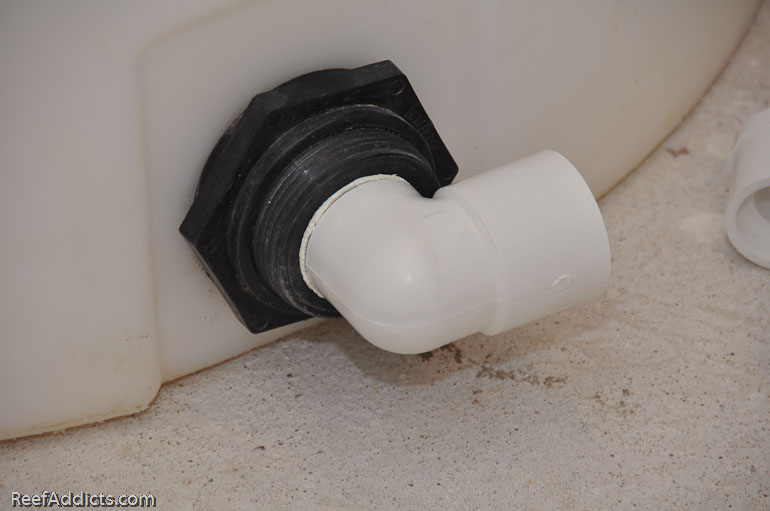
Now that the 1.5" elbow is in place, it is time to reduce the size to 1" for the rest of the project. The next fitting is the 1.5" to 1" reducer.
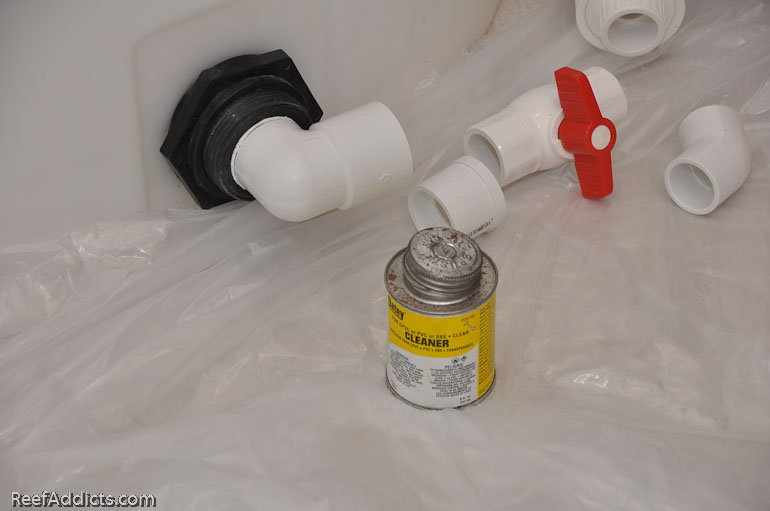
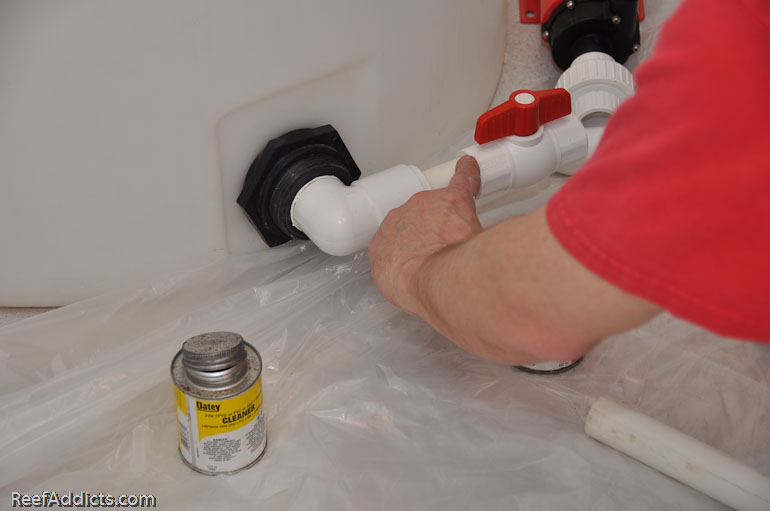
Be sure to put down some type of newspaper or plastic drop cloth to protect your flooring. These solvents will definitely leave their mark so be very careful. I'm using clear cleaner/primer instead of the common purple colored product. Purple works too - and it even allows you to see where you've used it and what was missed. One trick that you may choose to do is to tape the two cans together, as this keeps them together and reduces the risk of knocking one over. As you work, it is good to always put the brush & lid back in place, and screwing the lid closed is even better if you aren't working quickly. A sealed can won't spill when toppled.
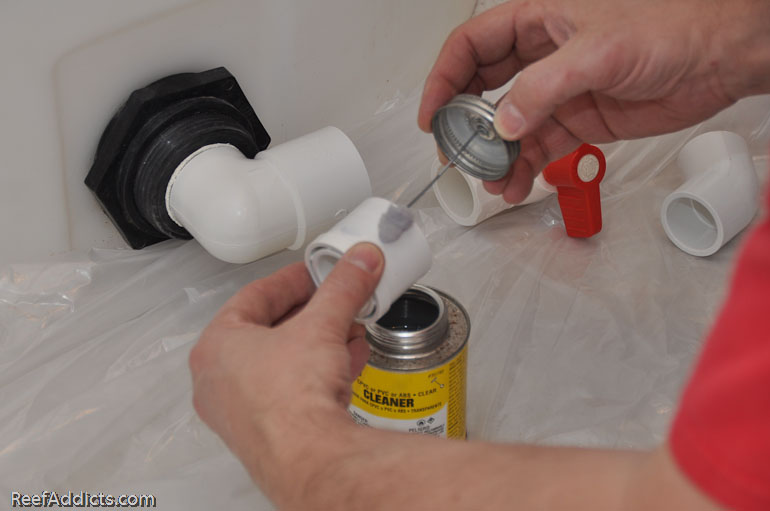
Using PVC cleaner, rub the included brush on the surface to clean the outer section of the fitting and the inner section of the elbow. You want both areas that are about to be bonded to be completely clean. The cleaner will remove all kinds of oils and even some of the ink on the fitting. Any labels should be peeled off of course.
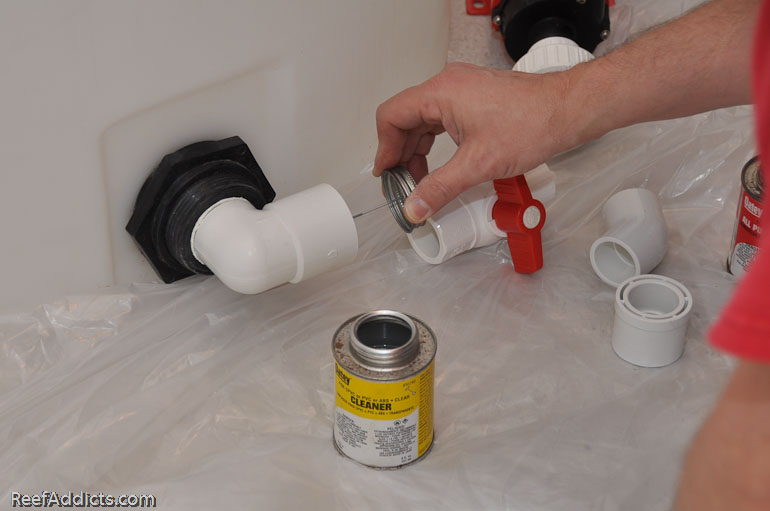
Do the exact same thing with the PVC cement, applying it to both parts about to be bonded. You do not need to wait for the primer to dry to proceed...
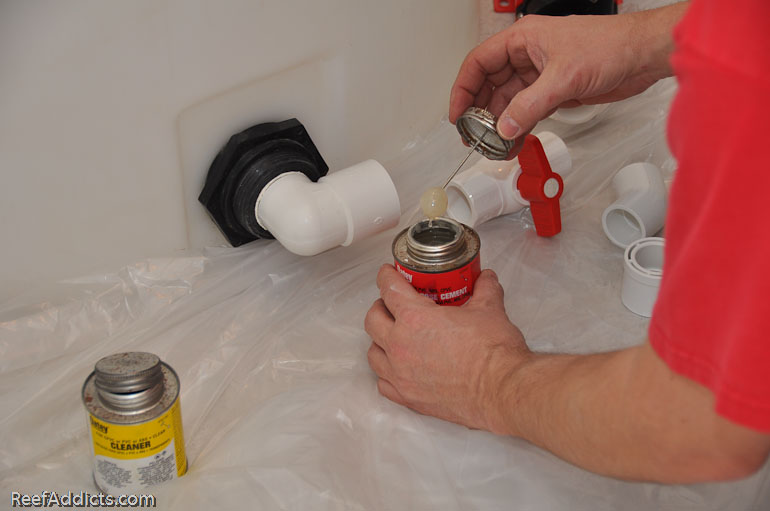
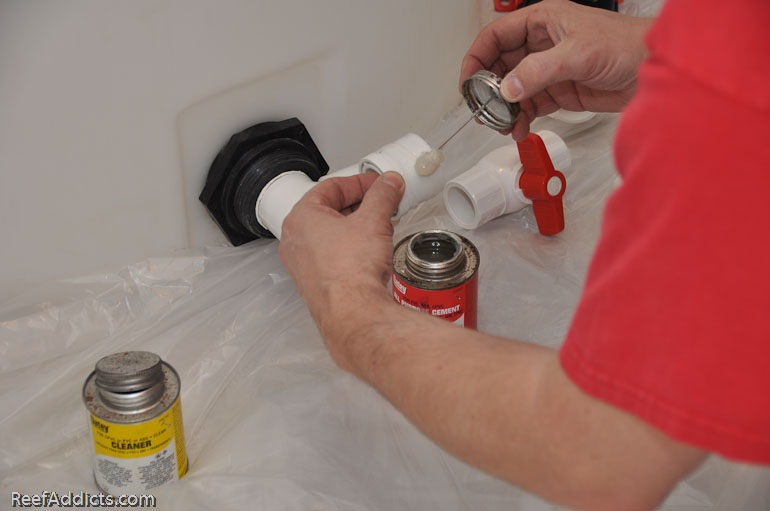
Press and hold that fitting in place, waiting 20 seconds.
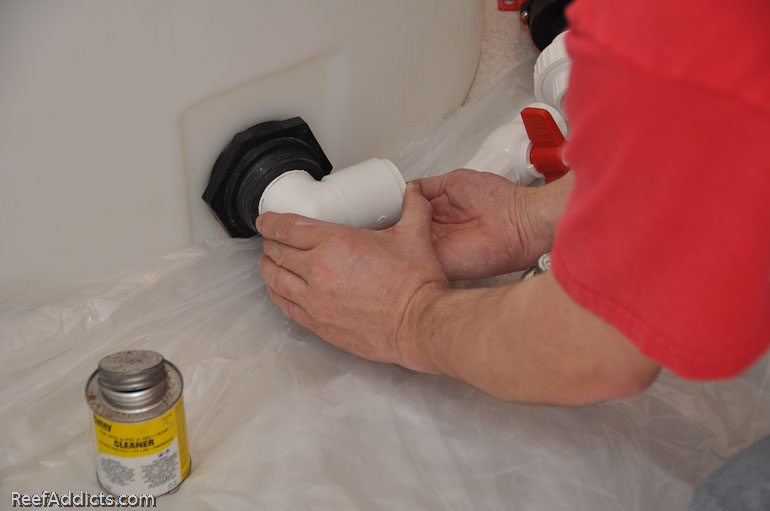
While holding it firmly, you can run your finger around the joint to wipe away the excess glue. Wipe your fingertip off on the drop cloth or a handy towel. Keeping your hands clean results in a cleaner looking project. Wiping the excess away forms a nice clean fillet around the joint that also may seal up a spot that was open moments before.
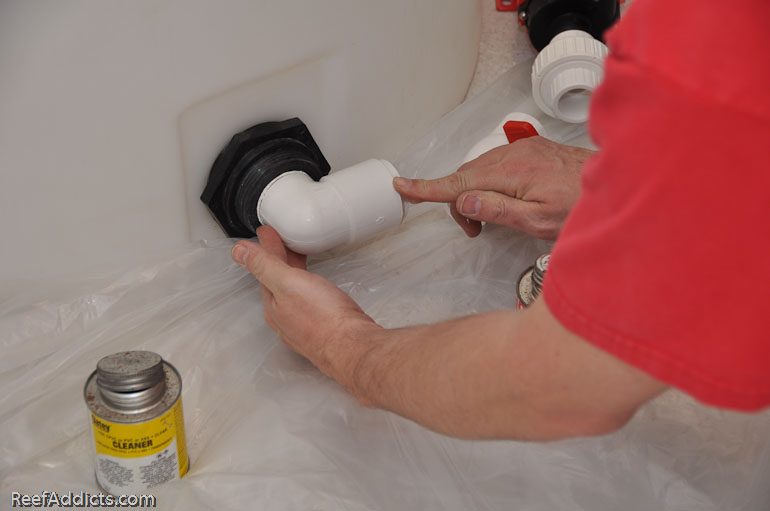
That's how you glue two fittings together. Each fitting should take about 10 seconds to clean, 5 seconds to apply the cement, and then 20 seconds to hold it together. Press it together firmly, and when possible twist it 1/8" one direction or the other to create a friction rub of solvent within the fitting. This reduces bare spots. If you don't hold the plumbing together, you'll see the piece slowly emerge out of the fitting and less surface area will be bonded. A loose connection can also be a crooked one. Seat it firmly and hold it in place for those 20 seconds, then proceed to the next part. If you take your time and pay close attention to what you are doing, you'll end up with plumbing that doesn't leak.
Fittings glued together can not be undone. If you make a mistake, you can not extract the piece without doing significant damage to the two parts. Cut off the blunder, and do it over. Couplings (not pictured) are cheap and are great for repairs.
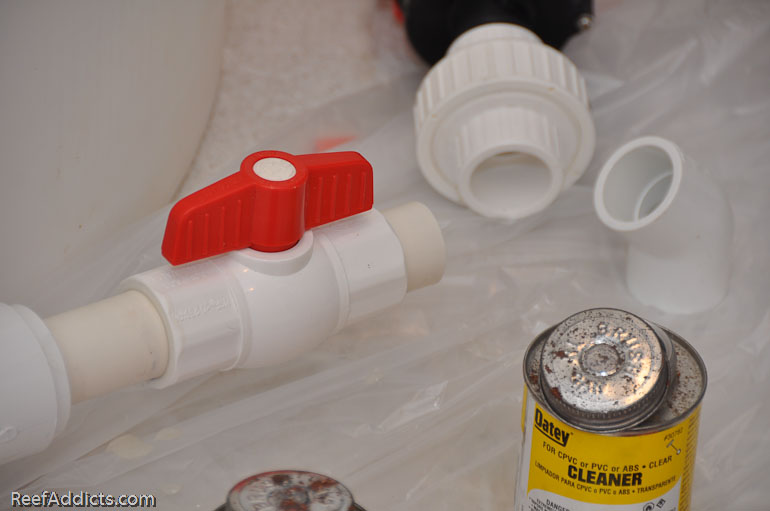
The next piece is a ball valve. I want to be able to close the valve and keep the water in the reservoir, especially when it has more than 200g in it. A piece of PVC pipe needs to go between the reducer the the ball valve. Using PVC cutters, cut off a section about 5" long to glue between the two parts. Once glued, 3" of PVC pipe will show. The cutters are easy to use. Other options: hacksaw, jigsaw, skill saw, miter saw, or handsaw. The cut should be straight and clean. All burrs should be removed, which can be done with some sandpaper. The PVC cutters provide a nice clean cut.
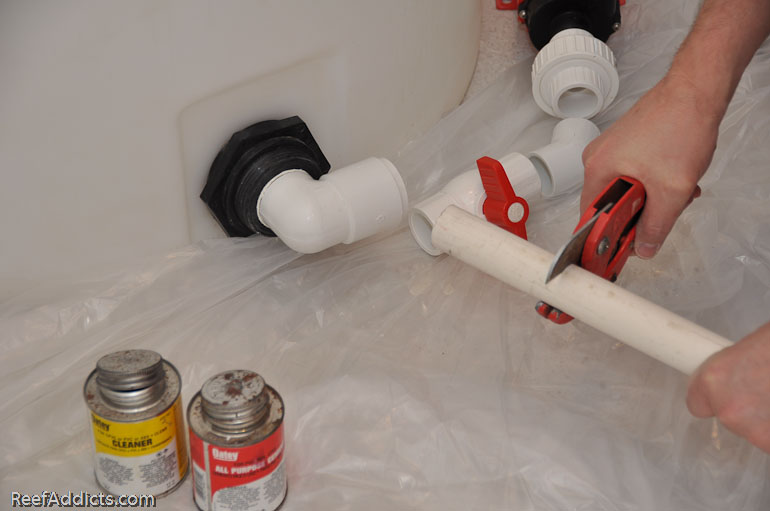
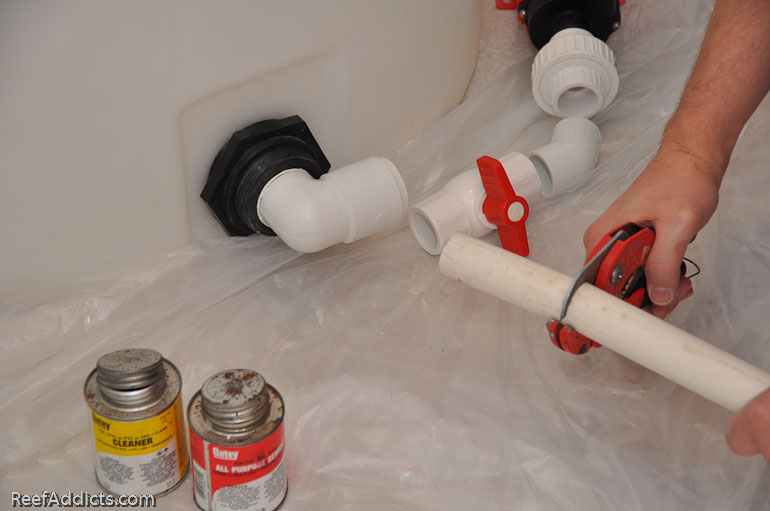
Quick visual inspection to verify length.
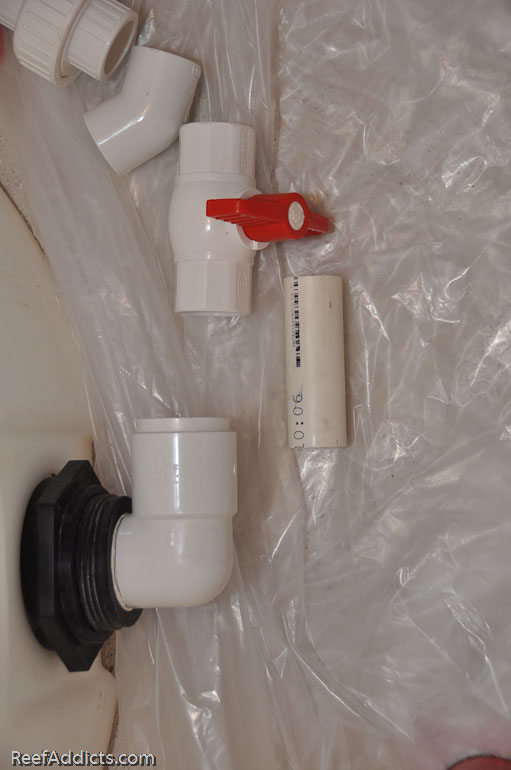
The PVC pipe needs both ends cleaned with the cleaner/primer, as well as the inside of the previous reducer fitting and the inside of the ball valve. I prefer to apply the cleaner to the fitting right over the can's opening so if it drips, it drips into the can again.
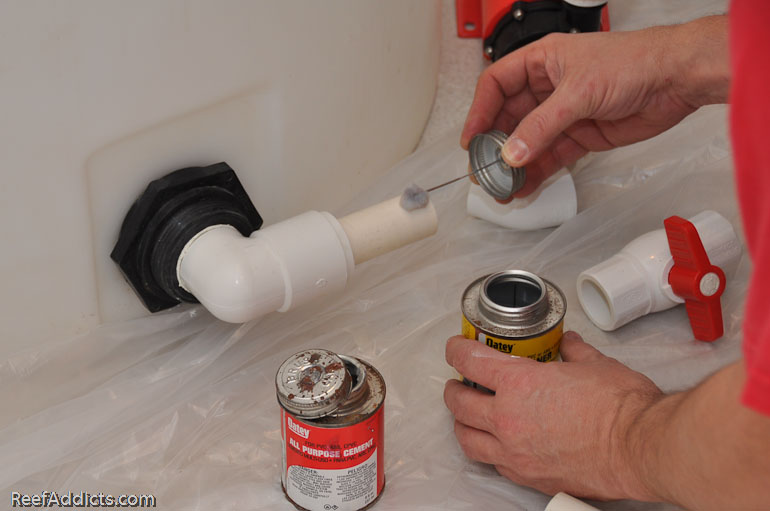
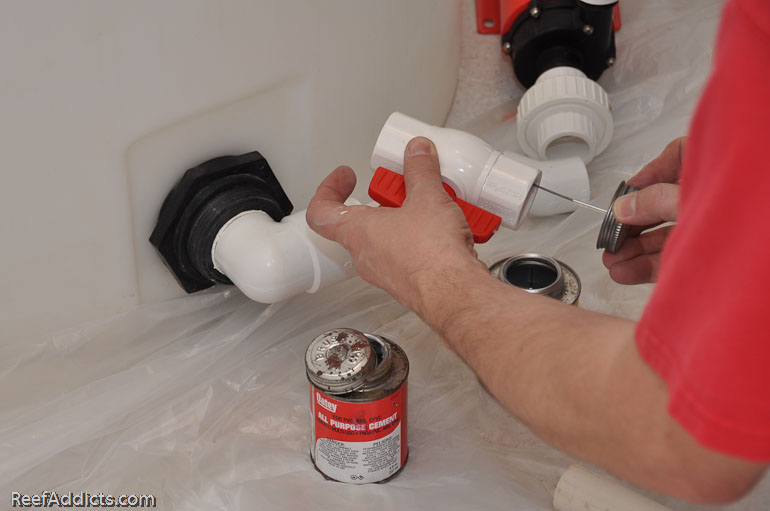
Apply the glue to both parts.
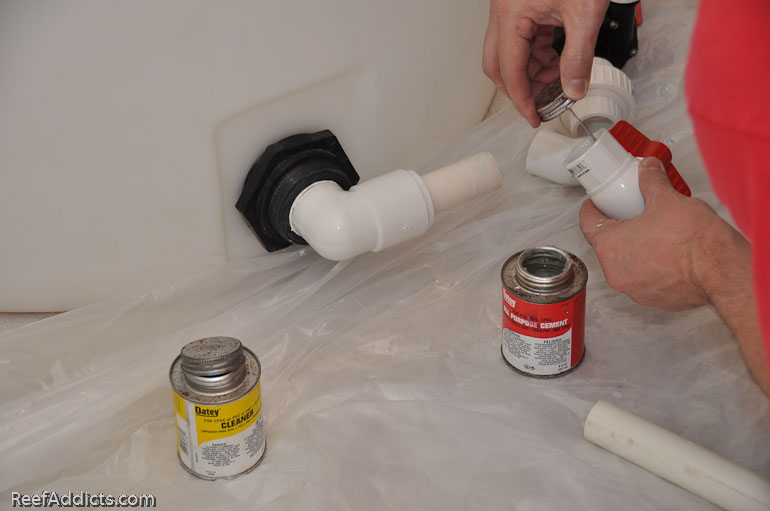
Press and hold. Note where the ball valve handle is, and make sure there is clearance to open and close it. If it is too close to the container or wall and can't be turned, that would be problematic. Using 45 degree fittings, it could be re-routed to create some space, or perhaps rotating the body of the valve to the side to make sure the handle has proper clearance.
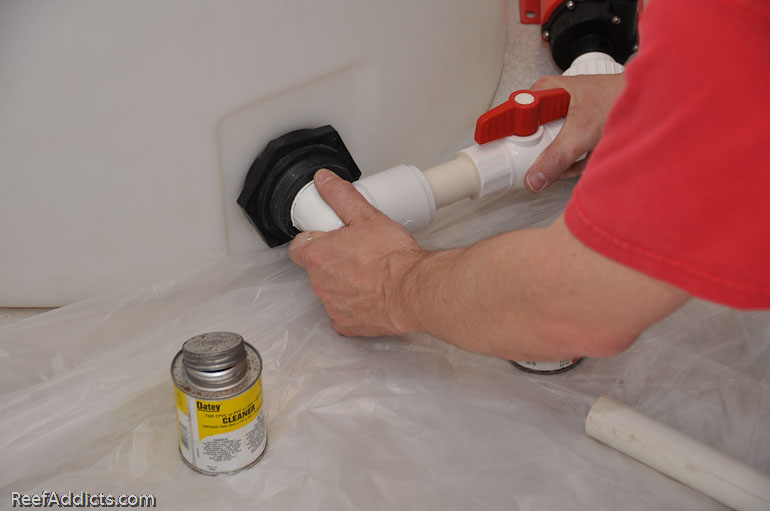
Wipe away the excess glue all the way around the fitting (360 degrees).
The next fitting is a 45 degree fitting. Again a small piece of PVC was necessary.
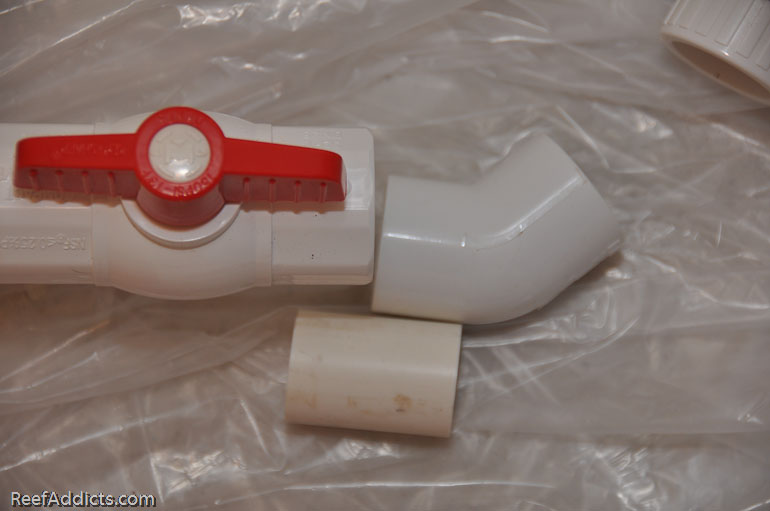
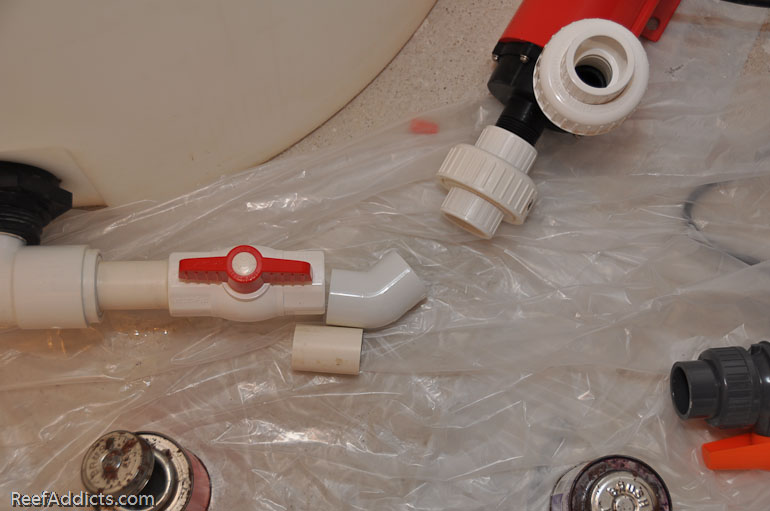
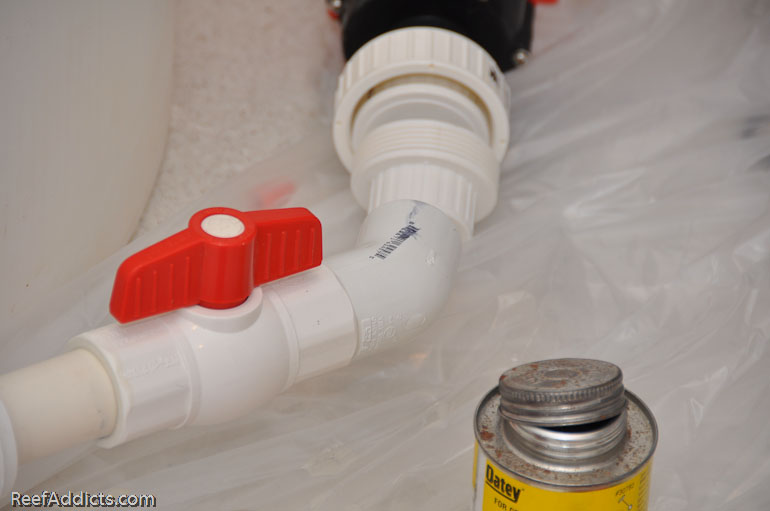
From the 45 degree fitting, it next connects to the union leading to the pump.
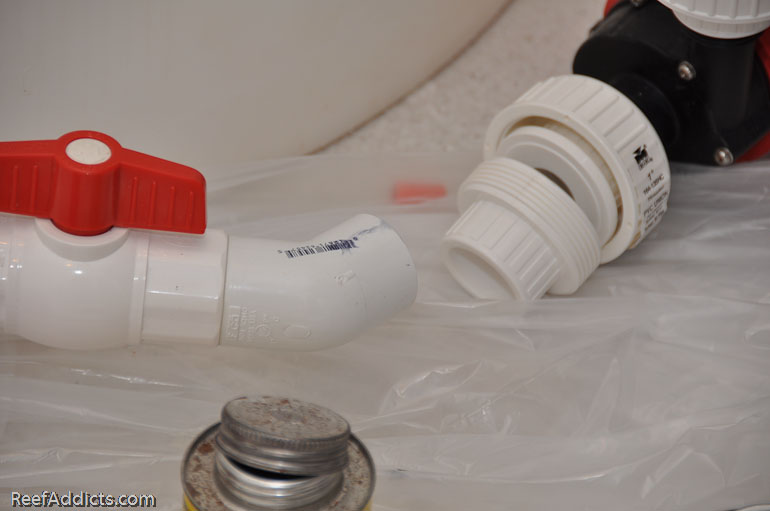
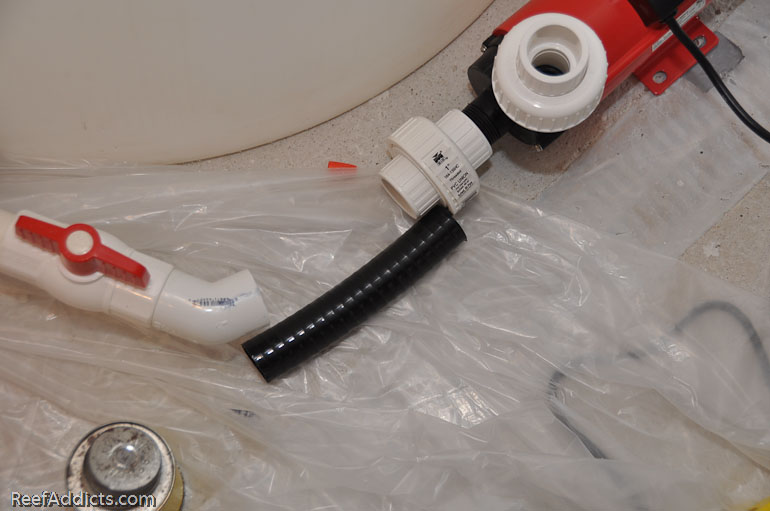
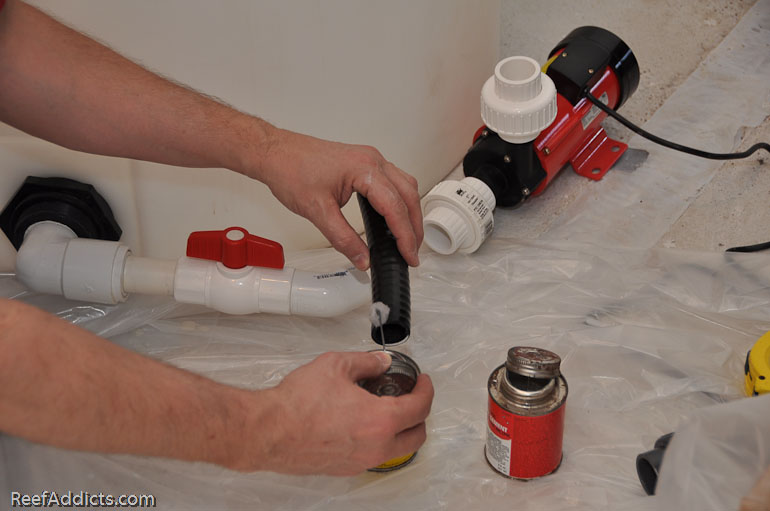
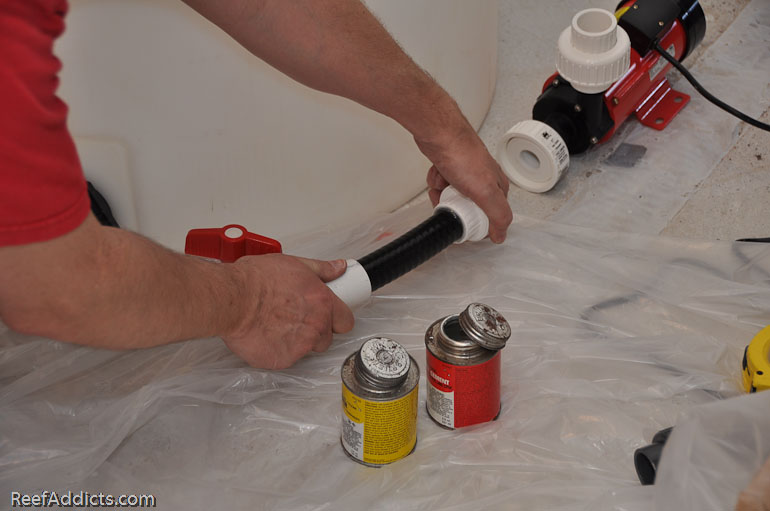
Return pumps tend to vibrate and that can lead to resonance within the holding container (or sump). To avoid vibration issues, I prefer to use SpaFlex tubing. It comes in white and is sold primarily for hot tubs. I happened to have some black spaflex handy, and used it. Spaflex is flexible PVC tubing. It can be heated up in the sun (in the summer) or in an oven (preheated to 200F and then only warmed for 5 minutes!) to bend it as needed, but this spot didn't need anything special. The PVC cement I'm using is rated for PVC, ABS and Spaflex, so I was able to proceed without having to change glues.
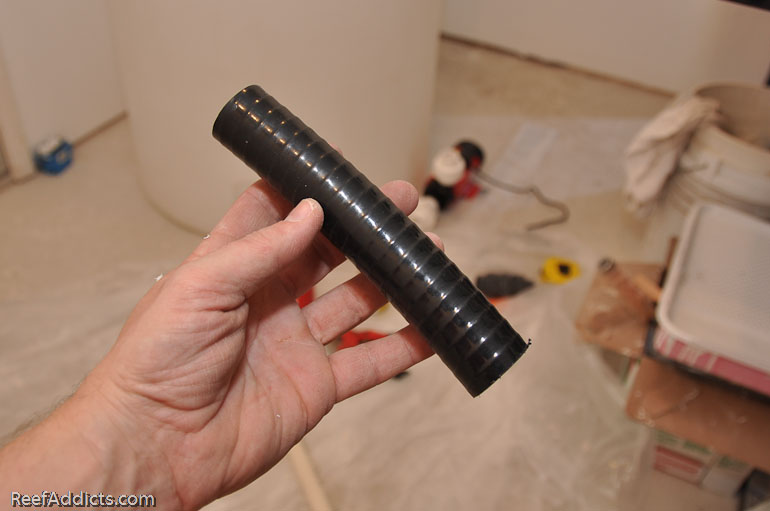
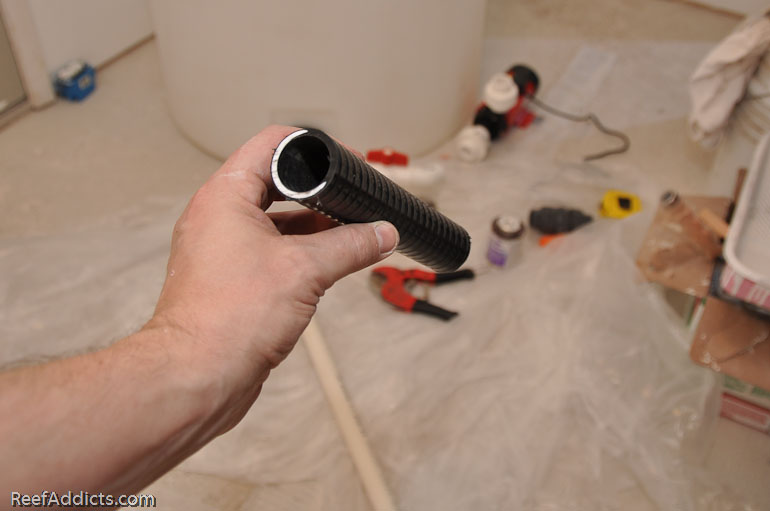
Checking for length & layout.
Primer
Glue
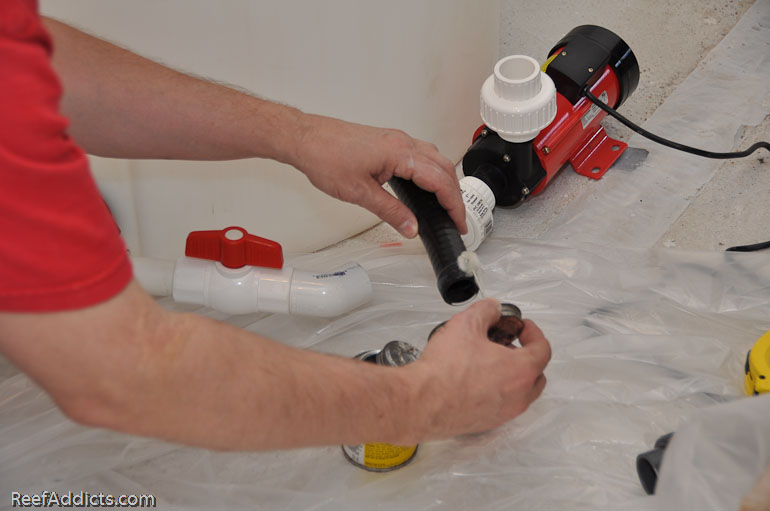
Press and hold 30 seconds. This one really needs extra time since the material is pliable.
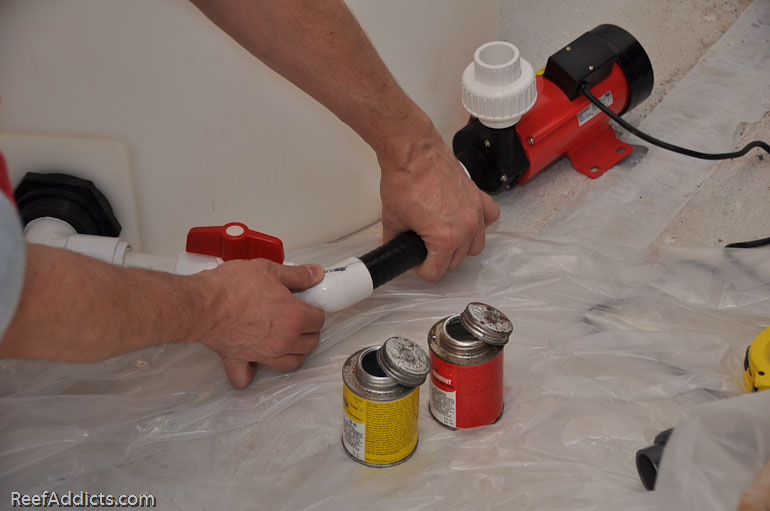
Primer & glue for the end of the union onto the spaflex, and hold for 30 seconds.
Continue to the next page as we plumb the pump itself.


 Menu
Menu


Reef Addicts Message