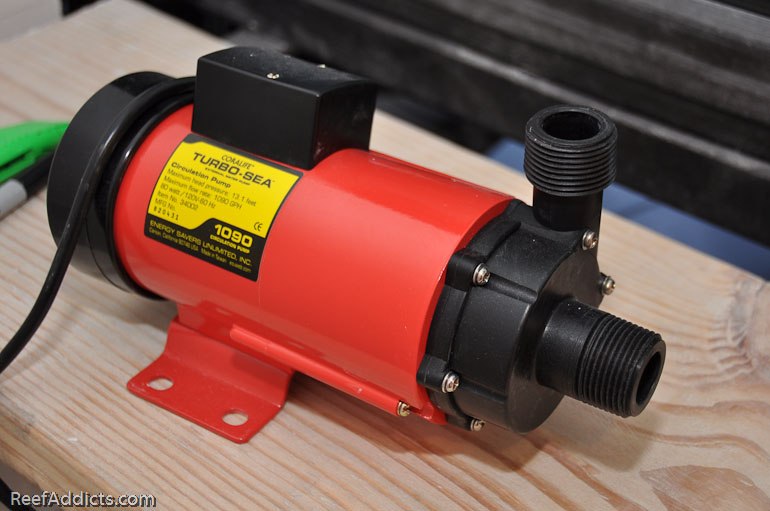
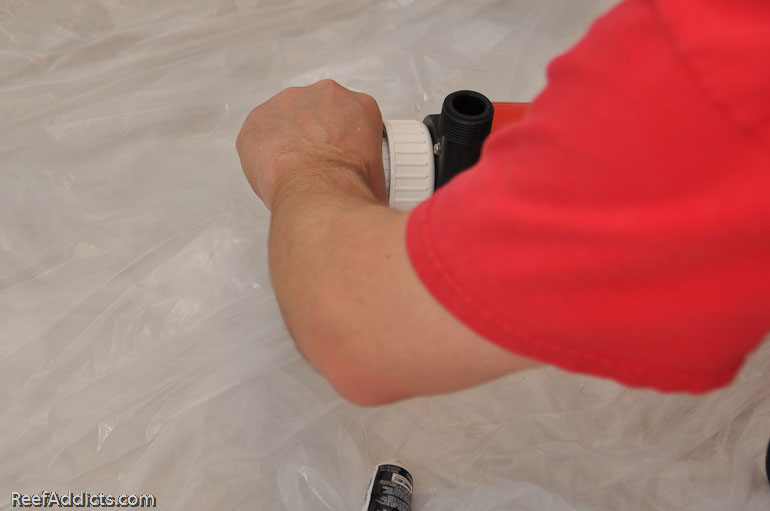
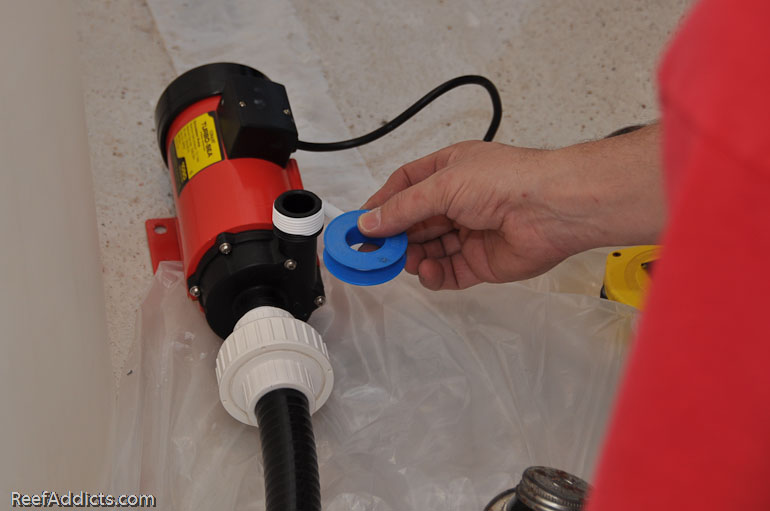
First apply teflon tape. Pump is on the right, tape in your left hand pulling it down toward you, then around at least six times to get a good layer. Tear off and smooth it out.
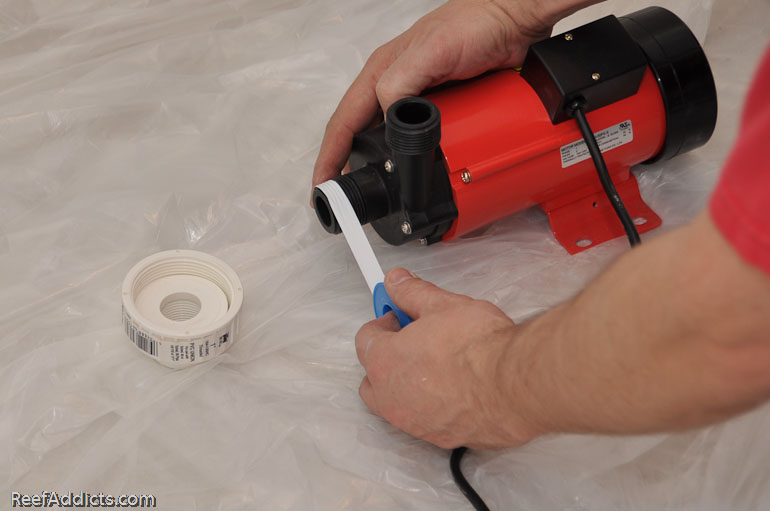
Next apply teflon paste, making sure to apply it all the way around the threaded section.
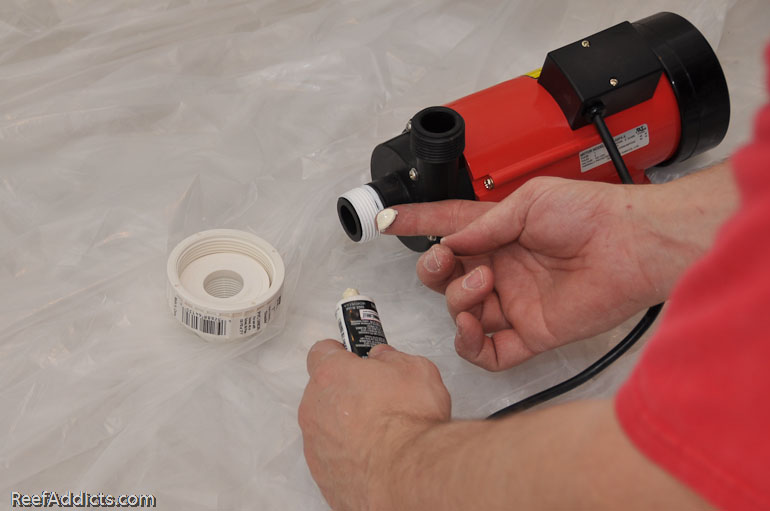
Very important point: When screwing on the other half of the union, make sure the retaining collar is in place first. This is an easy goofy mistake to make, which is even worse when gluing fittings together.
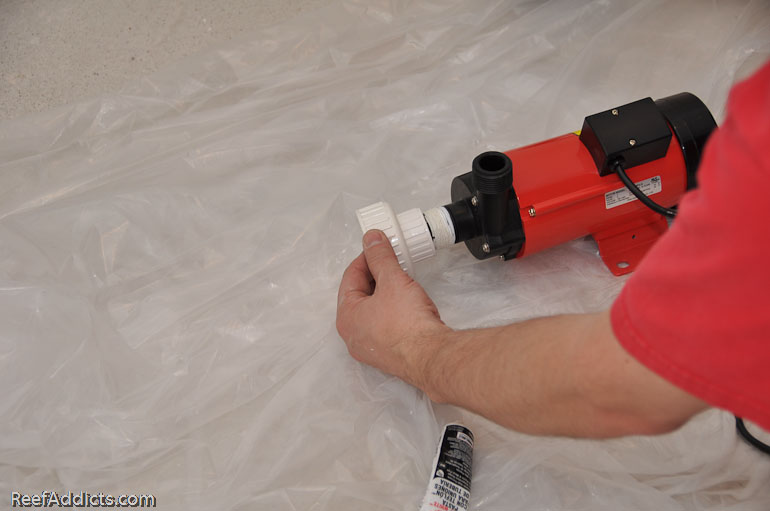
Hand-tighten it as snugly as possible, and don't use a wrench. Cracking the pump's shroud is a terrible idea, so be reasonable.
Whenever I install a union (as well as remove and reinstall a current union in use), I apply a thin coat of Silicone Grease. This is what the package looks like at Lowes.

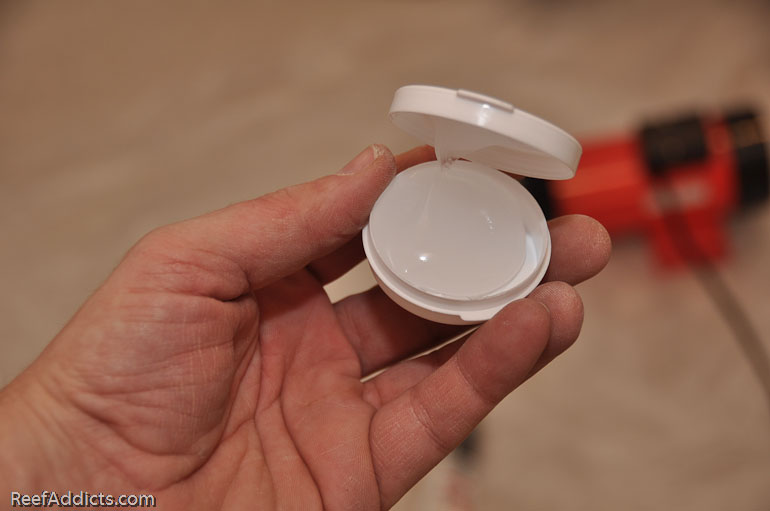
Apply it to the threads, then hand-tighten the giant retaining collar. Next time it has to be undone to service the pump, it will come apart instead of being frozen in place.
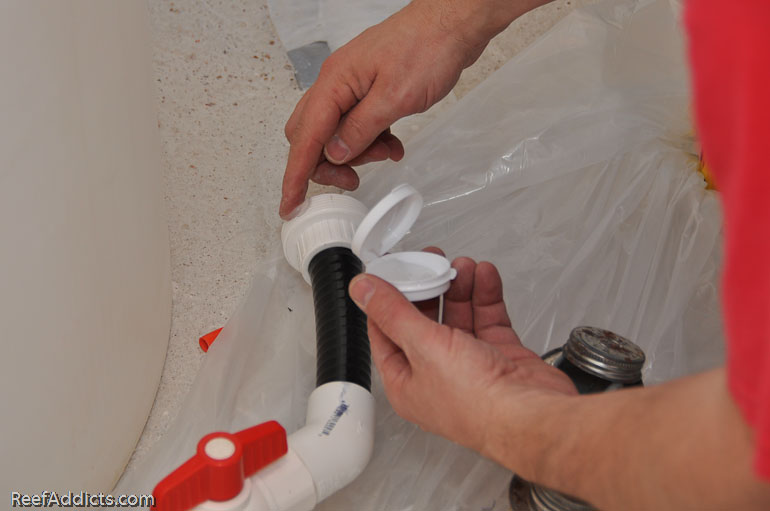
Double check that the black O-ring is in place, then tighten the two halves together.
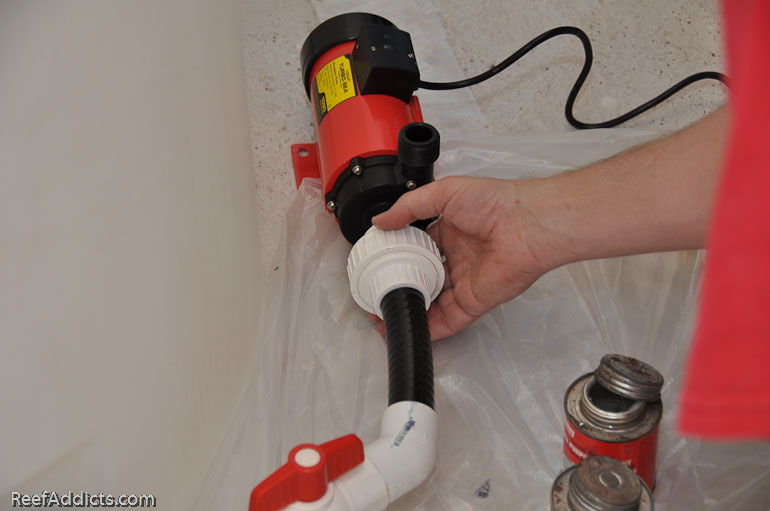
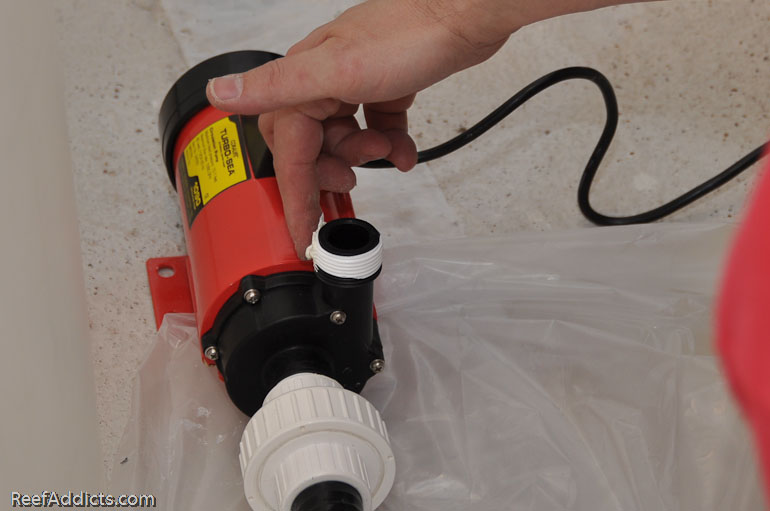
Following the same procedure as above, do the same for the output side of the pump. Teflon tape first, going with the threads.
Teflon paste
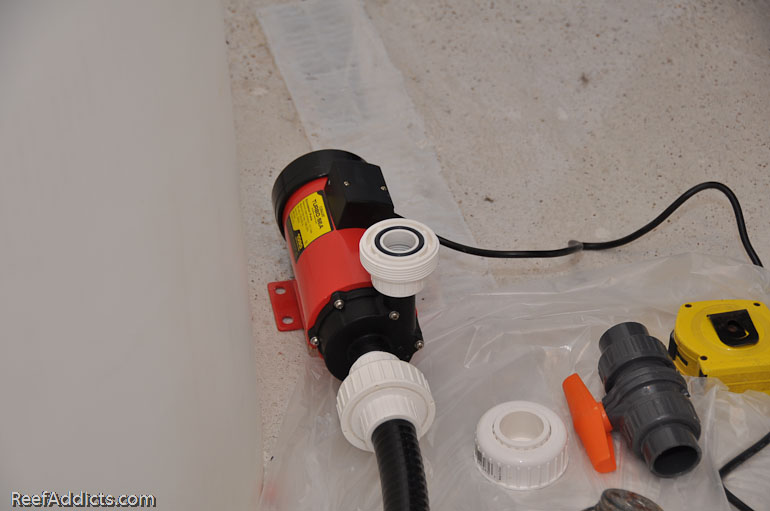
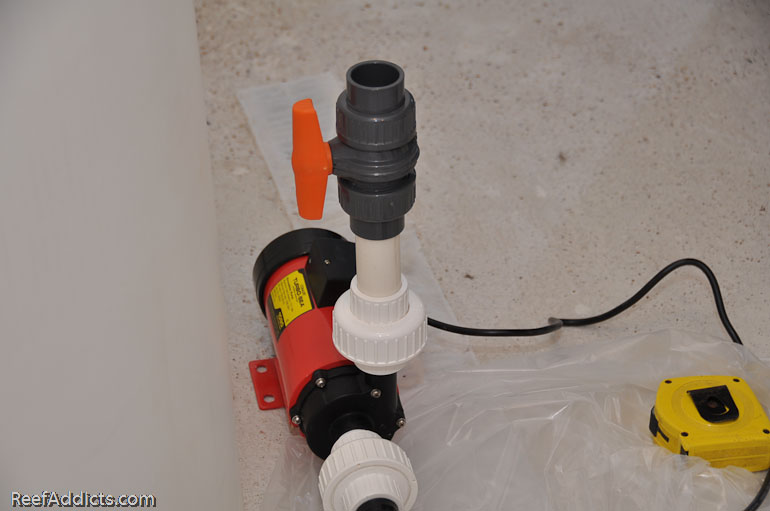
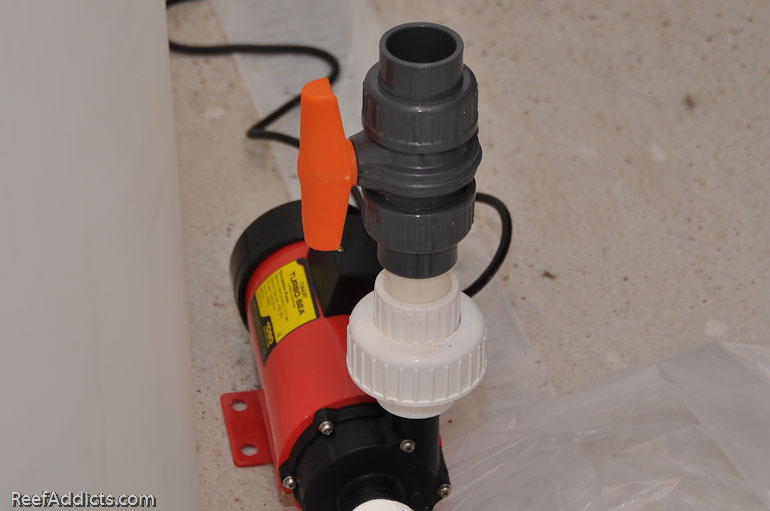
Cut a small length of PVC pipe to connect from the union to the double-union-ball-valve (DUBV), and take a look at the layout. Again, pay attention to where the handle is to make sure it has clearance. Note: This is the second Mix & Match union I made as described on page 1 of this article. The threaded side screws onto the pump, and the slip side is what the plumbing is glued into.
Rather than gluing right over the pump and risk dripping solvent on the body of the pump or inside the plumbing, remove the section that is about to be assembled and work on it over the drop cloth.
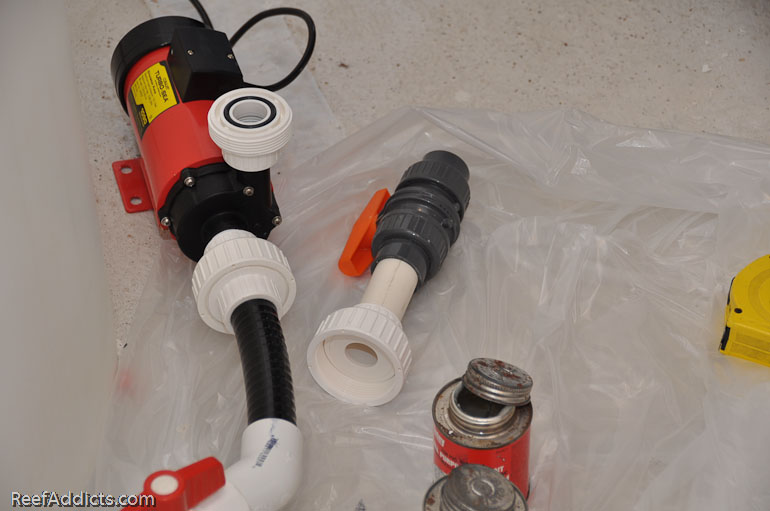
Apply the cleaner primer first.
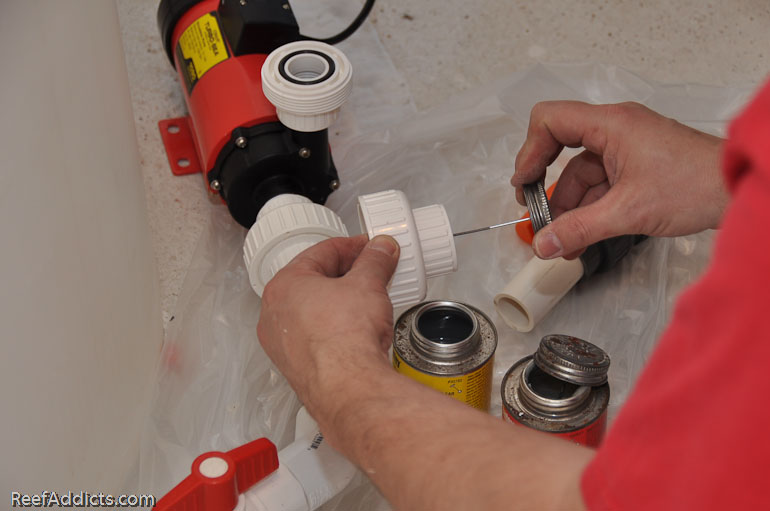
Apply the cement and hold.
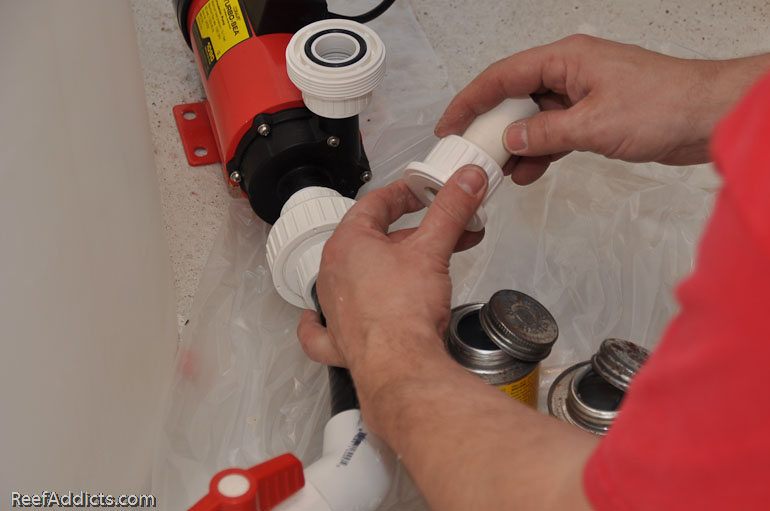
Slide the retaining collar over the union section, then glue on the opposite end into the DUBV. Don't let the glue get into the retaining collar since it needs to be free spinning. Don't let the glue get into the ball valve either - matter of fact, be sure the ball valves are always open to allow ventilation so the glue inside can cure, and work the valve open and closed a few times to make sure it still moves fully as designed.
Apply some silicone grease to the union's threads.
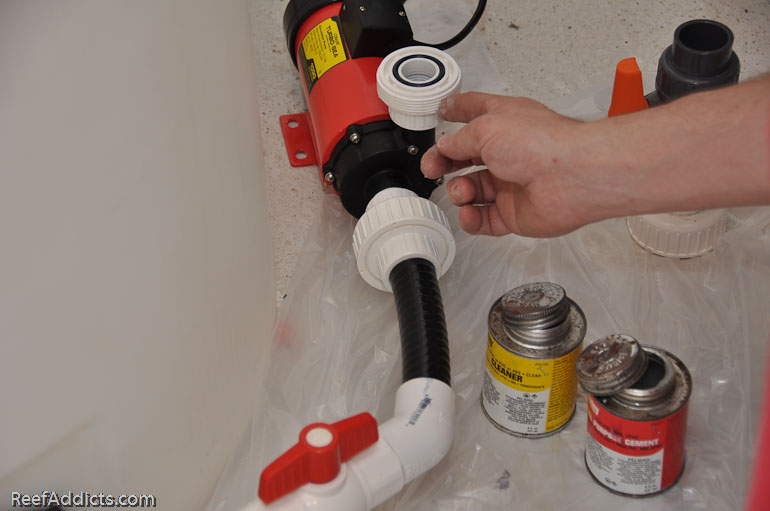
And now that section is done. You'll note that this assembly is more compact that the first dry fit picture above. The glue allows the PVC pipe to fit more deeply in the two opposing sockets.
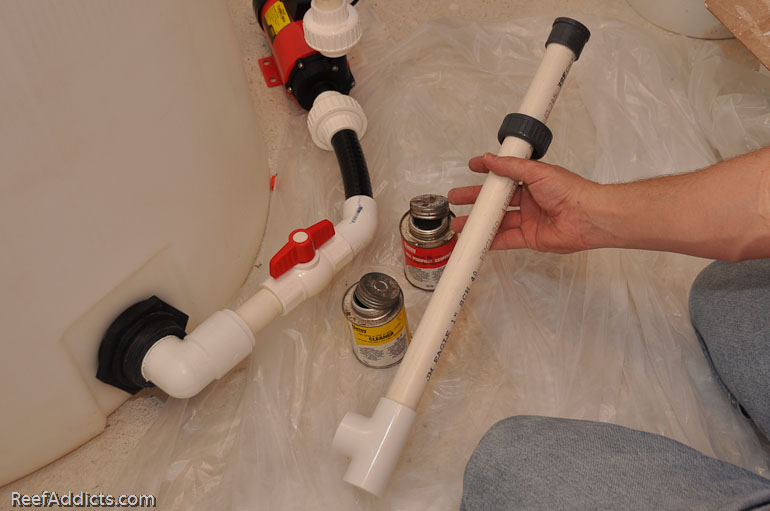
The water needs to pump up to the top of the poly tank, but I want a Tee somewhere in that vertical riser to get a water sample for testing purposes as well as to do water changes into the sump. By doing a dry fit, I could see what might or might not work. In this first picture, notice the metal support bar under the walkboard on the right and you'll see how the horizontal run would be a problem.
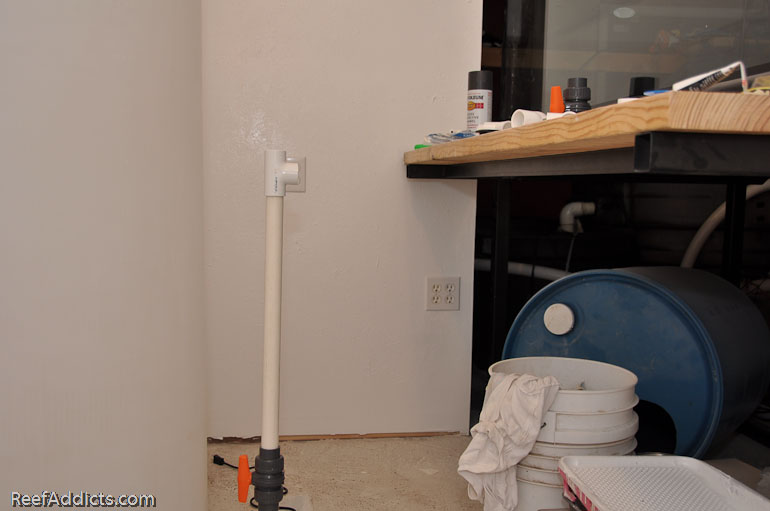
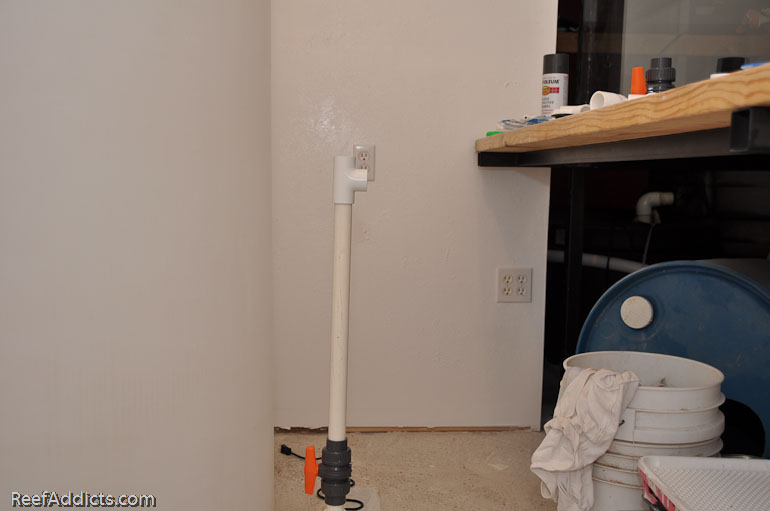
After that simple visual inspection, I cut off an inch of PVC pipe to bring the Tee fitting down enough to clear it.
Time to glue that section together. Remove the portion that is about to be assembled to avoid dripping glue on anything important.
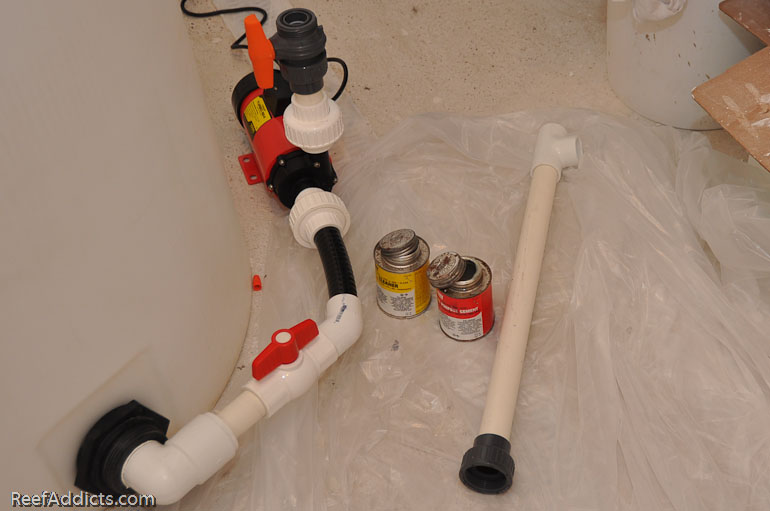
Primer, cement, press fitting on one end and hold, then repeat with the opposite end. Don't forget to slide the retaining collar in place!
Continue to uniseal installation.


 Menu
Menu


Reef Addicts Message