• Plumbing Primer - how to do it correctly

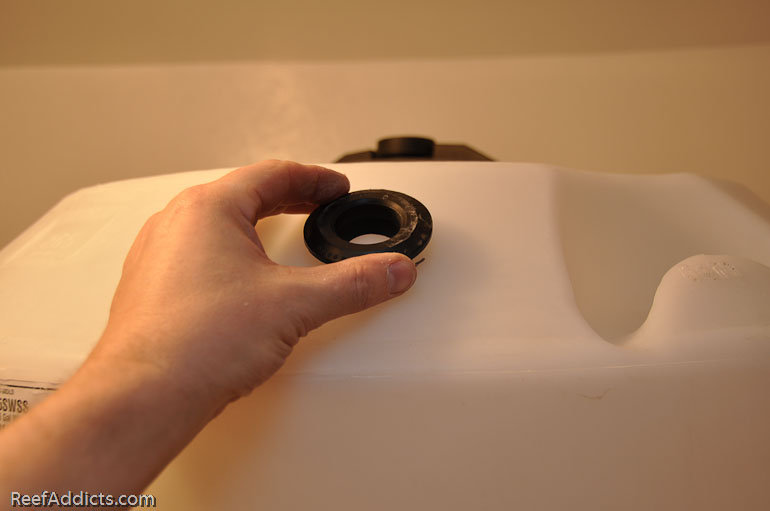
    Choose the spot directly above the pump's return plumbing. It is important to line it up the vertical plumbing with this fitting. Using a Sharpie, mark the spot where to drill.


    A 1 3/8" hole saw is the right size for a 1" uniseal.
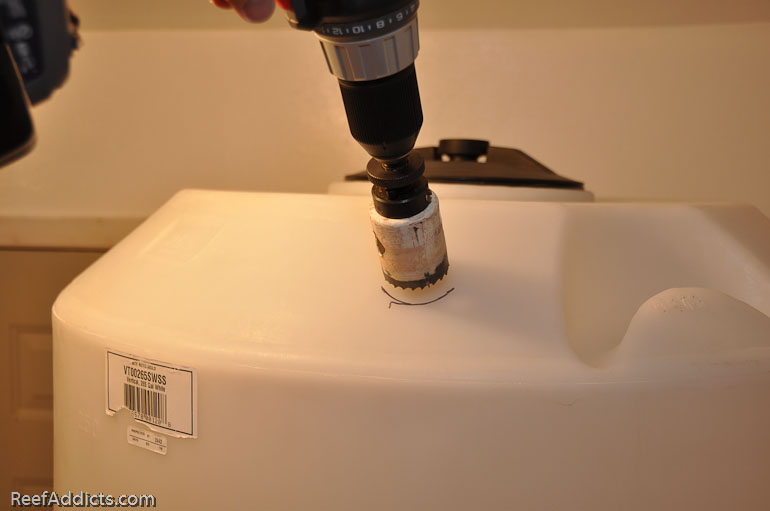

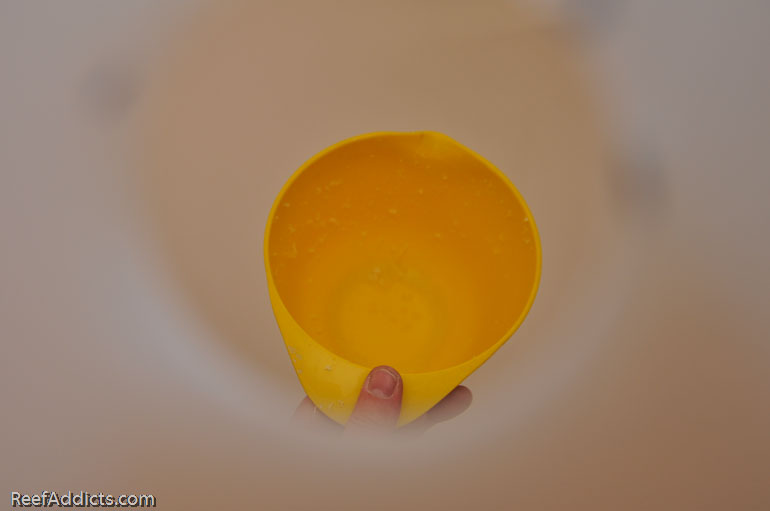
    To avoid shavings inside the poly tank, I held a bowl in place inside under the surface about to be drilled. The hole was cut in less than 20 seconds.
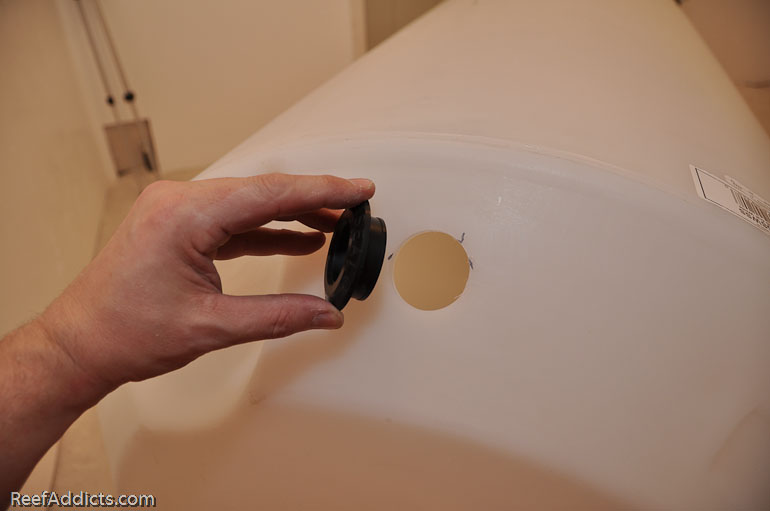
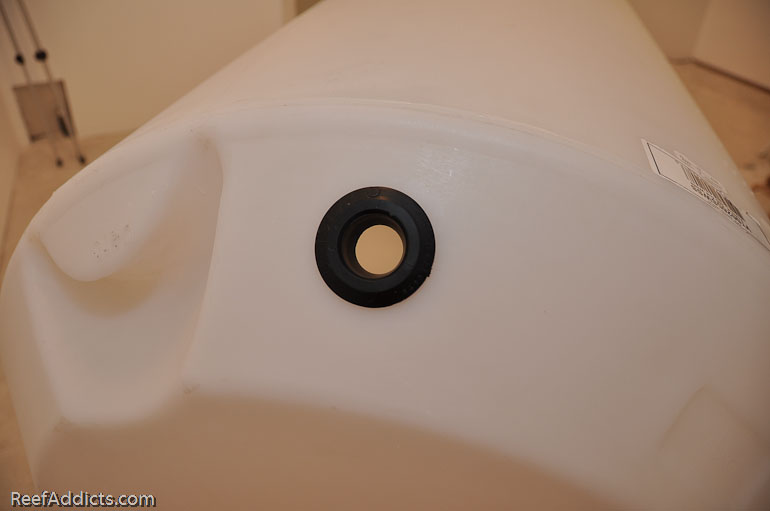


    A 9" piece of PVC pipe was cut, which has to be pressed through the uniseal. To make this job easier, the first thing I did was taper the end with a dremel tool.
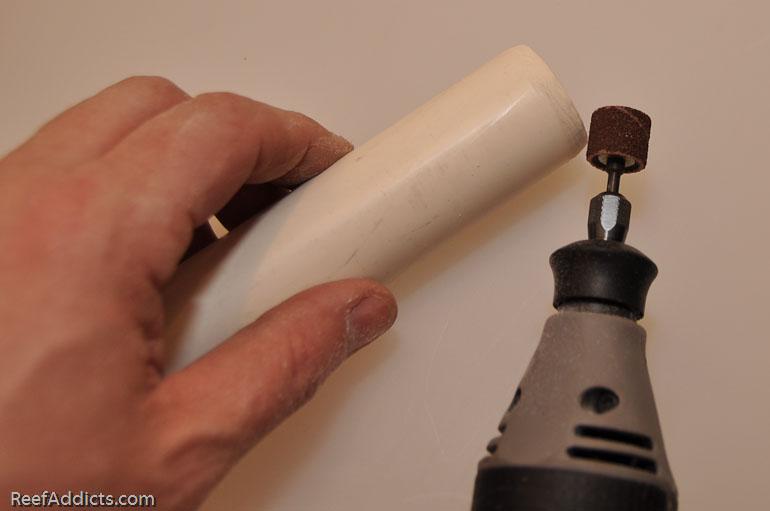
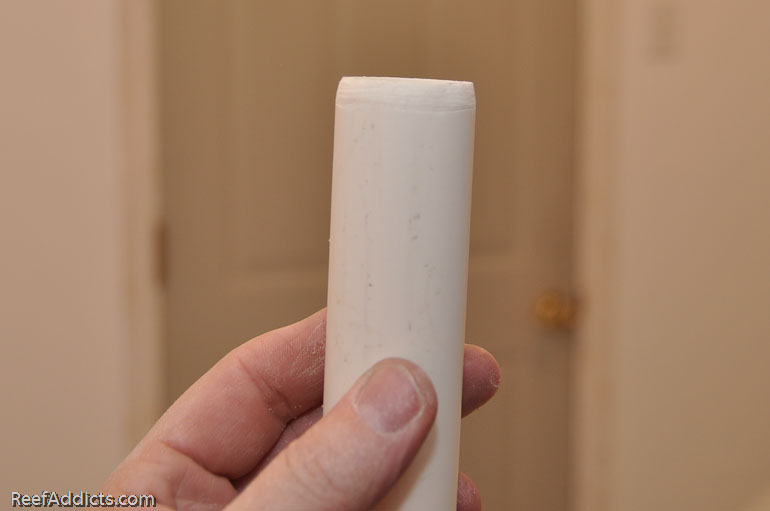


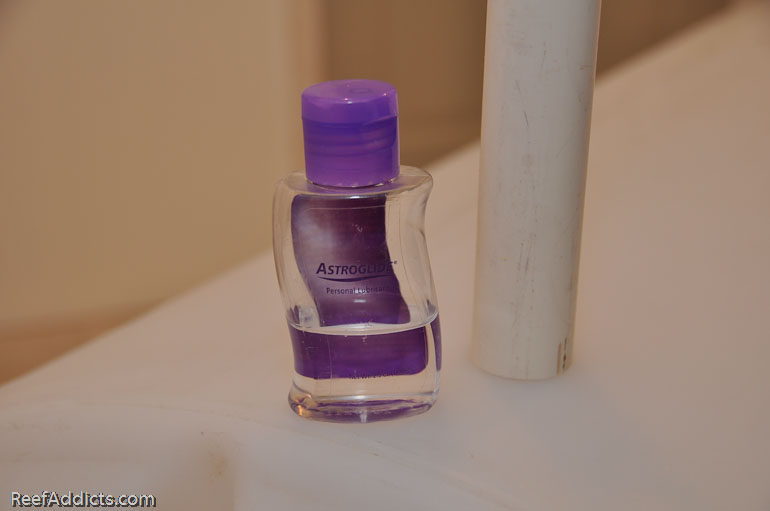
    This makes people laugh, so I can't leave out this little tip: Astroglide is the easiest way to get PVC into a uniseal. Trust me. hehe

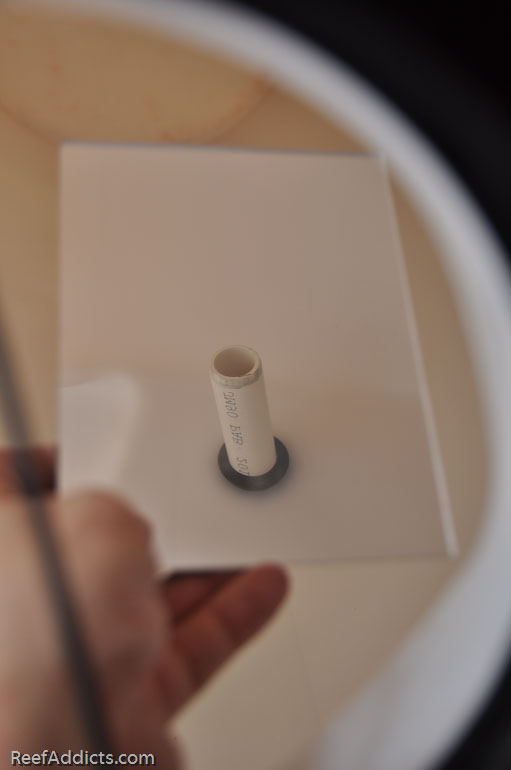
    From inside the poly tank, using a small mirror, you can see the pipe installed


    While the poly tank was being drilled, I wanted to get a float valve installed as well. RO/DI water will fill up the tank until the float valve rises and pinches off the line (in theory), shutting off the RO/DI system. I'll have a 1/4" ball valve inline to shut off the water going to the poly tank to avoid accidents. Once a month I'll open the valve to collect more RO/DI water for the next batch of saltwater.
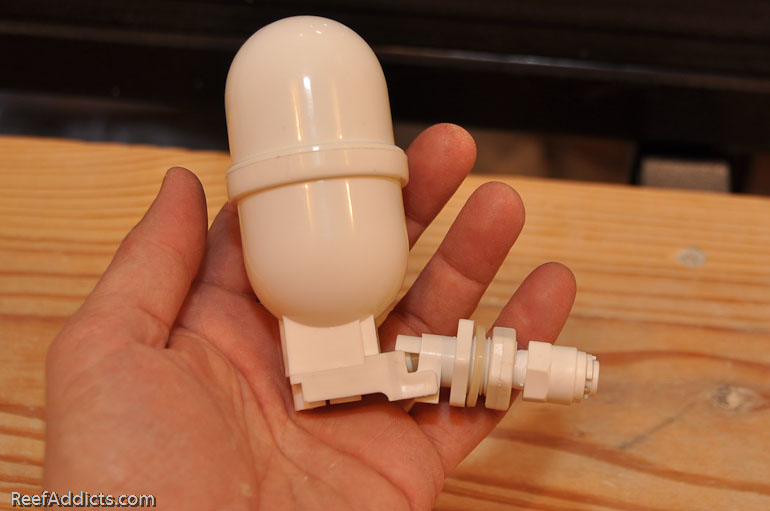

    This one is a little different than most floats.
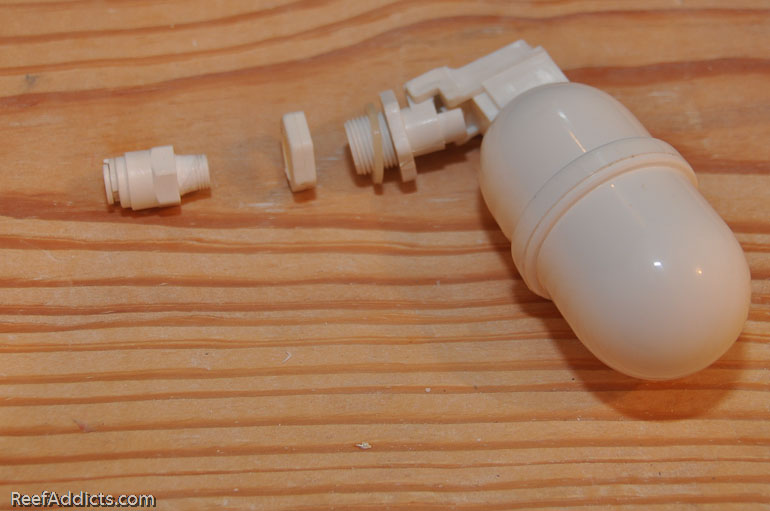

    Open, water flowing:
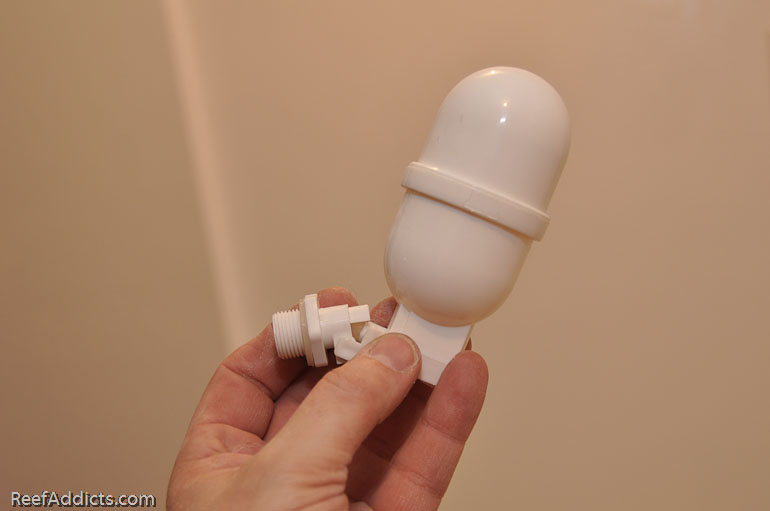

    Closed, water stopped:
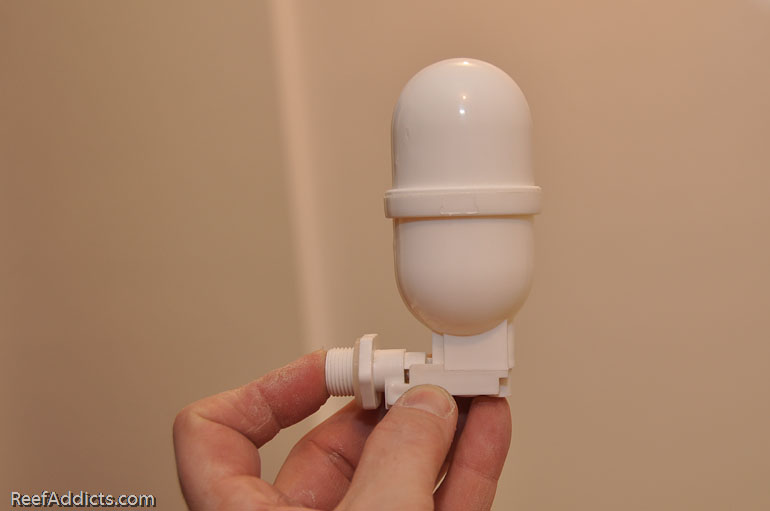

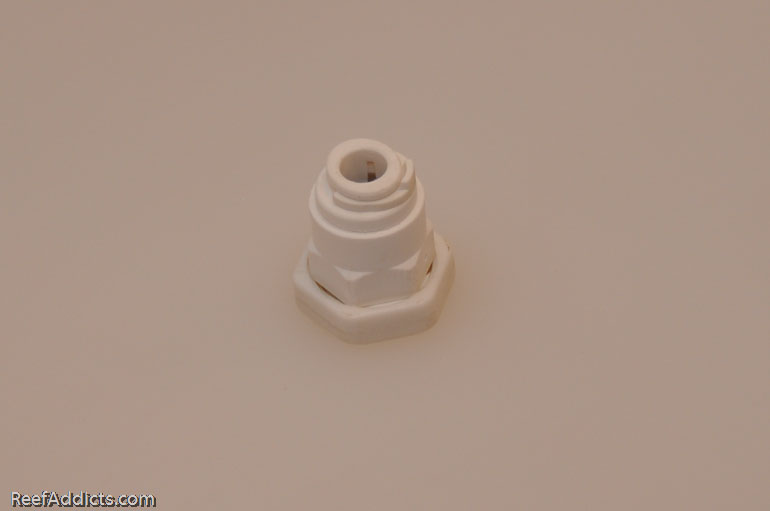
    The wall of the poly tank is almost too thick for this particular float, but it worked out. 1/4" icemaker/RO tubing fits into that tiny opening.

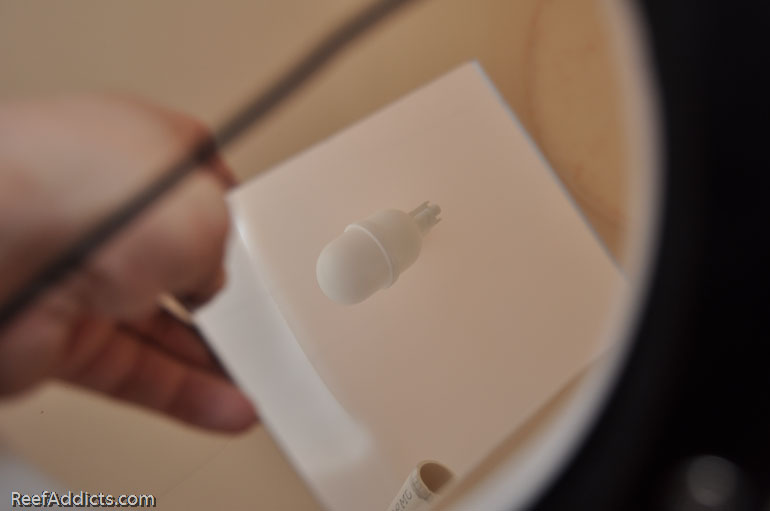
    Here's a picture inside to the poly tank using a mirror to see the float valve.


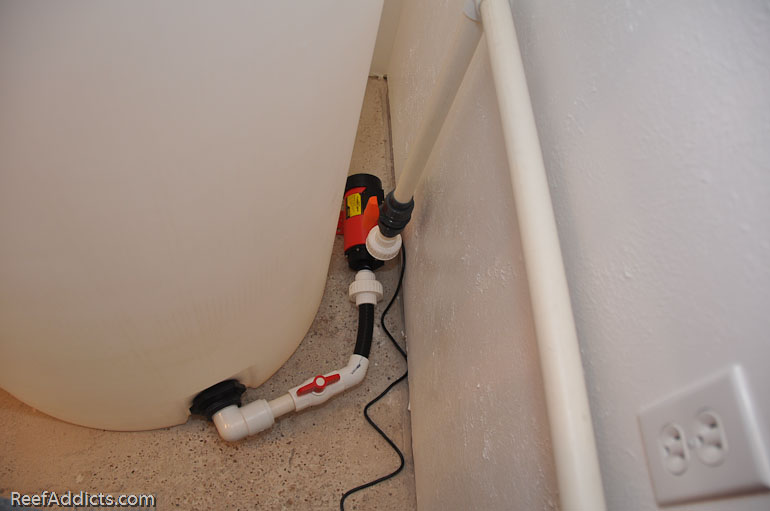
    Back to the return pump vertical pipe, it's time for the last few pieces. Dry fitting again helped determine how tall the vertical pipe needed be.
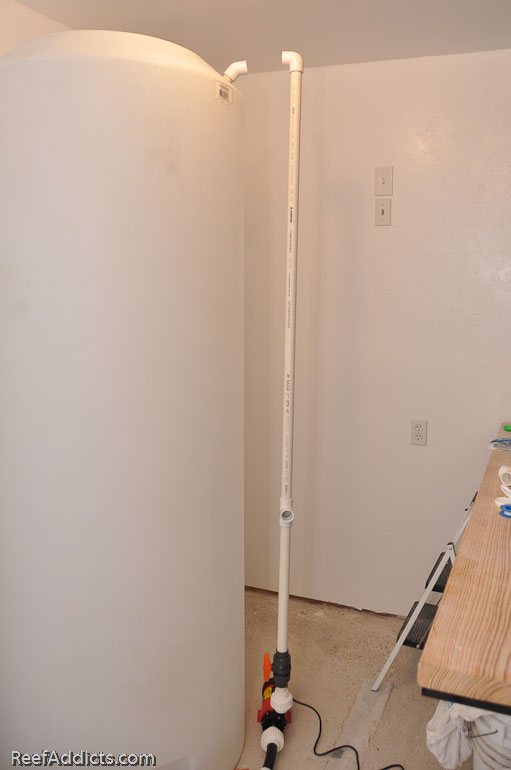

    Measuring the distance between the poly tank and the vertical plumbing nearest the pump, I tried to match that distance near the top. The pipe is 3.5" from the poly tank. Keeping that distance, this horizontal piece was cut to fit.
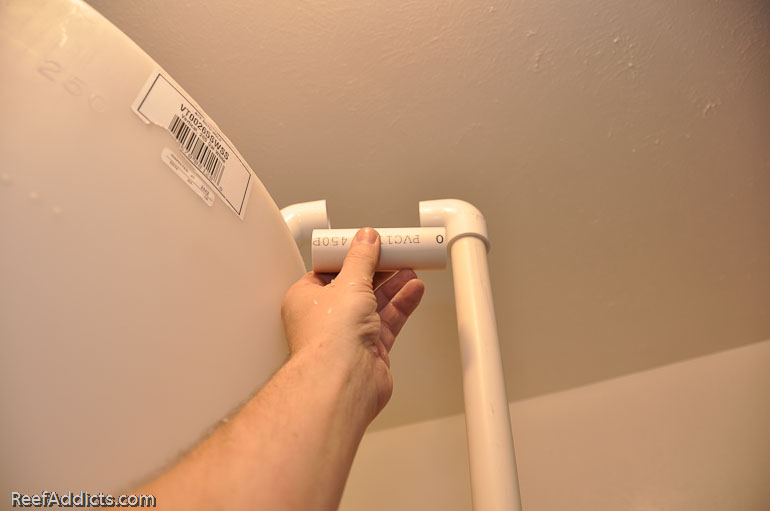

    Primer & cement, press together and hold, then wipe the excess glue away and this is how it looked.
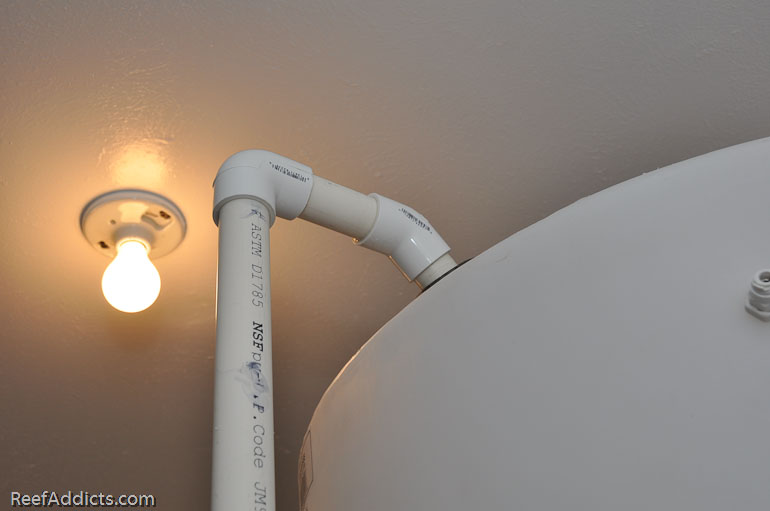
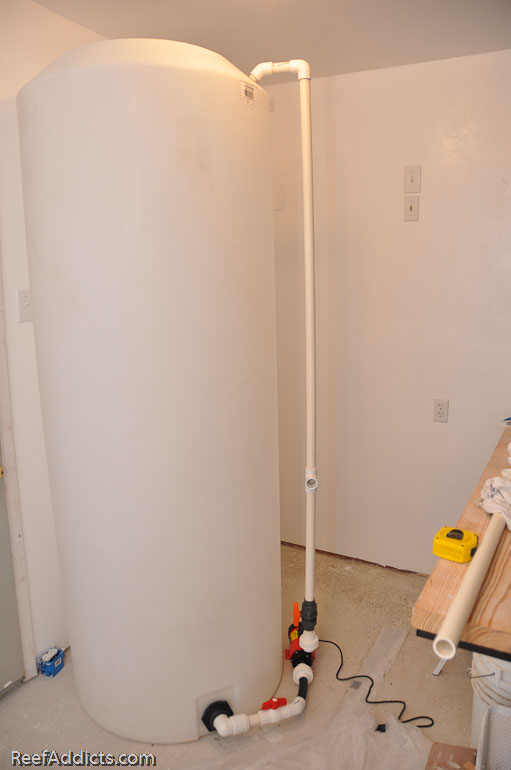


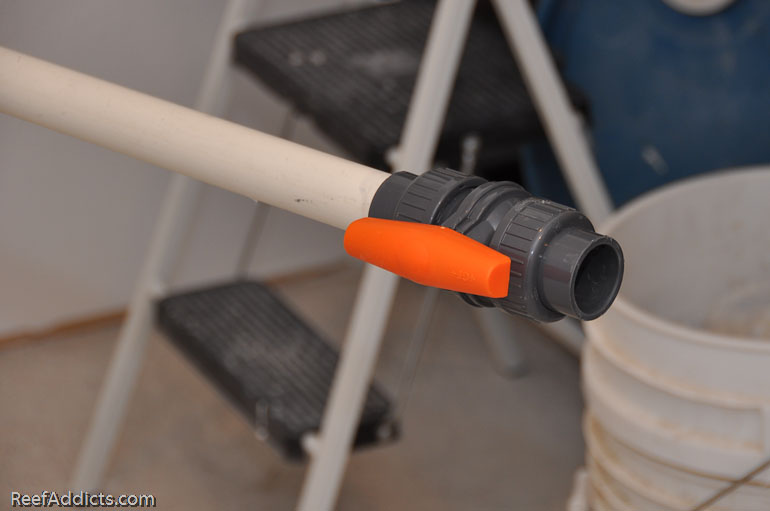
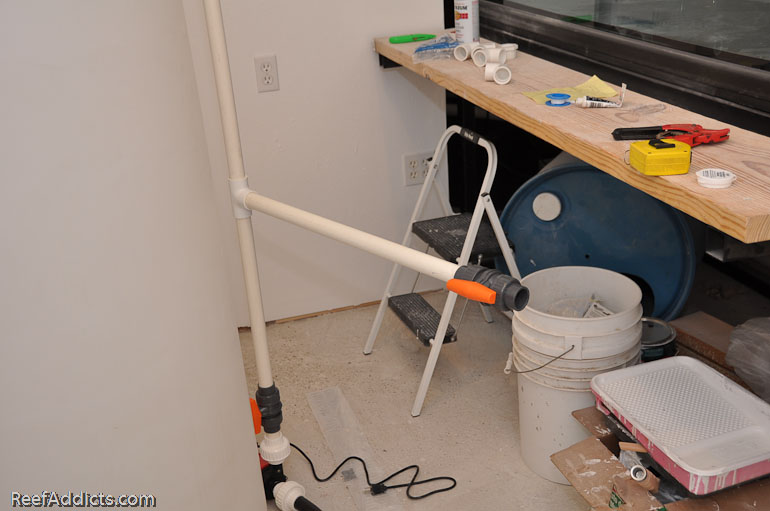
    The last step is to add the horizontal feed to the sump area. Very easy, using the last of the PVC pipe and the second double union ball valve (DUBV)
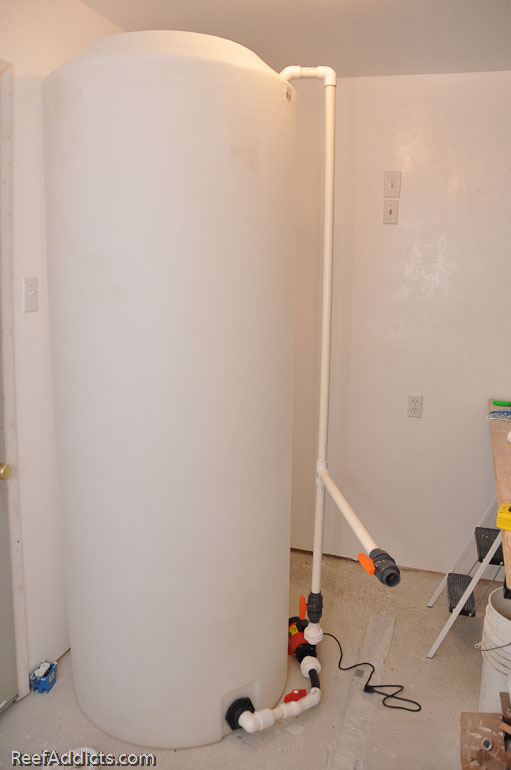


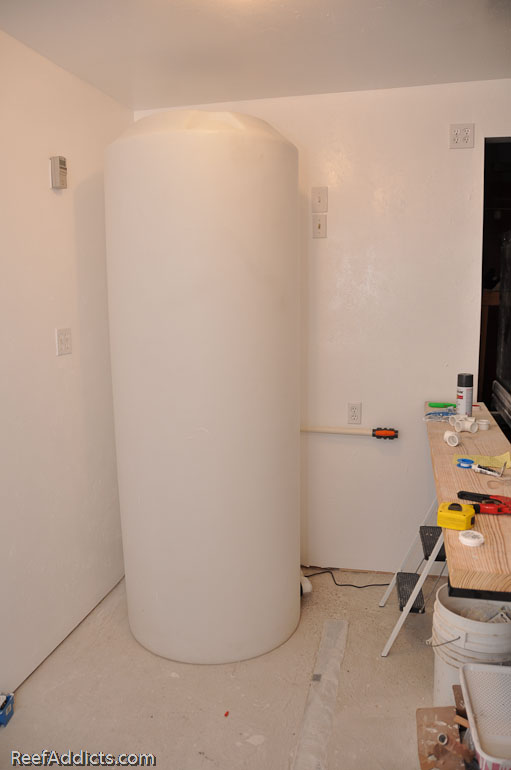
    The entire tank was pushed into place up against the wall.


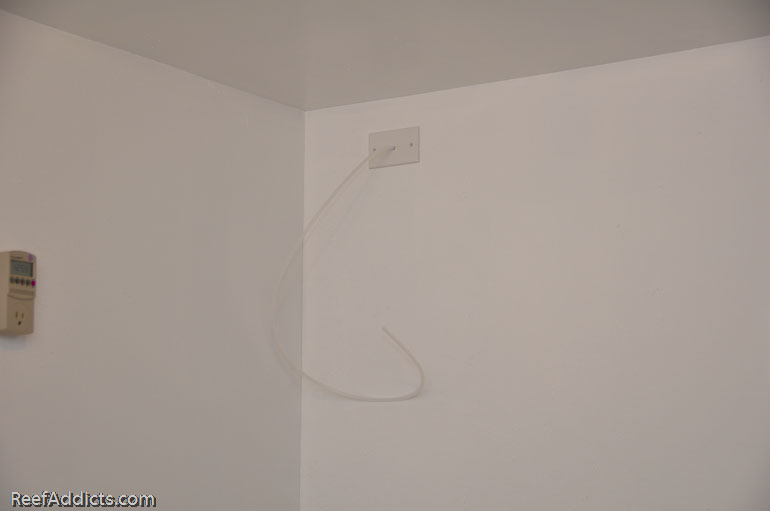
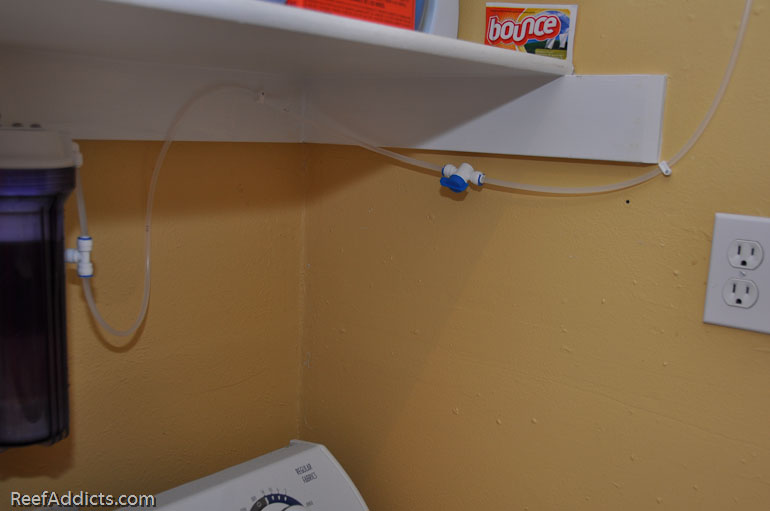
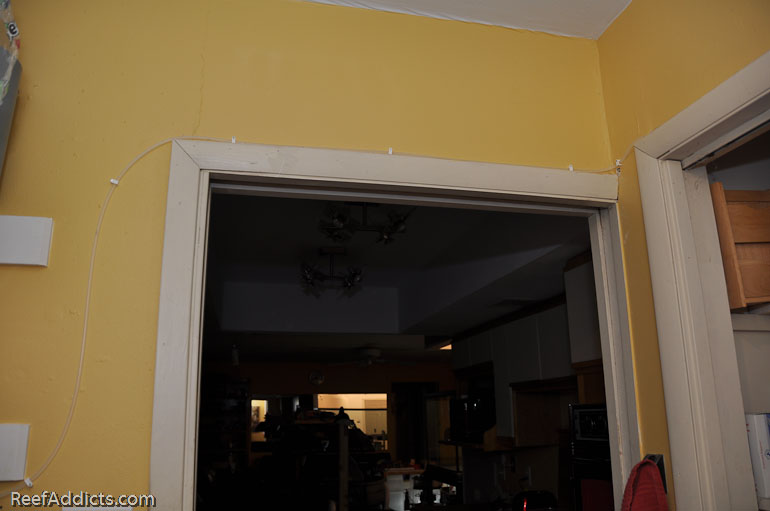
    Time to hook up the RO/DI system to it! Because it takes so long to make water and it was at least a couple of hours since I glued the first few fittings together, I didn't have to wait. Here's where the tubing comes into the fishroom.

    Here's the cut-off valve to stop water from feeding into the fishroom, then into a Tee fitting, which feeds the 265g reservoir and the other line will be for the automatic top off reservoir (not pictured at this time).
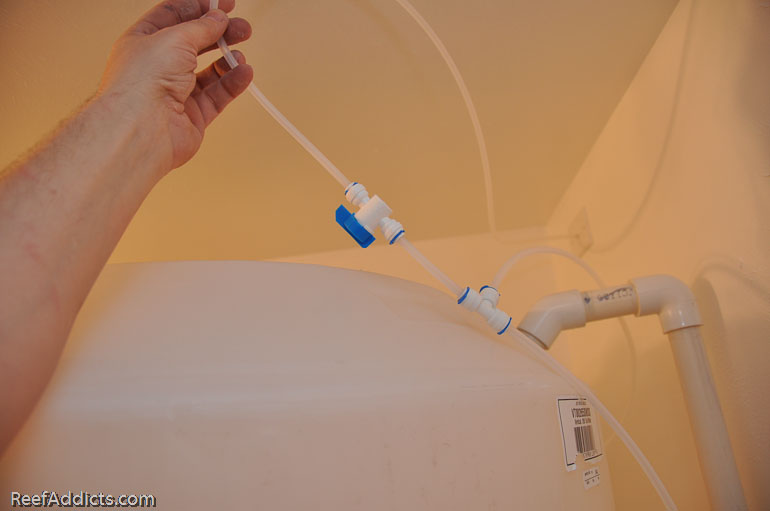
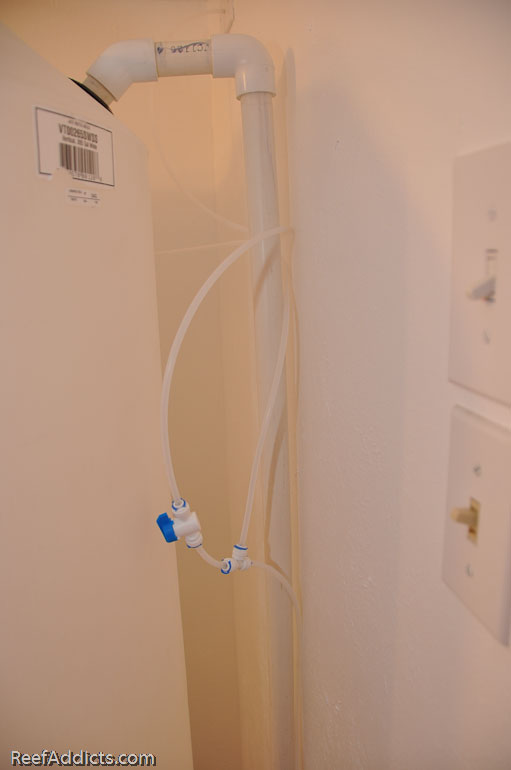
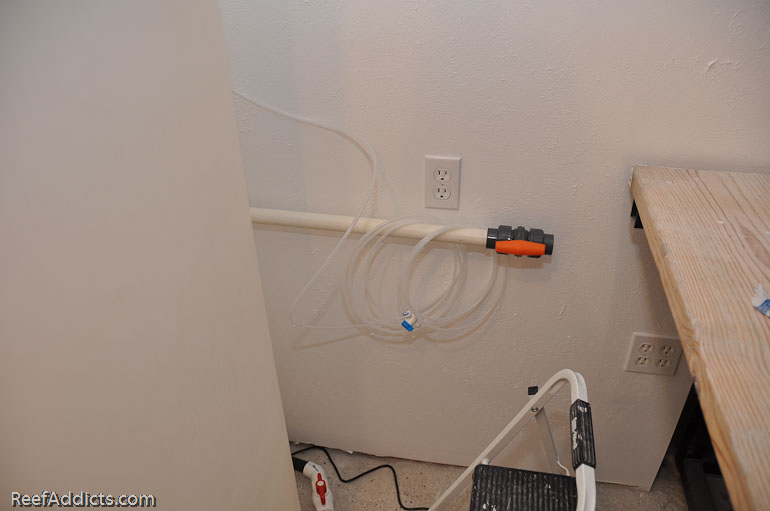


    The water is coming from the 150gpd Boosted RO/DI system in my utility room, which is about 25' from the poly tank.


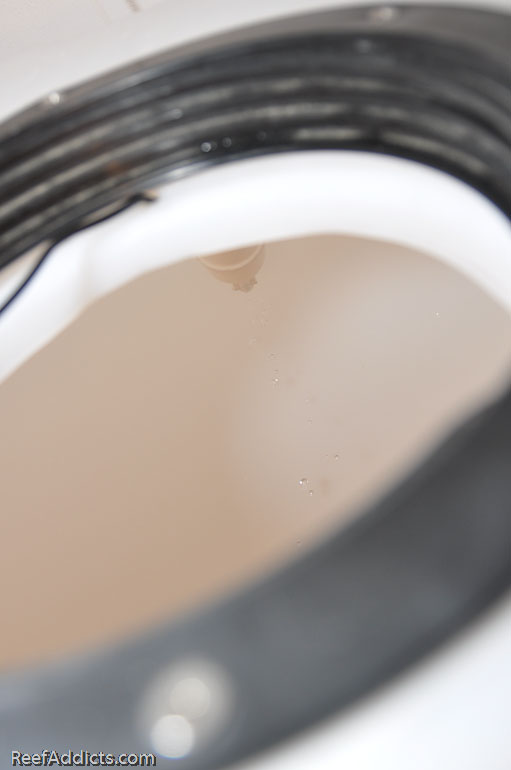
    Look closely and you'll see the water droplets.

    Filling it up at last.
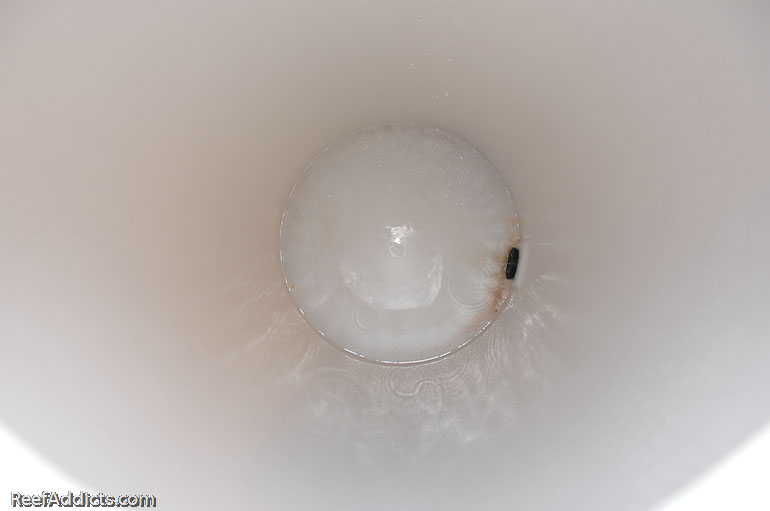

    At the time of this writing, it has been 22 hours and over 105g are collected. Once the vat is full, salt will be added and the circulation pump will be plugged in to mix it up and get it aged.

    I hope this article has helped you understand the basics of plumbing using this real life example. The next article will feature how to plumb a reef tank correctly, and it will be just as thorough.
    Comments 22 Comments
    1. drimo's Avatar
      drimo -
      You had to *slip* your lubricant of choice in there. That container would make a lot of vodka.

      Excellent series of articles! I am getting ready to plumb my new 40 breeder and this will help a lot. I already have most of the parts, just need a few more things for the plumbing. I'll write something up soon when I have time. Thanks for writing this!
    1. marks69's Avatar
      marks69 -
      i'm not going to ask how you found out the lube works well.lol
      for your ro di water you could also use the t first then 2 shut offs. that way if the ato craps out you can shut just that off and still be making water. my world seems to die on me so i try to make things easy to fix.lol
      nice looking work though.
    1. masharp1126's Avatar
      masharp1126 -
      Nice idea on using the plumber's silicon on the threads of the union, I hadn't thought of that.

      A couple of areas that I do use it on are; the round rubber gasket on all unions and tru-union or single-union ball valves, as well as I'll take my ball valves, close them all the way, and rub some inside on the ball section. Then open and close it several times to ensure it's lubricated well. Makes it easier to open and close them down the road.
    1. Tbeau's Avatar
      Tbeau -
      Where and how much for the container. I would love to get a 100 gallon one. I am in mid process of converting from 75 to 120 gallon tank. I use a 40 gallon now and is not to my liking.
    1. drimo's Avatar
      drimo -
      What is the difference between schedule 40 and schedule 80? Your double union ball-valve from Savko appears to be schedule 80; what makes that different than the schedule 40 double union ball-valve sold by Lowe's?
    1. mr. fix it's Avatar
      mr. fix it -
      great article marc. i've done alot of pvc work and would like to add a few tips. i was always taught to use sandpaper on the inside slip end of fittings, 120 grit works good it helps the primer to soften the fittings for glue up. i always use food grade silicone paste on o-rings, like on the unions, protien skimmers, or anything else with rubber parts, even suction cups. i bought a couple of 2 oz containers through amazon.com of if you have a scuba diving shop near by, there only 2-3 bucks each and last a long time. there's another pvc part i like to use when necessary, it's mainly used for plumbing repairs, it's called a slip fix. it comes in different pipe sizes, and is a telescoping repair coupling. it will adjust about 3", and has o rings to seal. lastly most of the time when working with threaded pvc fitting you only need to make them hand tight, don't crank on them with a wrench because you will split the female end. especially when working with bulkhead fittings.
    1. Hat39406's Avatar
      Hat39406 -
      Hey Marc, I may be seeing it wrong, not sure, but I would have the pump a few inches off the ground. For safety reasons. Just an idea. ;-)
    1. Sisterlimonpot's Avatar
      Sisterlimonpot -
      I knew when I read that those gaskets are used on skimmers that Astroglide would make another appearance, I shouldn't comment on the level, should I?.

      It makes me want to track down your other posts about the subject....

      Great article Marc, I need to add it to my favorites so I can link others to it. thanks.
    1. melev's Avatar
      melev -
      Quote Originally Posted by marks69 View Post
      for your ro di water you could also use the t first then 2 shut offs.
      Once the vat was full, that's exactly what I did. First I wanted to shut off the water going into the room, but then like you pointed out, I needed to isolate the line from the 265g and yet still be able to make water for the RO reservoir.

      Quote Originally Posted by masharp1126 View Post
      A couple of areas that I do use it on are; the round rubber gasket on all unions and tru-union or single-union ball valves, as well as I'll take my ball valves, close them all the way, and rub some inside on the ball section. Then open and close it several times to ensure it's lubricated well. Makes it easier to open and close them down the road.
      Good suggestions!

      Quote Originally Posted by Tbeau View Post
      Where and how much for the container. I would love to get a 100 gallon one. I am in mid process of converting from 75 to 120 gallon tank. I use a 40 gallon now and is not to my liking.
      I got the container from a seller advertising via Craigslist. Got it for $120 new, which was a bargain. He had 5 of them for sale at a vodka distillery, up in Richardson. It was just over an hour away, but I couldn't beat the price. Plus I got to bring home a bottle of vodka to try out.

      Quote Originally Posted by drimo View Post
      What is the difference between schedule 40 and schedule 80? Your double union ball-valve from Savko appears to be schedule 80; what makes that different than the schedule 40 double union ball-valve sold by Lowe's?
      The difference is the thickness of the material. However, I don't think the DUBV is Sch80 even though the fitting is gray. The connections looks like Sch40 to me - Savko.com sells these. A member in our club had three for sale once and I bought them since they were brand new. The SUBV (single union ball valve) at Lowes is a bad purchase, it turns out. I have a couple of those in my garage. If you take the union off, there's nothing to keep the ball valve sealed. The union holds the ball socket in place - once I took it apart in the store I had a bad feeling about it but it was in stock and I needed them. However, I never trusted them and put that project on hold. The Savko ones are excellent and easy to use. I highly recommend them.

      Quote Originally Posted by Hat39406 View Post
      Hey Marc, I may be seeing it wrong, not sure, but I would have the pump a few inches off the ground. For safety reasons. Just an idea. ;-)
      There's no need. If the poly tank ruptures, that thing will be flooded in an instant. But if there's a leak, the french drain is there to take away any water in the room. I doubt I'd find 1/2" of water on the floor; the body is high enough to keep the motor dry.

      Thanks for the extra tips, Mr. Fix It.

      Glad it helped, Sisterlimonpot.
    1. Snakebyt's Avatar
      Snakebyt -
      awesome write up as usual, great to see the tank coming together.

      I was unaware that there was a different glue to be used when working with spa flex, i have just used regular glue in the past and guess i was either lucky or the glue was made for spa flex as well. Next time i go to buy glue, i will defenatly make sure it is made for spa flex.

      thanks for the great write up.
    1. lurchix's Avatar
      lurchix -
      Marc:

      What purpose is served by having the union on top of the pump when there's a double union on the ball valve immediately above? 'Twould seem one of the unions there is redundant?

      Thanks, Lurch
    1. melev's Avatar
      melev -
      Habit more than anything. I prefer unions right on the pump's inlet/outlet. In this case, the DUBV was a slip fitting, while the pump was threaded. I suppose I could have got a coupling that was threaded on one side and slip on the other. That would have been about $.75 instead of the $2.50 I paid for my union.
    1. Muttley000's Avatar
      Muttley000 -
      Another great write up Marc! Looking forward to the tank plumbing article you mentioned
    1. Midnight's Avatar
      Midnight -
      I like to use silicone on all threaded fittings as opposed to tape and paste. Silicone seals great and makes turning of fittings super easy. Also when possible, when using unions I prefer to have the collar on the stationary side of plumbing instead of the pump side of the union.
    1. melev's Avatar
      melev -
      Quote Originally Posted by Midnight View Post
      I like to use silicone on all threaded fittings as opposed to tape and paste. Silicone seals great and makes turning of fittings super easy.
      How long do you wait for it to cure?
    1. Midnight's Avatar
      Midnight -
      Just an hour or so usually. I have done this on my pool plumbing and turned on pump immediately with 1 1/2 hp pump with no problems. The silicone really fills all the gaps well. Just coat the threads and screw them in, also works on bulkheads.
    1. DETANE's Avatar
      DETANE -
      Great write up. Definitely a large amount of useful information that will help many reef addicts.
    1. kitch40's Avatar
      kitch40 -
      Marc, my return pump setup for our new 125 tank rated 1250 gphall came with 3/4" od hose barbs,and the same size on the inlet tubes to the tank. is that big enough fittings or would it be good to increase the size? THX Marc
    1. melev's Avatar
      melev -
      I would increase the plumbing between the pump and the bulkhead. 1" would be good. This avoids pressure and restriction for the first 2.5' or so.
    1. kitch40's Avatar
      kitch40 -
      Thanks Marc