This is Amanda showcasing NextReef products at the Fort Myers, FL event I attended earlier this year.
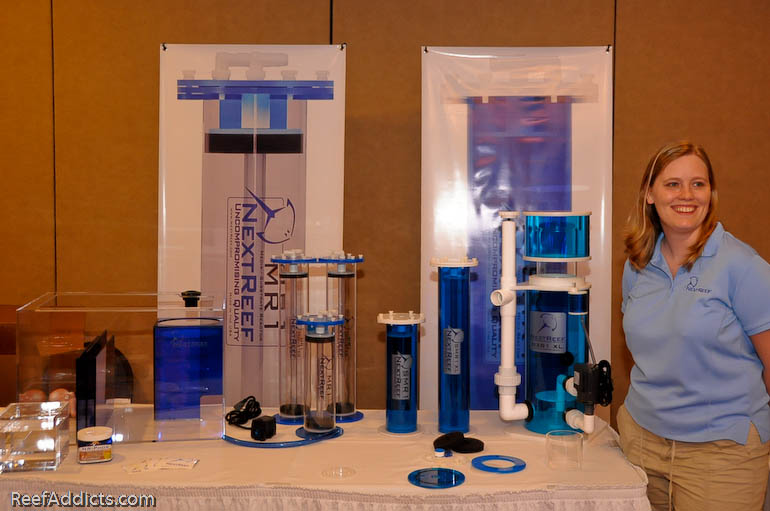
After talking with Dave about my system and my desire to use biopellets, he recommended the SMR1 XL - Solid Media Reactor 1 XL. This isn't their biggest, but it's a good size for larger reef tank owners. It holds 2 liters of media with a little space at the top, and is rated for up to 400g systems. A smaller version is also available, both for solid media and for the finer stuff like GFO (Granular Ferrix Oxide).
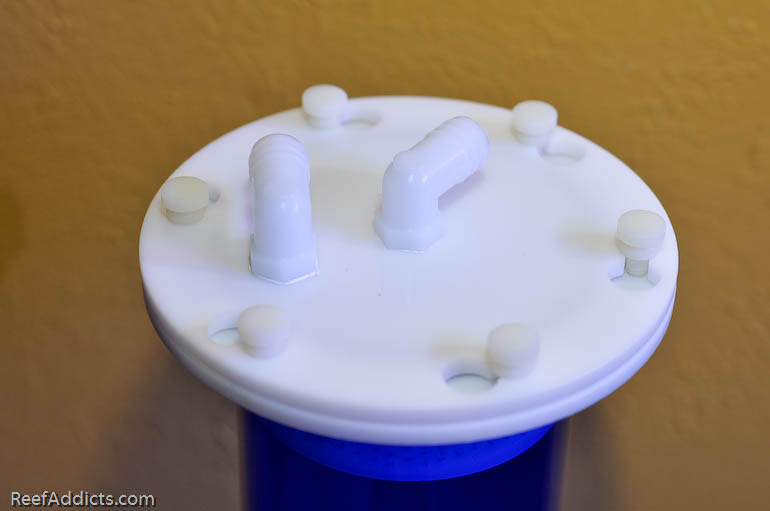
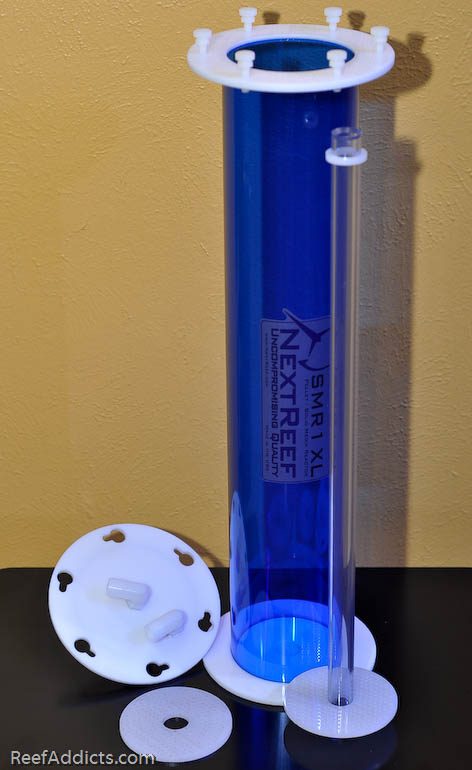
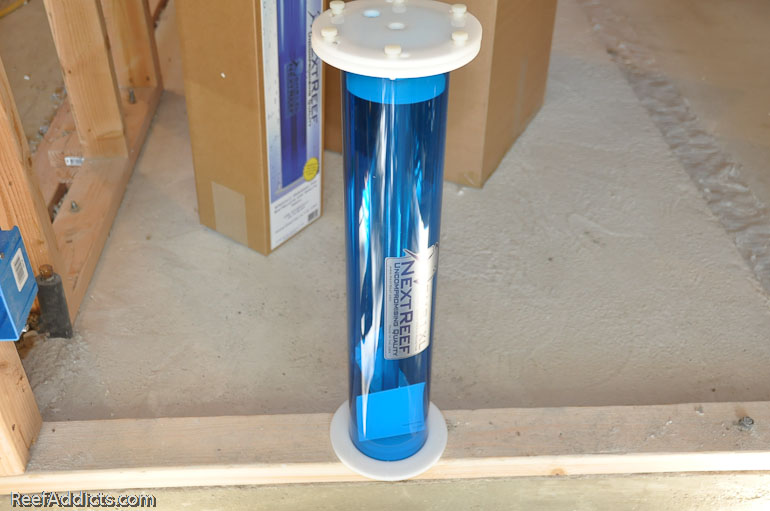
This is what the SMR1 XL looks like assembled. Most of it is ready to go right out of the box. I screwed on the hosebarb elbow fittings with the supplied teflon tape to the lid.
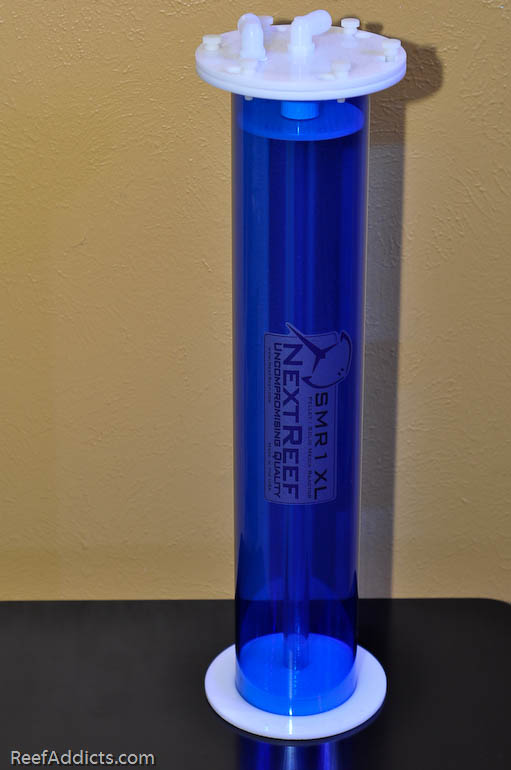
This reactor retails $149 from most e-tailers, and you can ask your local fish store to order one in for you as well.
The lid section uses keyhole slot connections. Tightening down the thumbscrews, the lid seals the water inside allowing the reactor to be used externally for those that lack space in their sump.
Inside the lid, a black O-ring provides the seal.
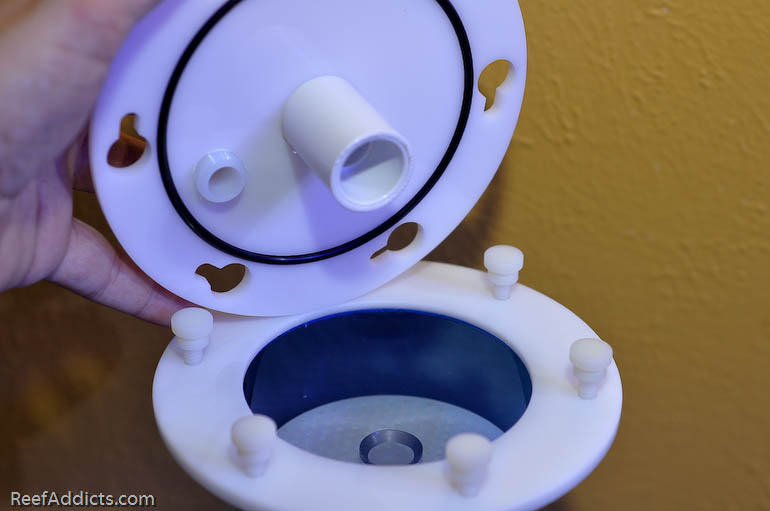
Here's a picture of the reactor with all of the components. When cleaning, the entire reactor can be fully disassembled.
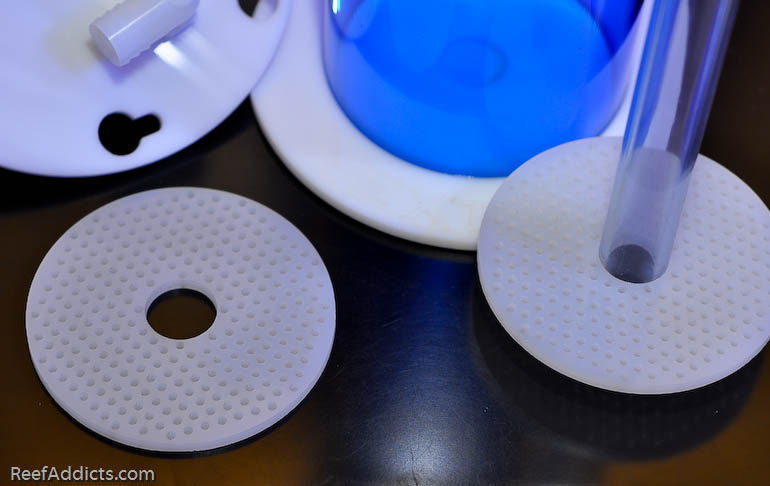
The perforated plates are designed to handle larger media, such as Granulated Activated Carbon (GAC) and NP Biopellets offered by many vendors.
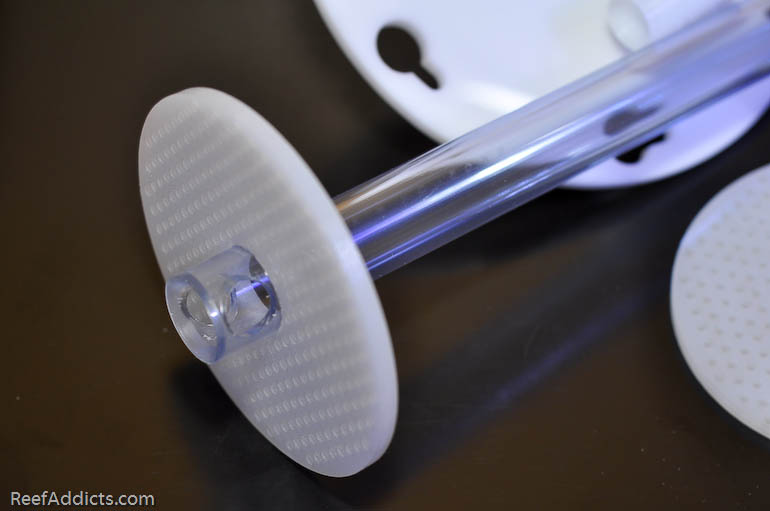
The water from your tank flows down the internal tube and shoots out of these ports at the base, directly beneath the perforated plate. The water then flows up through the plate, tumbling the media steadily, and finally exits out of the reactor at the top. The upper plate keeps the media from exiting the reactor.
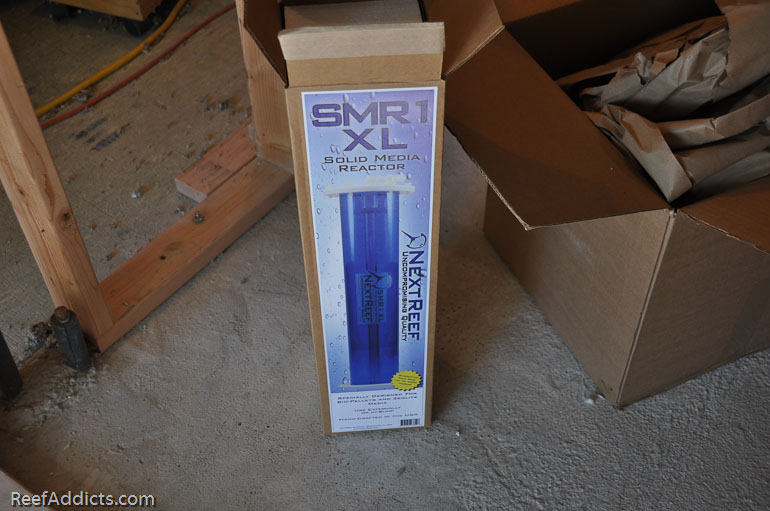
When I received the reactor I was very impressed by the packing and packaging. The reactor was in a box, packed inside another box to assure no damage during transit.
The SMR1 XL has a 6" footprint, and needs 23" of clearance with the hosebarb connections. The blue acrylic tube is 4" in diameter.
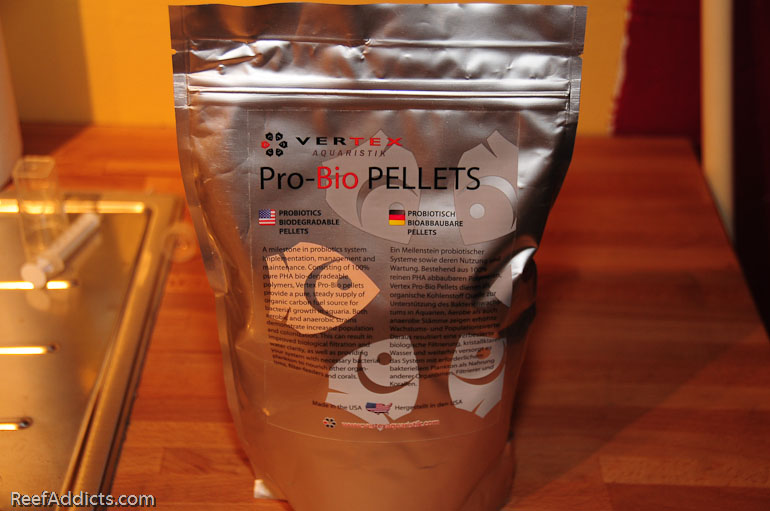
I chose to use Vertex Biopellets, purchased from Premium Aquatics. Each pouch held one liter of media.
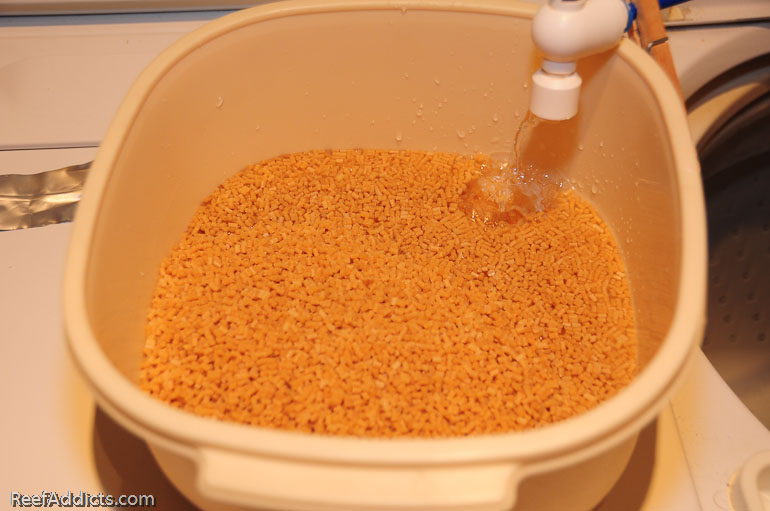
I poured the media into a container and pre-soaked the pellets for 24 hours in RO/DI water.
Once those were ready, I could set up the reactor. It's fairly simple: open up the lid, remove the upper perforated plate and pour in the media. Replace the plate, reposition the lid and tighten down the thumbscrews. Done.
Setting the coverplate and supplied hose clamps aside, as well as the perforated plate...
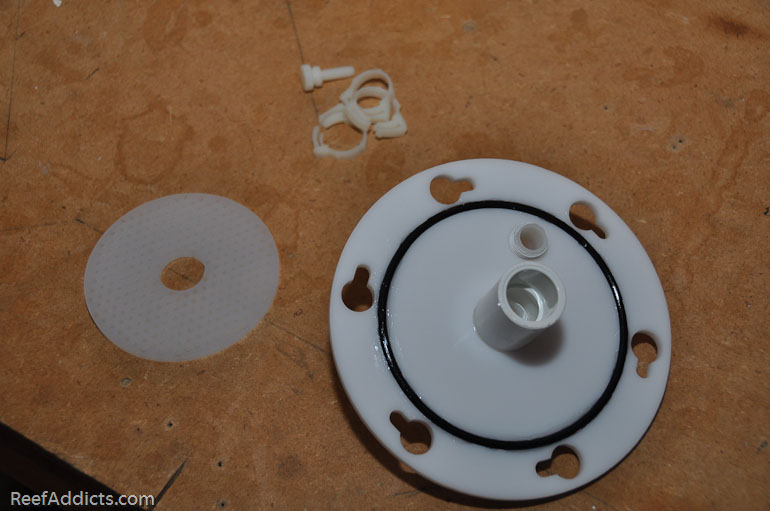
I had a handy rubber tip, probably used to cover a regulator in the past. It fit perfectly over the riser tube to assure no media would get into it. You can use your finger tip or perhaps insert a wooden spoon handle to act as a stopper.
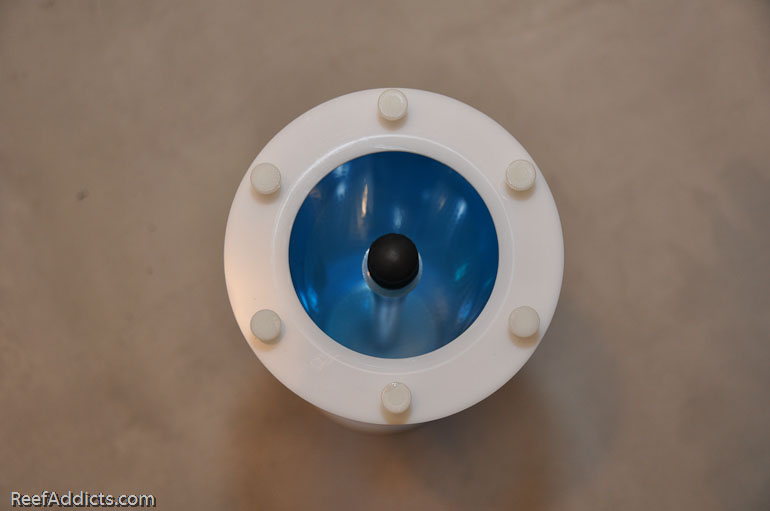
Canning funnels are available in the supermarket where jelly/jam making kits are sold. I use one to pour carbon into a reactor, and it also worked for the biopellets.
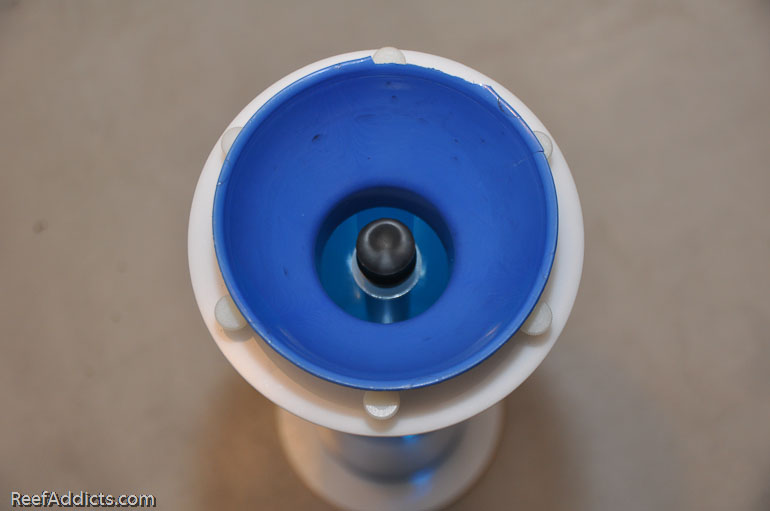
Once filled up with pellets, the top perforated plate fits back into place.
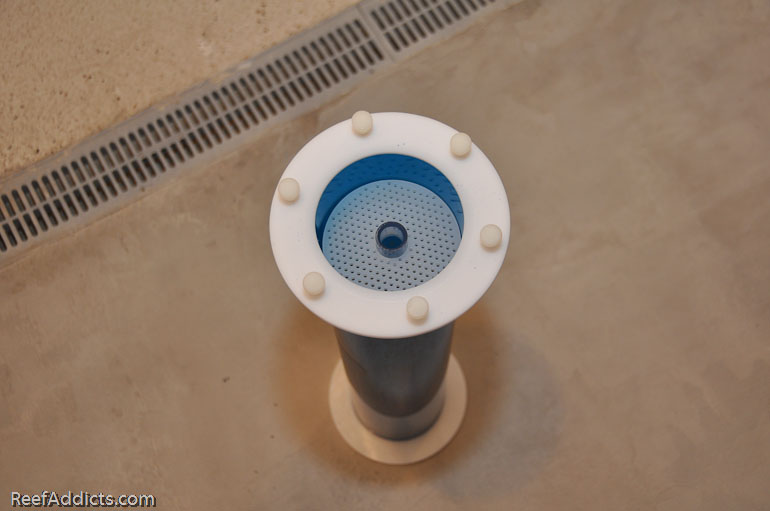
Carefully align the lid with the riser tube, and screw it down snugly. Now it was ready to go in my sump. I planned for it to go with the other reactors in the return section. Dave recommends 400-500gph of flow through the reactor, and I'd already made a manifold with separate ball valves to feed each reactor. All I had to do was connect the flexible tubing to the hosebarb connections.
Rather than force it on by hand and risk damaging the fittings, I heat the flexible tubing in a cup of hot water. After 15 seconds it is quite pliable. This reactor uses 5/8" diameter tubing.
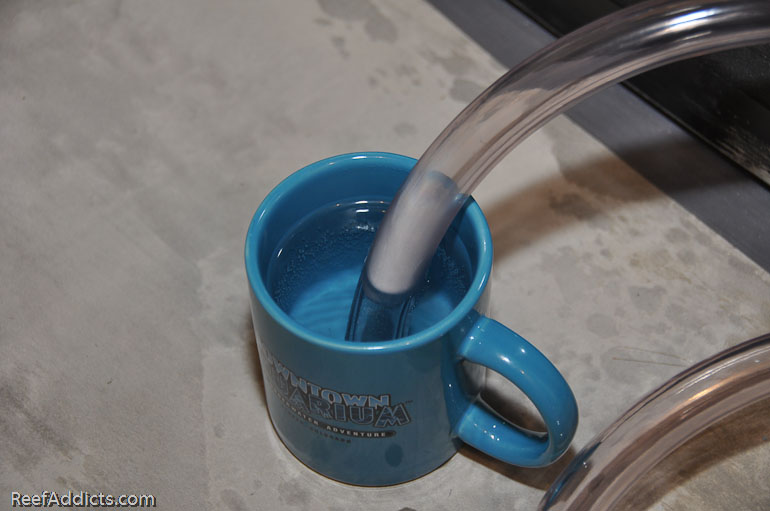
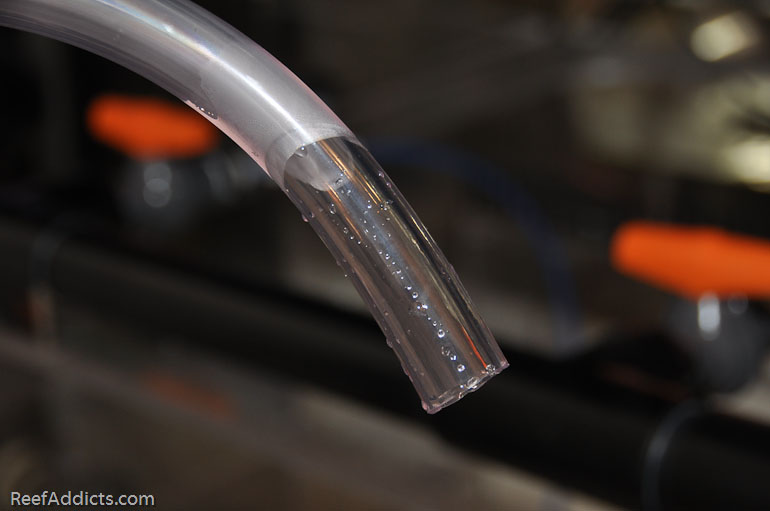
Now the tubing can be easily pressed onto hose barb.
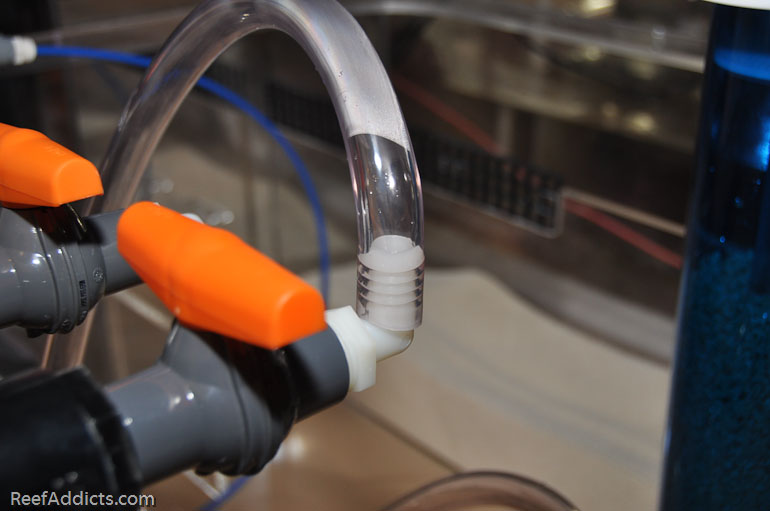
Tubing runs to reactor...
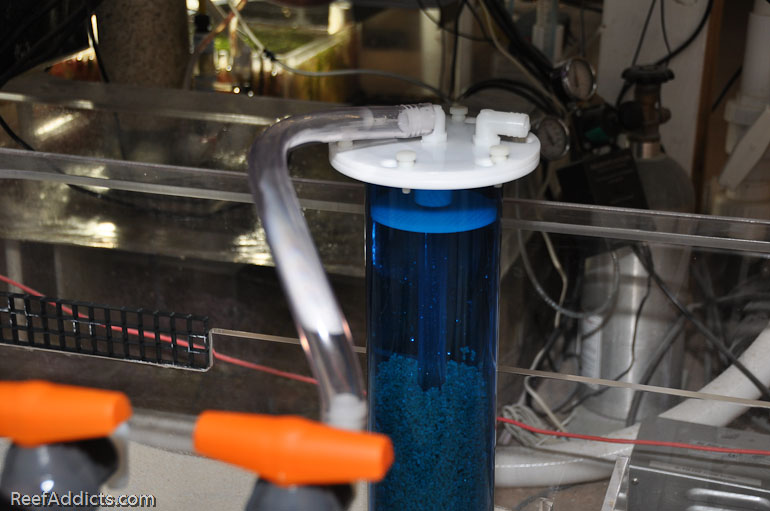
and the effluent hose (upper right in this next image) runs to skimmer's pump intake.
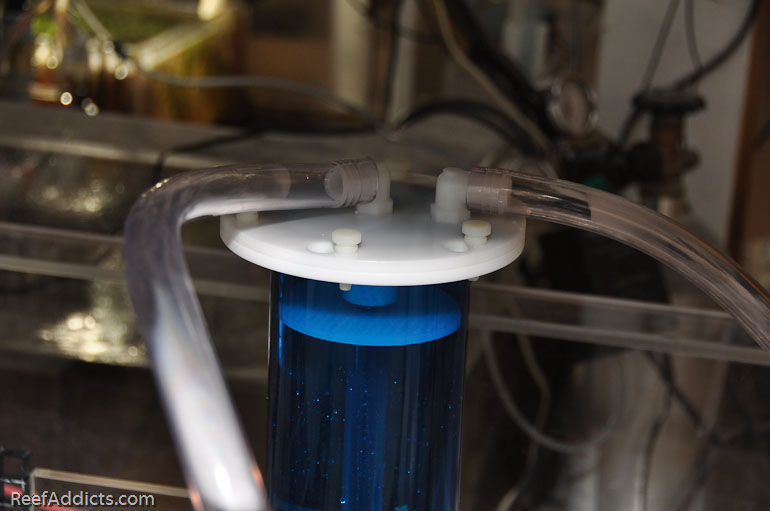
Another angle to show how it is plumbed, hours before I added water to the system.
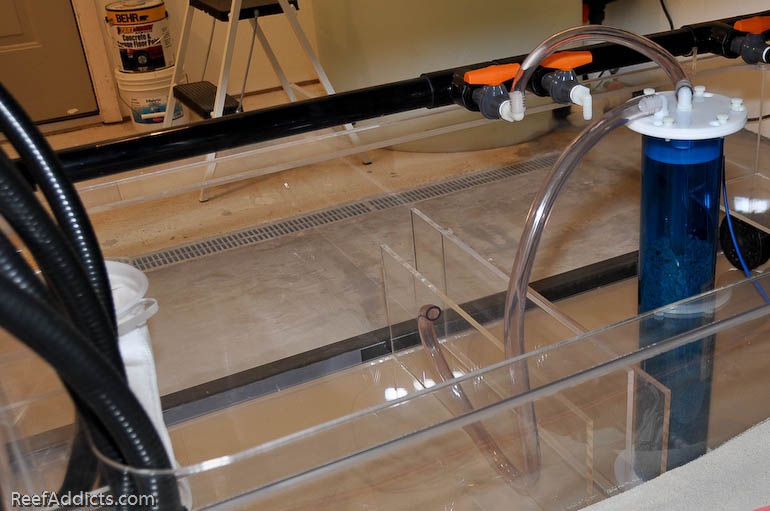
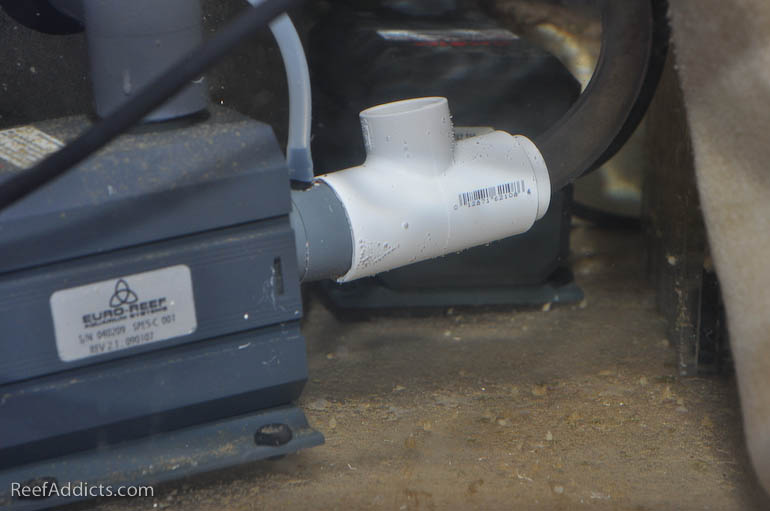
The effluent (output from the reactor) flows into the intake of the skimmer's Eheim pump. I fabricated a connection from some PVC parts I purchased at Home Depot. Here are the details: http://www.reefaddicts.com/entry.php...ation-complete
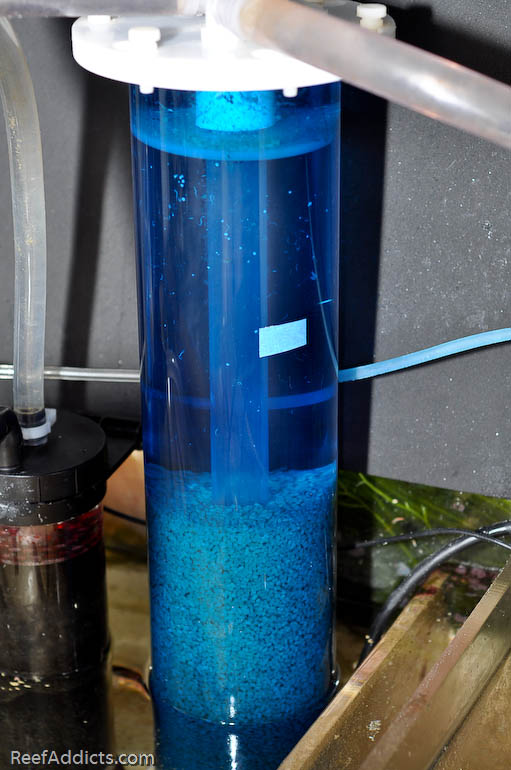
Filled with biopellets, I only had to wait to see how it would work out. They are used to keep Nitrate and Phosphate levels low in a reef tank. Here's the reactor, set up February 6, 2011:
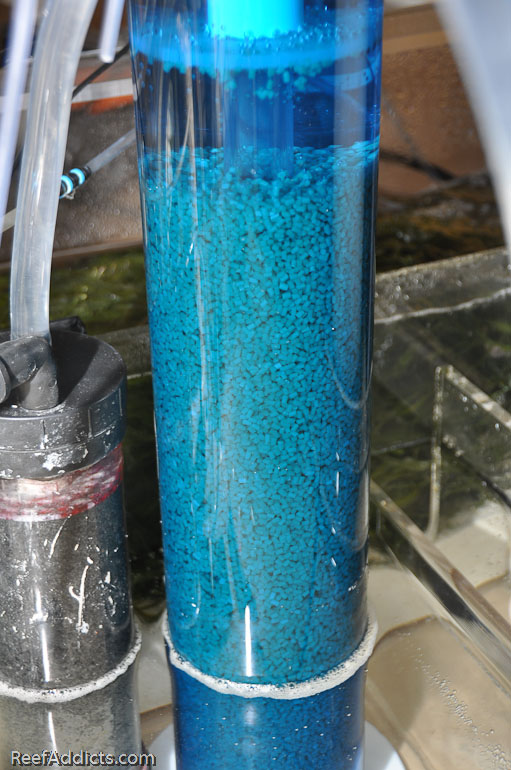
Photographed 7/26/2011. The blue tape was applied at one point to make it easier to see the 'evaporation' rate, although it obviously can be removed now.
Within a day, I was ready to write up my product review. I mean, what is there to say? I hooked it up and it worked as promised. But I thought it would be better to wait and see how it held up over time, and share my observations with you.
- After a few days, the media clumped up but within 48 hours it resumed tumbling.
- Over time, the media will be consumed. In the past six months, it has dropped about 6.5"
- At some point, I did notice some of the media didn't tumble, with water channeling through a few stationary areas. Increasing the flow temporarily resolved that and it never happened again.
- No algae grows in the reactor, due to the blue acrylic. (I did add a shade to prevent the refugium lighting from shining on all the equipment)
- For the entire period, nitrate and phosphate have measured 0.


 Menu
Menu


Reef Addicts Message