View RSS Feed

maroun.c

Upgrade to 340 G tank changed to 390 G tank.

Rate this Entry
Finally after months of delay the build continues with some changes:
-Tank volume was upgraded to 390G for the display after a friends suggestion to increase the length 20 cm more.
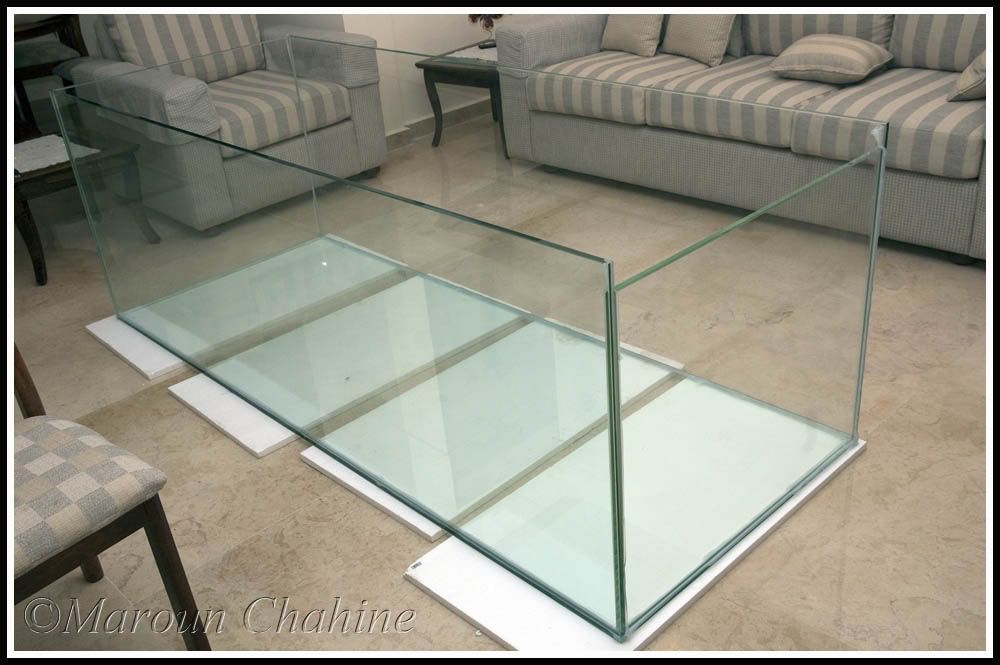
-Final dimensions are 220x85x75 (88"x34"x30")
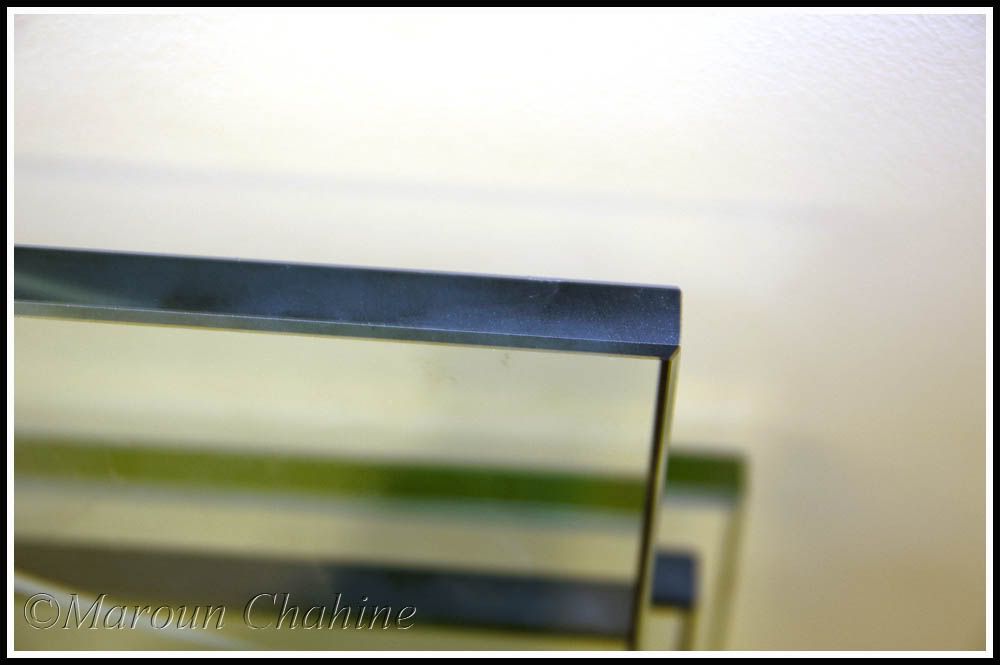
-Starphire on front and side panels.
-Minimalistic Scape
-External side overflow.
-Additional 1000L 265G in Sump fuges and additional sump and fuges in fishroom and connected water change tank so around 2400L 655 G total water volume.
Most other planned electrical, Plumbing and filtration plans remain as in the 340 G thread.
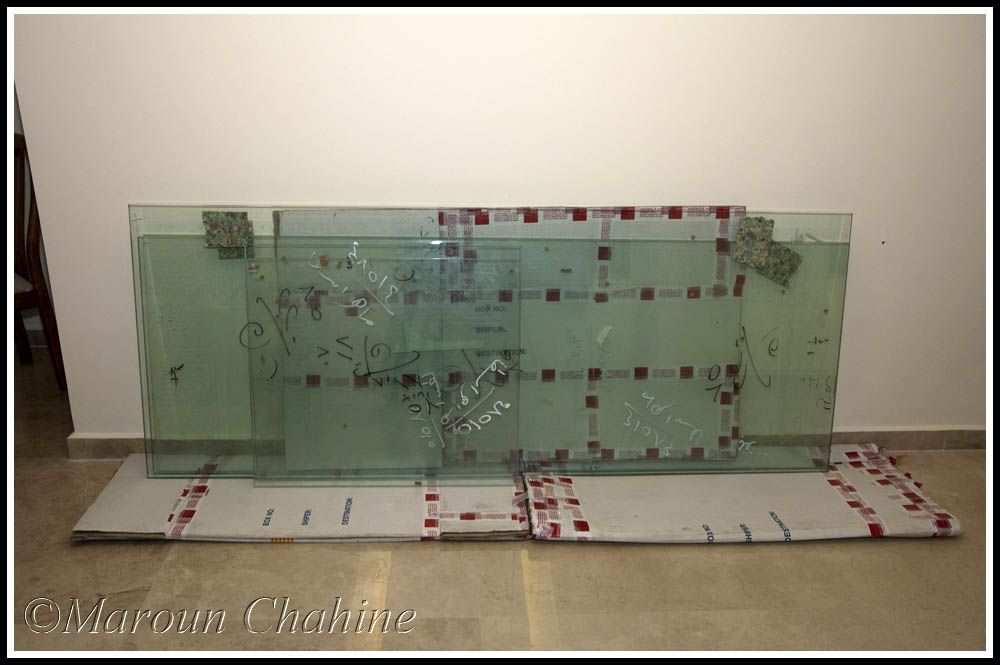
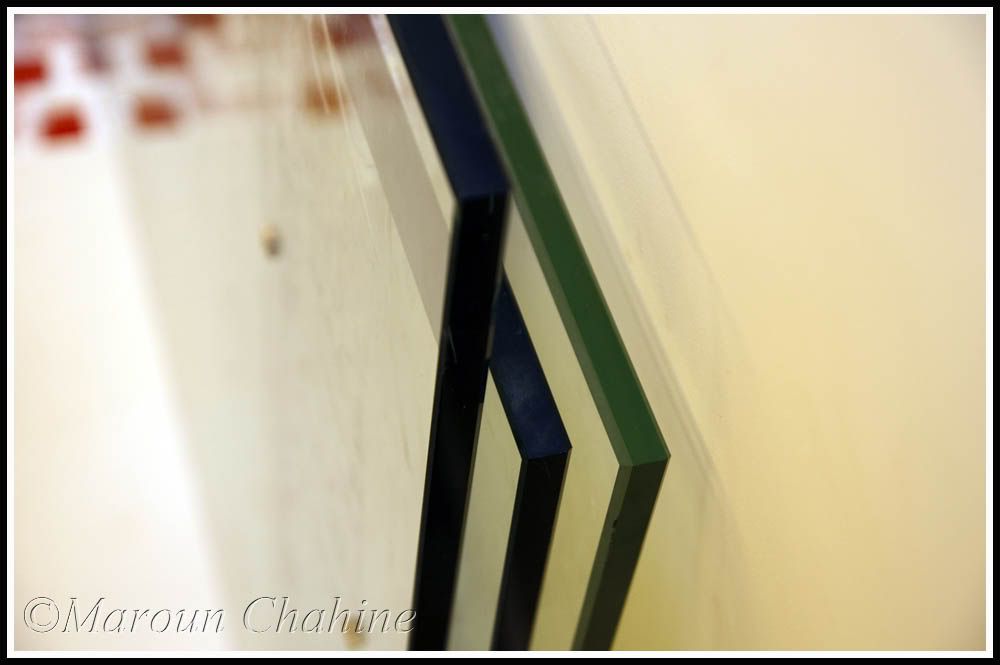
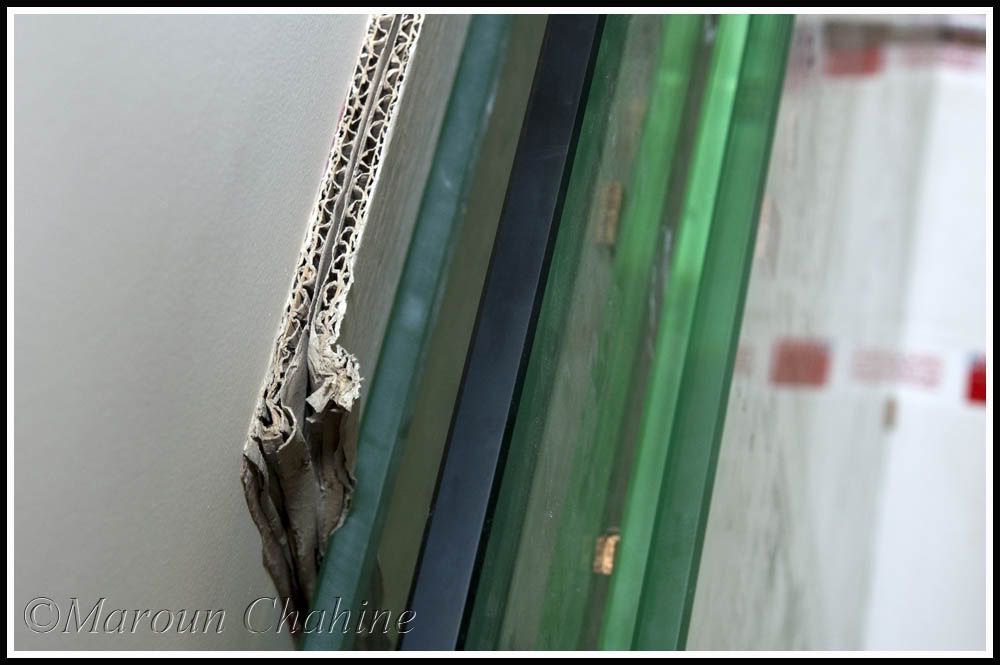
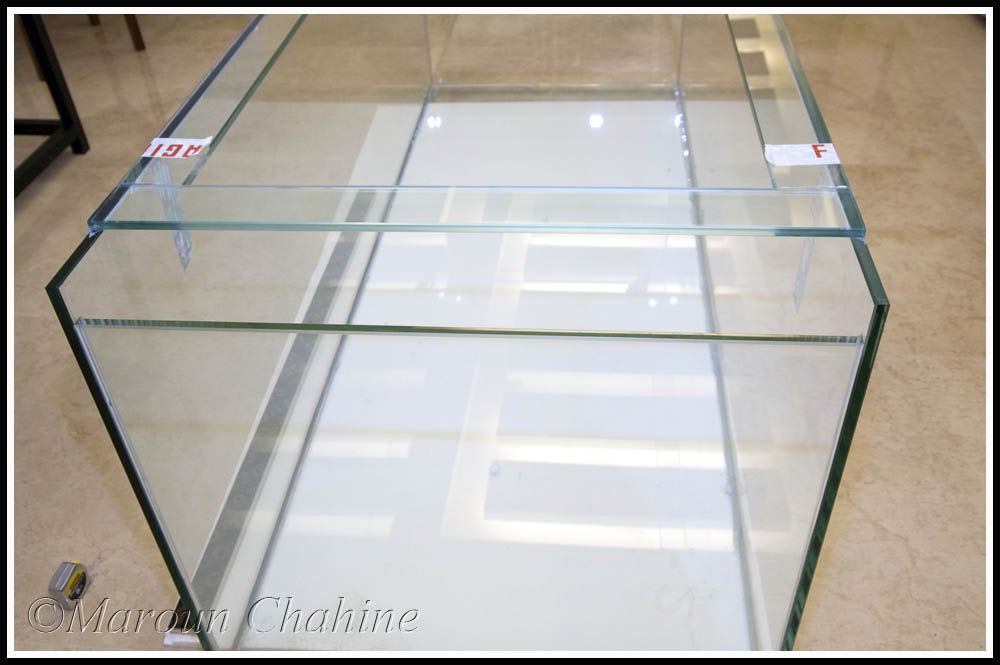
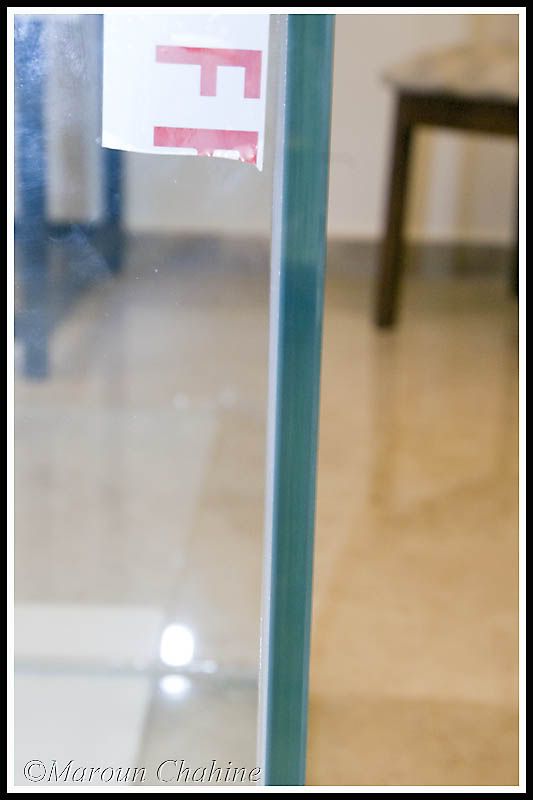
Glass:

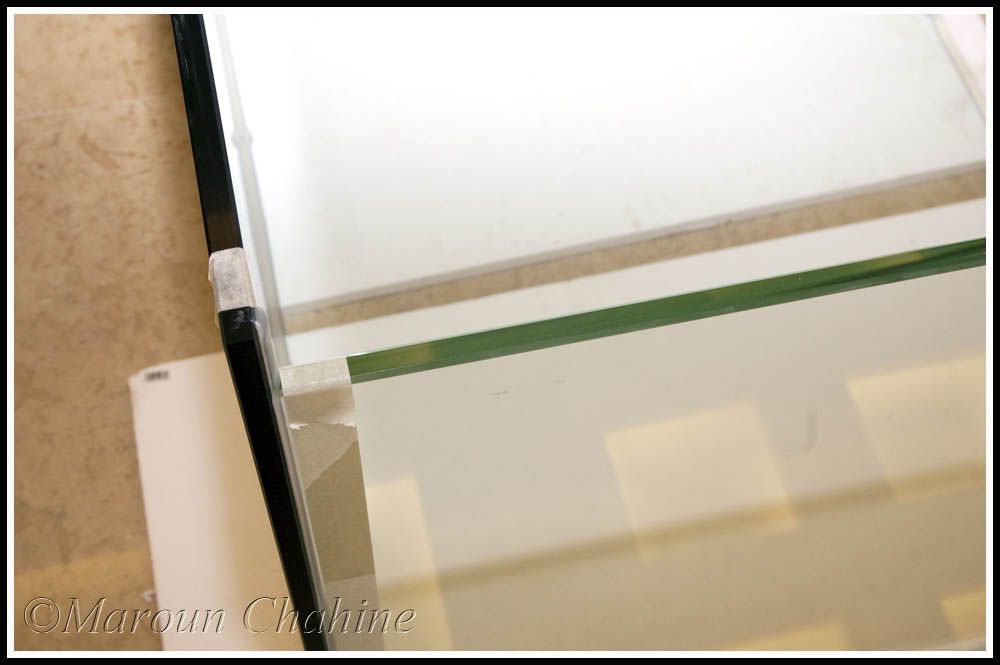
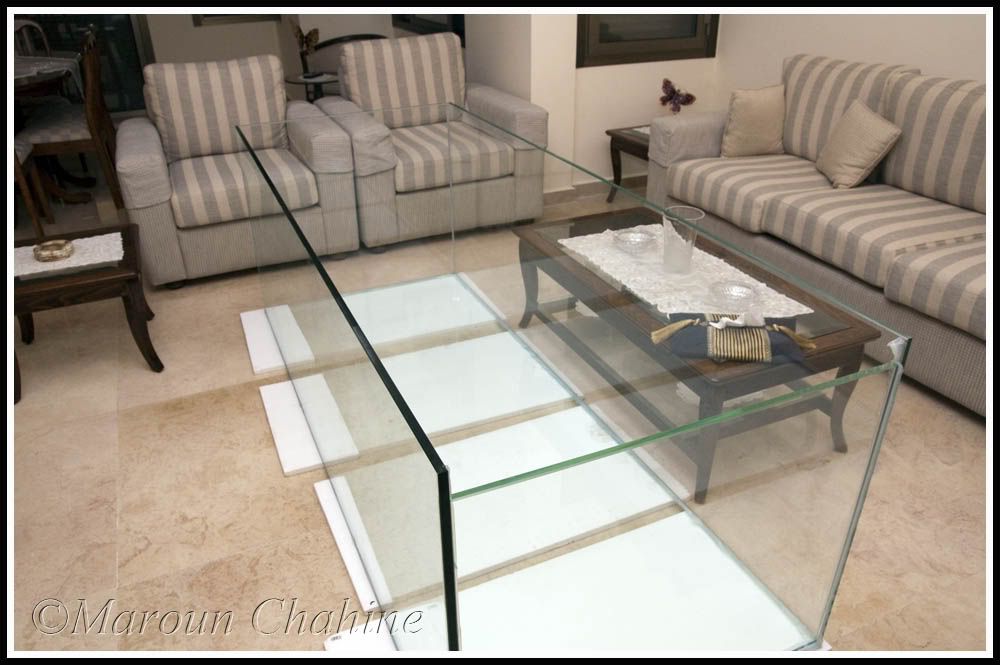
Note the difference between the bottom and back glass and the rest of the pannels. the rest are much clearer than in the pictures but pick up some greenish tint when close to green glass.


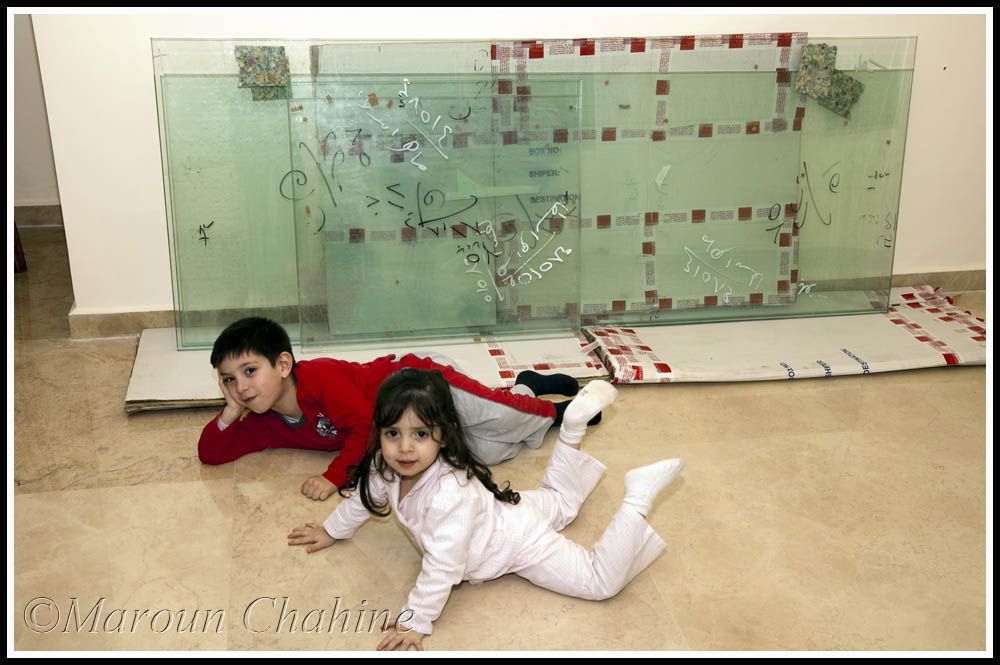
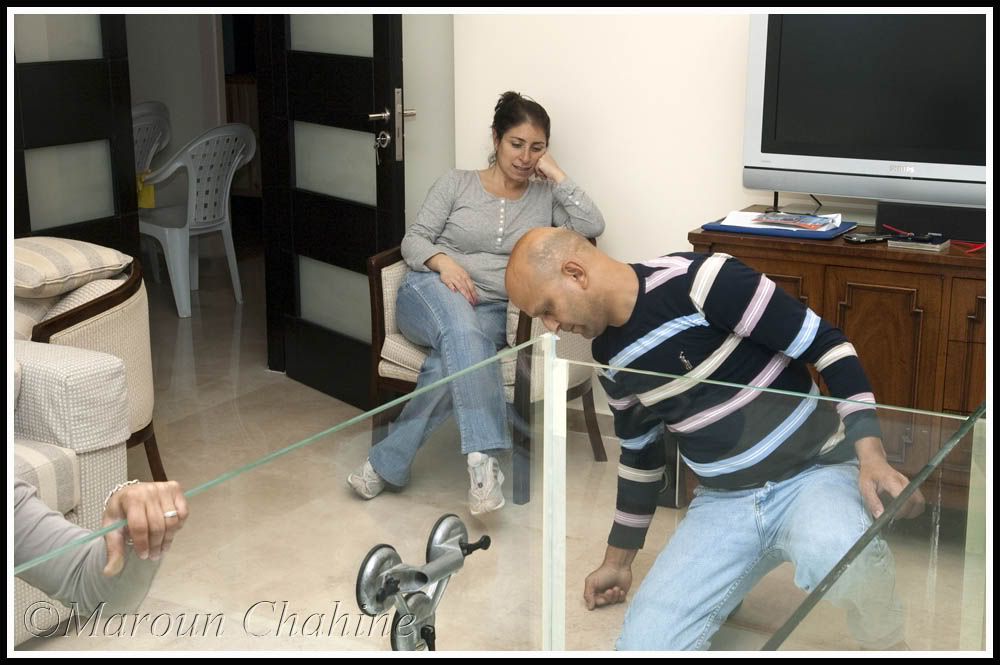
And my assistants rushing to pose in front of the glass any time I hold the camera.

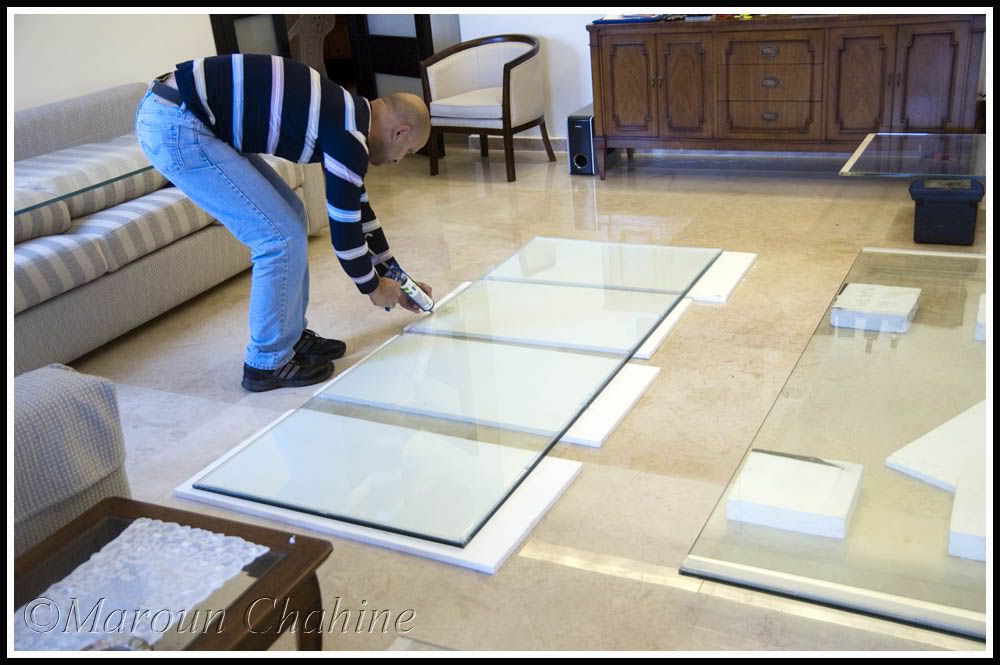
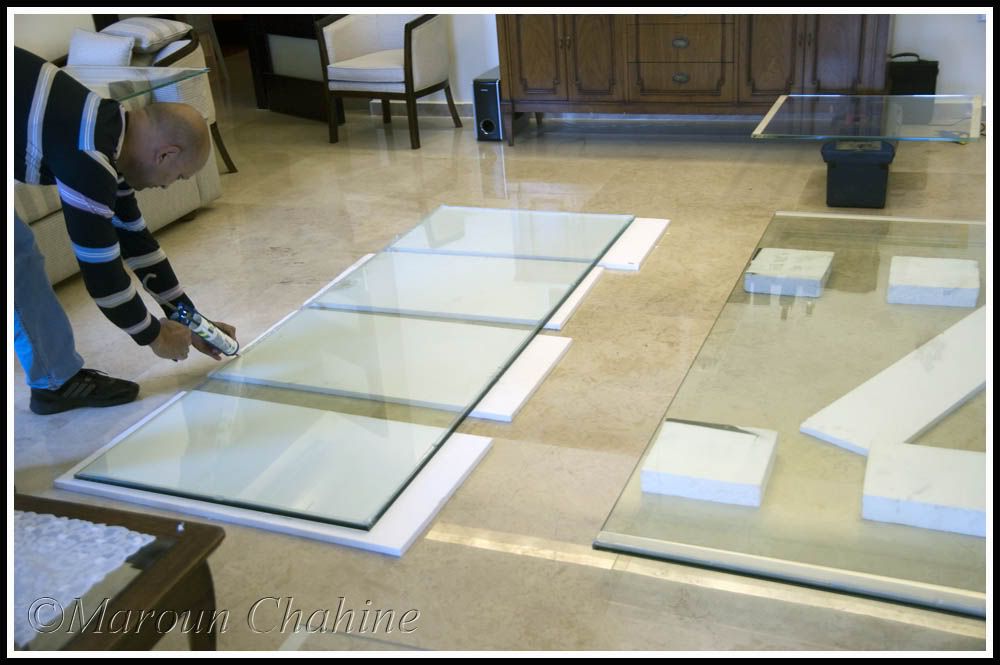
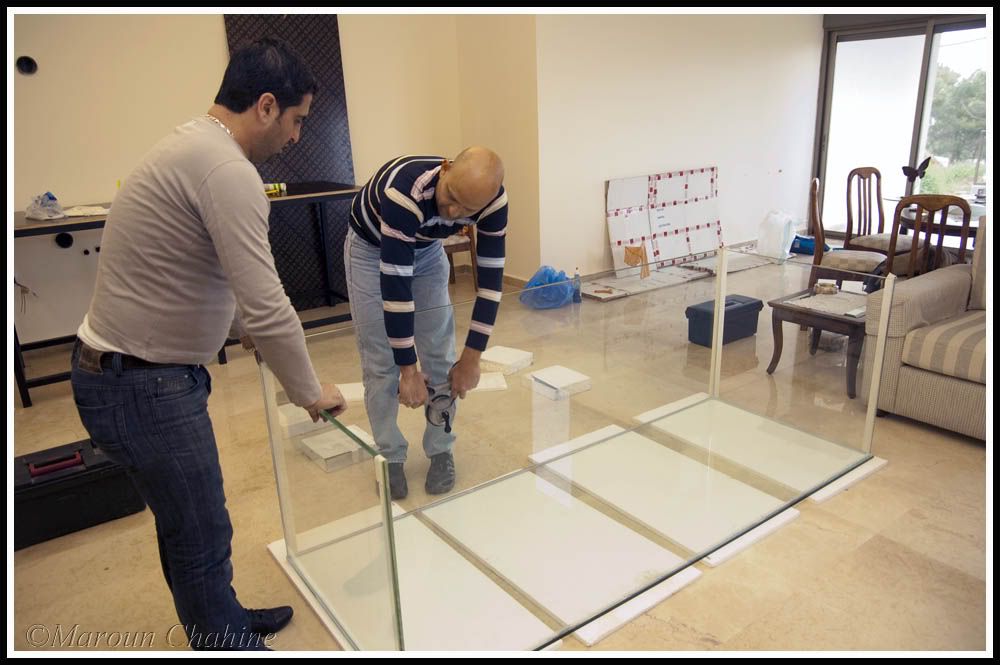
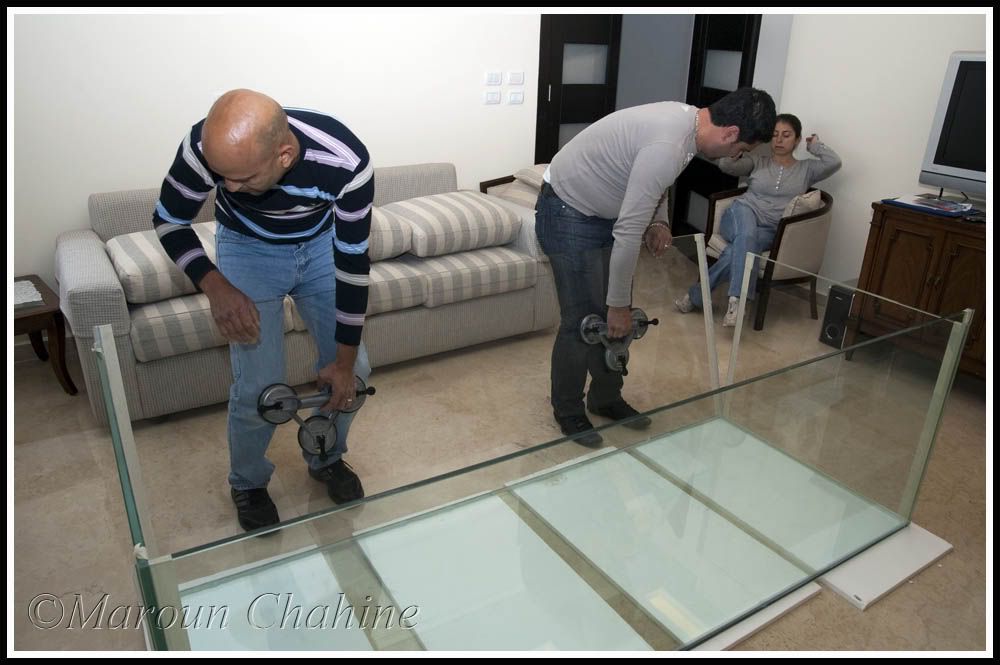
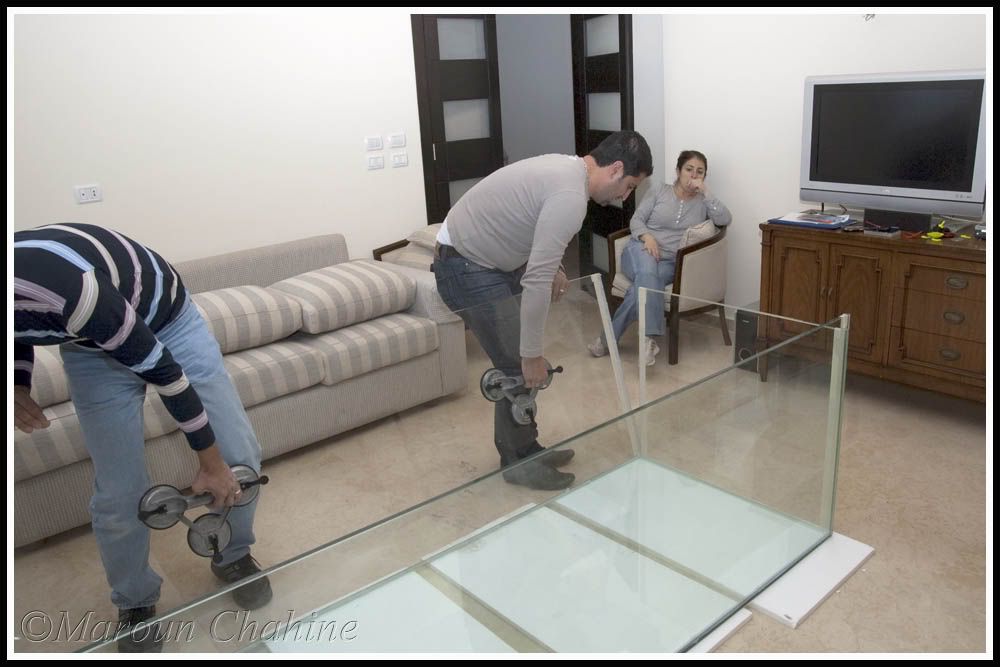
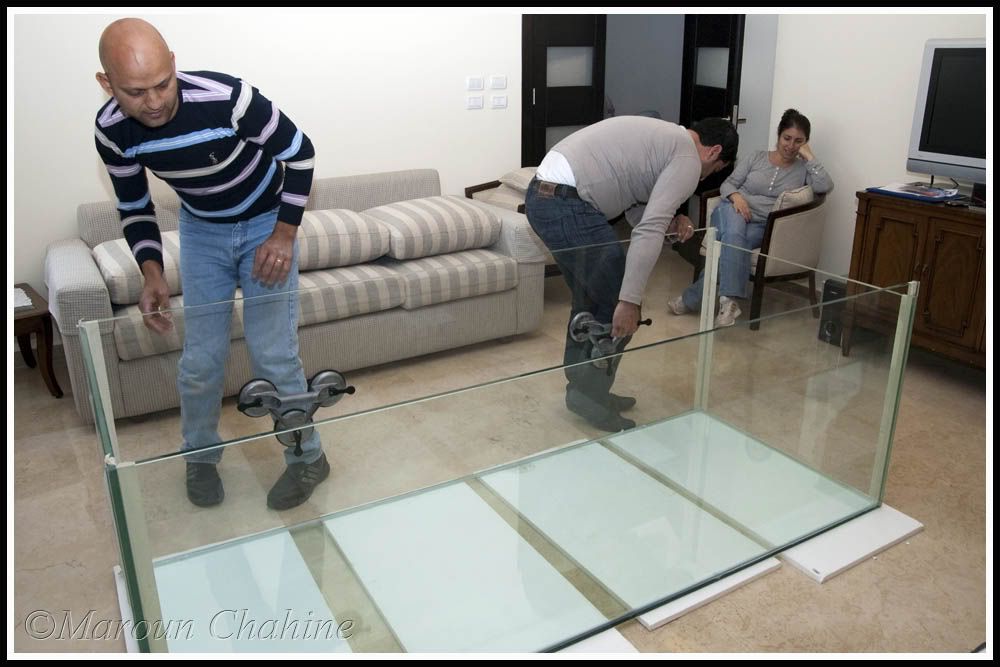
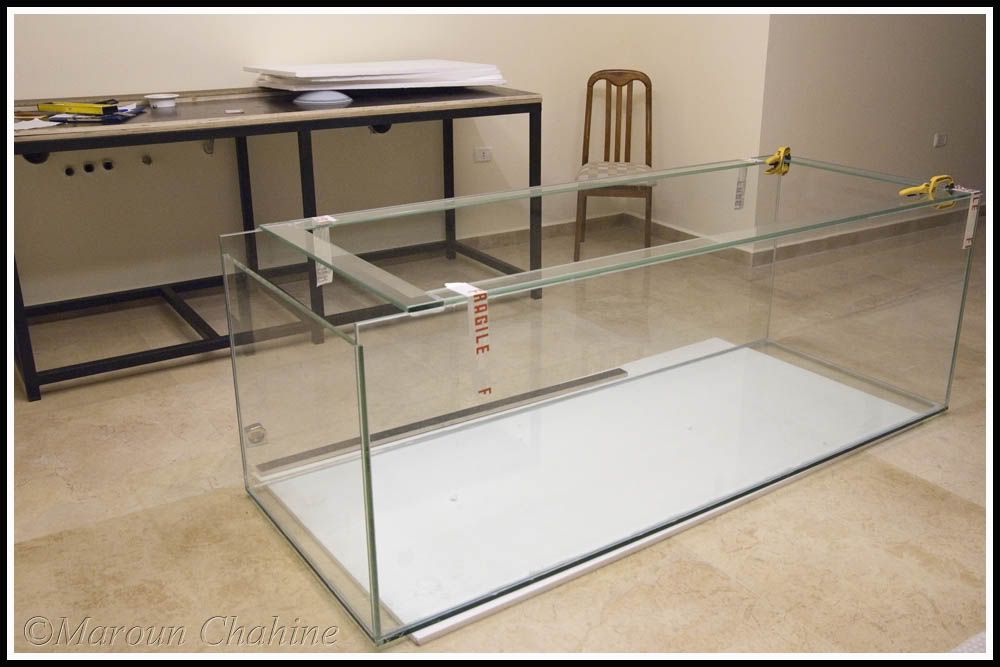
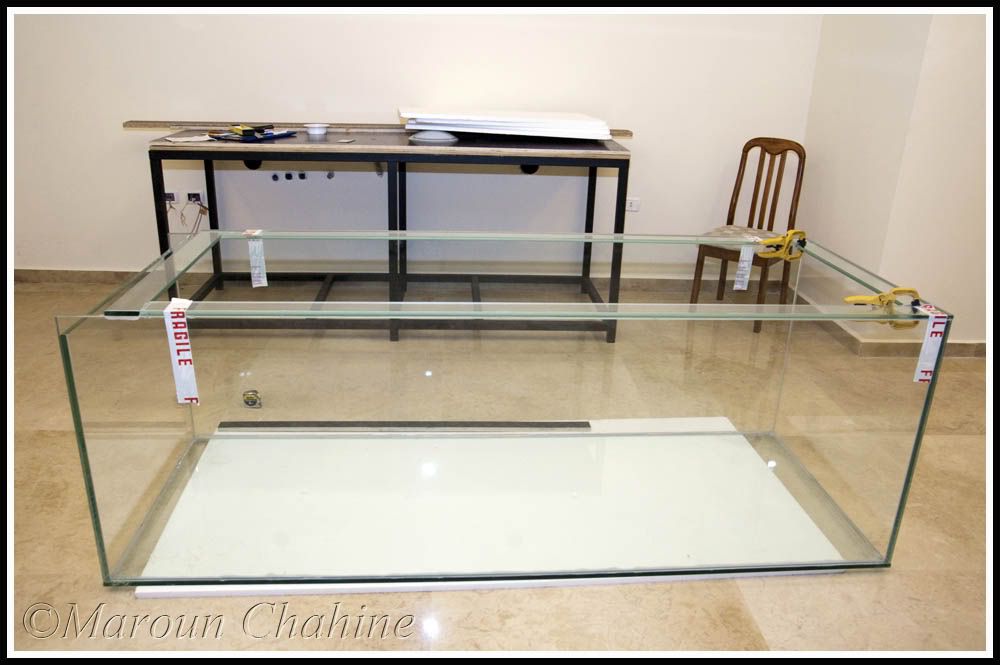
Tank was assembled on site by Maher a very old friend who sets up and maintains some breathtaking tanks. His perfectionism and attention to detail were just amazing. My tank sure reflects this.
Wanted to shoot a thousand pics while he was assembling the tank but didn't want to stress him out:


Under the clsoe watch of the wife:
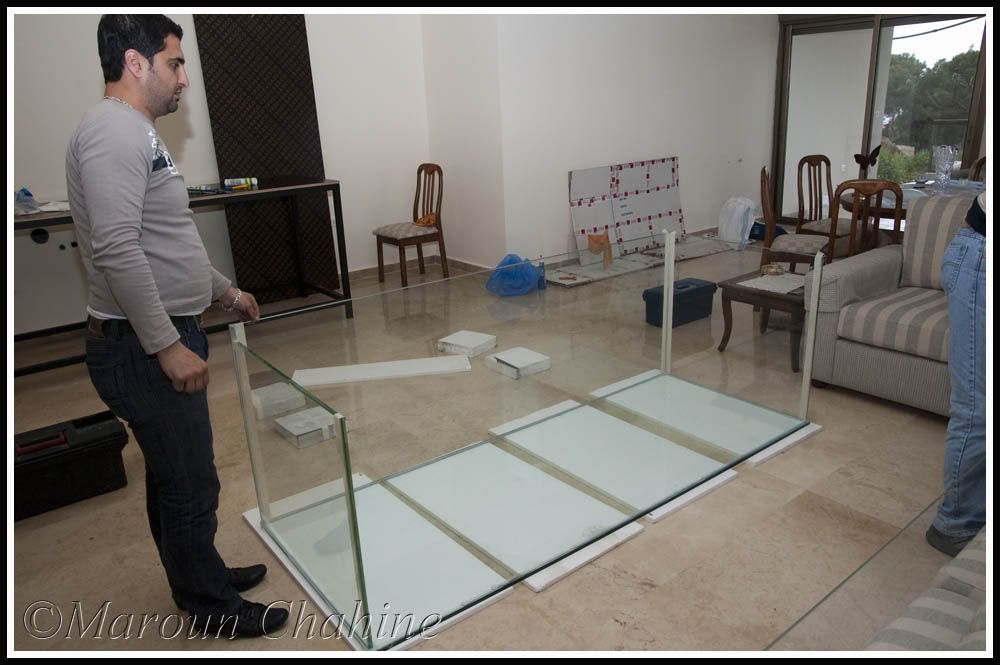
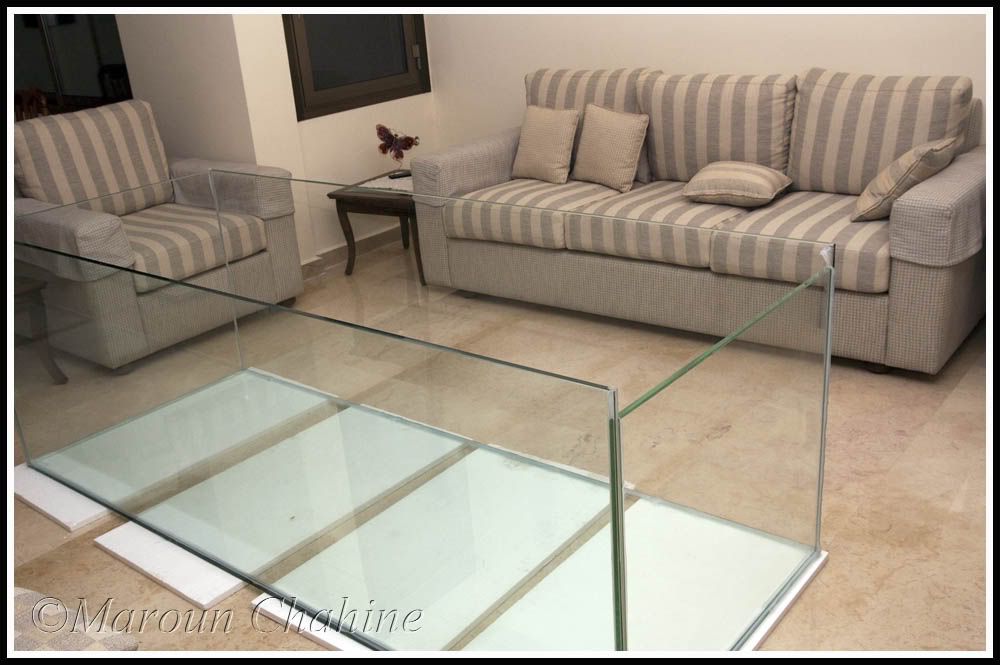


Back to the tank,

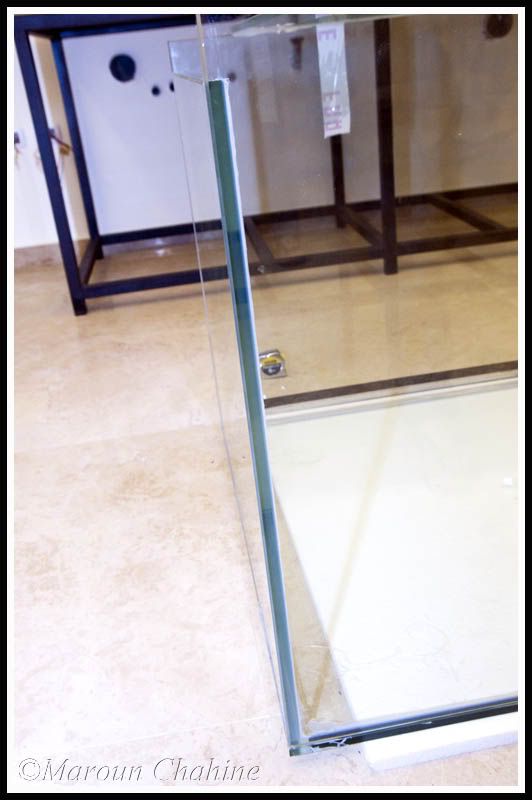
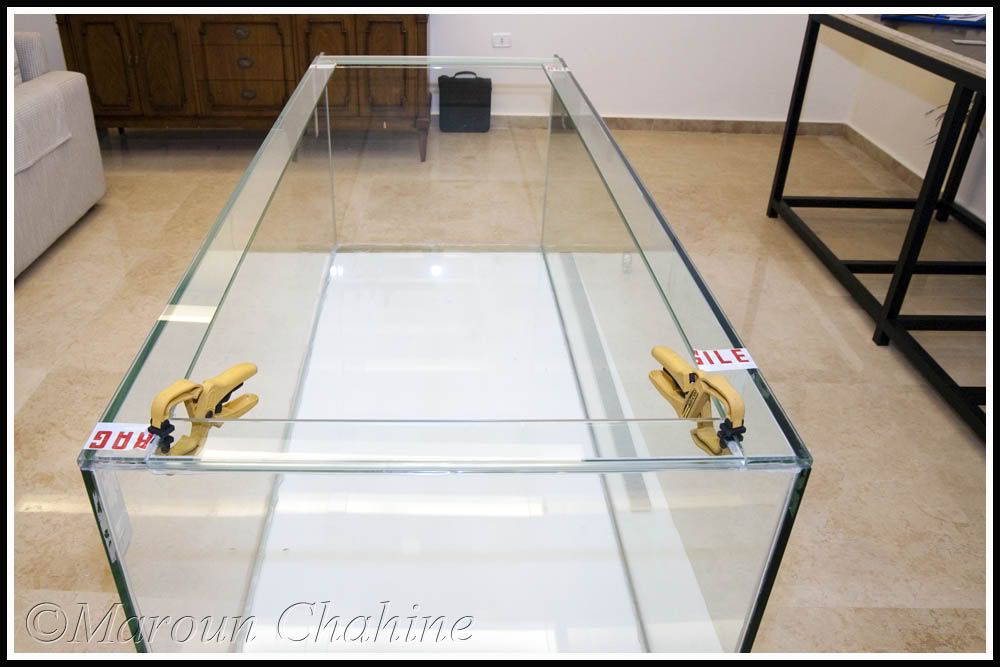
Some pics after the masking tape was taken off the seams, minutes after tank was assembled.
I can clearly see huge differencebetween back and front glass glass, much more than visible on pics between back wall and other panels. Can’t wait to shoot some pics of corals in it.


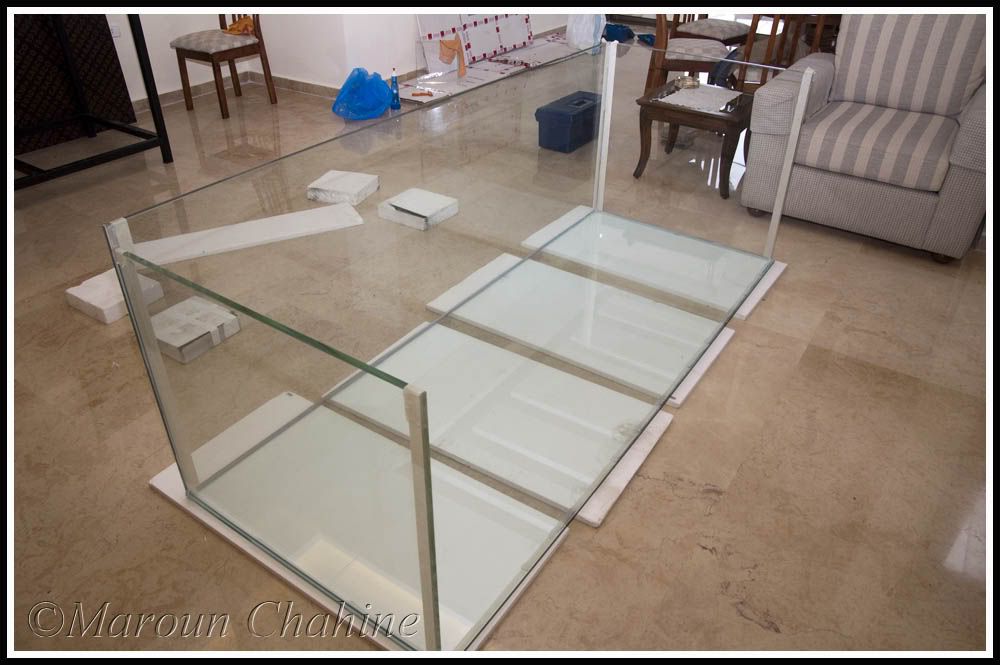
Eurobracing installed. Space kept on the left side for easier manipulation of tubing coming out of overflow, as well to use the brace to support screen material to prevent fish from jumping in overflow.


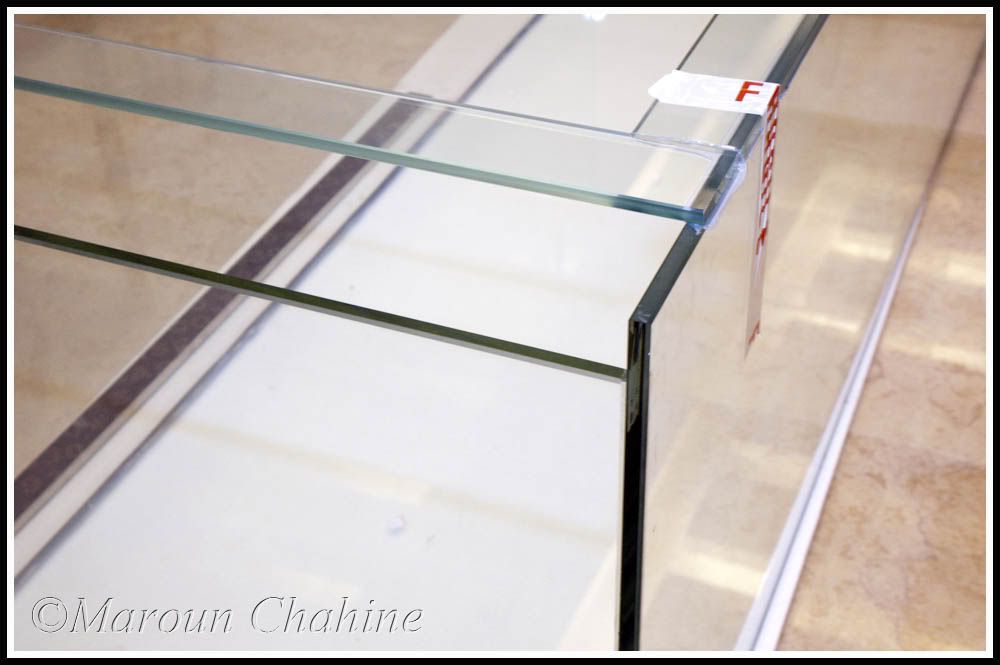
Silicone that burst out from the seams was cleaned with a blade after it dried out for days and I could see for the first time how clean the seams turned out


Submit "Upgrade to 340 G tank changed to 390 G tank." to Digg Submit "Upgrade to 340 G tank changed to 390 G tank." to del.icio.us Submit "Upgrade to 340 G tank changed to 390 G tank." to StumbleUpon Submit "Upgrade to 340 G tank changed to 390 G tank." to Google

Updated 05-05-2011 at 12:50 AM by maroun.c

Categories
Tank - Full Summary

Comments

  1. reefocd's Avatar
    Wow! Be sure to post how the external overflow is added. I might try on my next tank. Are those edges call beveled and diamond polished? Once panels were siliconed in place and squared, is there any belt straps used to squeeze the whole thing tight? Presume your friend added caulking to inside seams later in the assembly. Will be following your progress. Awesome. Please send your buddy to Southern California.
  2. Jaxom's Avatar
    Wow Maroun I'm loving this documentation, I'm sure this tank will be as nice as your current tank, thanks for sharing, will be following this closely.
  3. dahenley's Avatar
    thats going to suck to dead lift!!

    I love this build.
    It looks like the tank builder is placing the sides on-top of the bottom glass. is there a reason as to why he prefers this method verses placing the sides around the bottom.
    also, i dont know if i overlooked it, but what is the thickness of the glass? 19mm or 12mm??
  4. maroun.c's Avatar
    Quote Originally Posted by reefocd
    Wow! Be sure to post how the external overflow is added. I might try on my next tank. Are those edges call beveled and diamond polished? Once panels were siliconed in place and squared, is there any belt straps used to squeeze the whole thing tight? Presume your friend added caulking to inside seams later in the assembly. Will be following your progress. Awesome. Please send your buddy to Southern California.
    The external overflow will be added once the tank is on the stand and the wood abinets around it are built just to see exactly how much of it goes out of the wood so that the external overflow is limited there. Will be adding small pieces of glass on top of the part where there is no overflow so that water doesn't spill out. will better explain it with pics when it's done. yes the edges are beveled and polished. He built the whole thing wihtout using a single clamp or a belt straps not even a masking tape except the ones used to get the clean seams from inside which were directly removed. Not sure what you mean by caulking to inside seams? he did spread teh silicone that went out after he pushed the glass into position and that was it. I'm sure he'd love to go to California. Will post better picture to show the qulaity of the seams later on....
  5. maroun.c's Avatar
    Quote Originally Posted by Jaxom
    Wow Maroun I'm loving this documentation, I'm sure this tank will be as nice as your current tank, thanks for sharing, will be following this closely.
    Thanks Jaxom.
  6. maroun.c's Avatar
    Quote Originally Posted by dahenley
    thats going to suck to dead lift!!

    I love this build.
    It looks like the tank builder is placing the sides on-top of the bottom glass. is there a reason as to why he prefers this method verses placing the sides around the bottom.
    also, i dont know if i overlooked it, but what is the thickness of the glass? 19mm or 12mm??
    Won't be lifting it manually as he's got a hydrolic table that he places betwenn the tank and stanc and pushes the stand on it, lifts the table and push the table on the stand. Building on the stand would have been nice but as I don't ahve back access it would have made it difficult. Also pushing the stand with the tank on would be difficult and will scratch the flooring as it's a metalic stand.
    All my tanks and the ones I've see so far have the side glass on top of the bottom one, any preference to have it otherwise?
    Glass was kept at 15 mm so that Vortech MP40 I currently have can be used. he was OK to do it with 12mm but I didn't feel it was safe enough. Eurobracing will also be added
  7. melev's Avatar
    Love to see your updates, Maroun. I'm subscribed to your blogs, so it was great to get an email notification yesterday letting me know you'd made a new entry.

    Are you also amazed that silicone can hold all that water inside 5 pieces of glass like I am? With my tank, I had them eurobrace the bottom perimeter as well as the top. Just in case, to add a little more silicone surface area to those important seams.

    Looking forward to how this project progresses. It sounds like you've been planning it for some time.
  8. maroun.c's Avatar
    Hi Marc,
    Thanks for your interest. Always happy to get advice and input from you. actually the builder wanted to go with a braceless setup but I feaked out and we already added eurobracing which I'll post later on.
  9. dahenley's Avatar
    no preference on glass around verses glass on top of the bottom.
    i know a lot of larger tanks do either way. (just wasnt sure the reasoning behind it or if he just like it better or what not)
    looks good! (that low-Iron glass looks amazing....)
  10. maroun.c's Avatar
    Dahenley,
    Now you really got me thinking of the reasoning behind placing the glass on top of the Bottom glasses VS around. Will ask the guy for sure when I fly back.