maroun.c
Maroun 340G Tank build Thread
by
, 06-17-2010 at 04:08 PM (1683 Views)
Finally I'm starting a long waited upgrade.
Would like to begin by thanking my wife and family for the great support, in tolerating my hobby and especially for maintaining the tank while Im on frequent travel.
A special thanks to a group of local reefers here, that already helped a lot and will for sure contribute in decisions and all aspects of the coming build.
A big thanks goes to Marc who was a great help on my last 150 Build and who provided lots of effort in a one to one teaching...
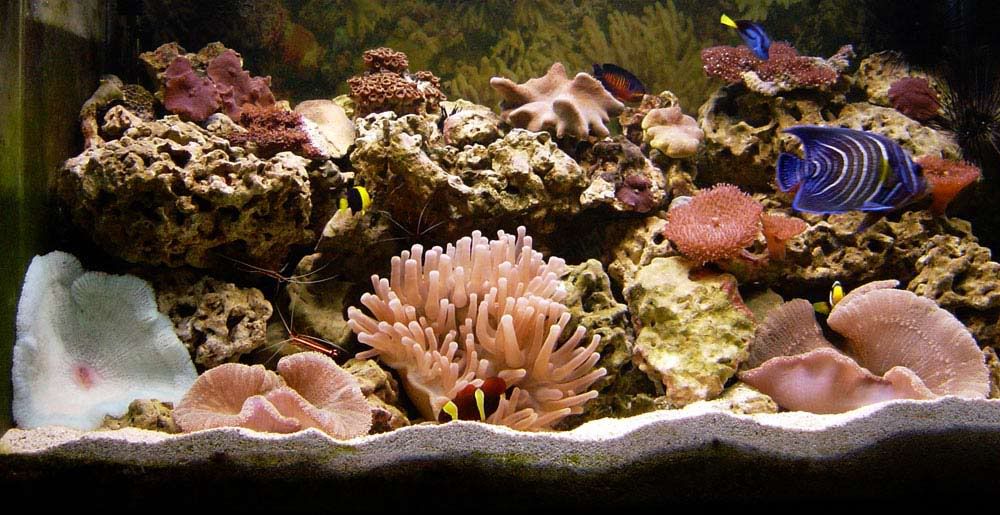
And a few pictures of the previous tanks tank I had and the upgrade to the 150G Tank which was never allowed to mature due to 2 moves in 2 years Still it was an exciting experience as for the 10 previous years my tank was a fish tank with softies as we had no access to LPS and SPS in this part of the world.
83g 1998-2008
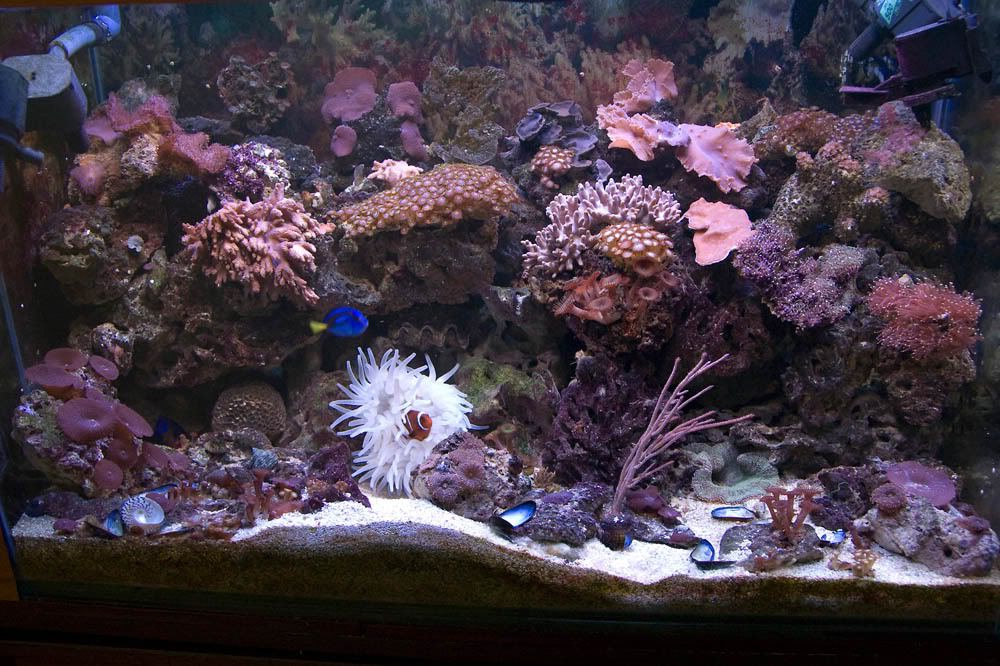
Just before the upgrade to 150
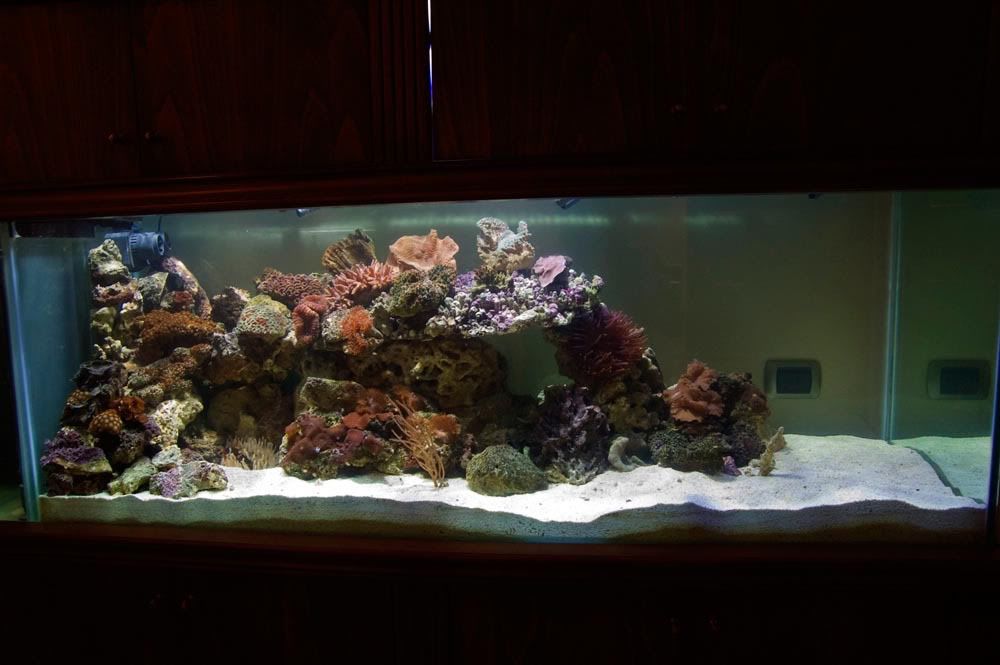
Start of the 150 G 2008
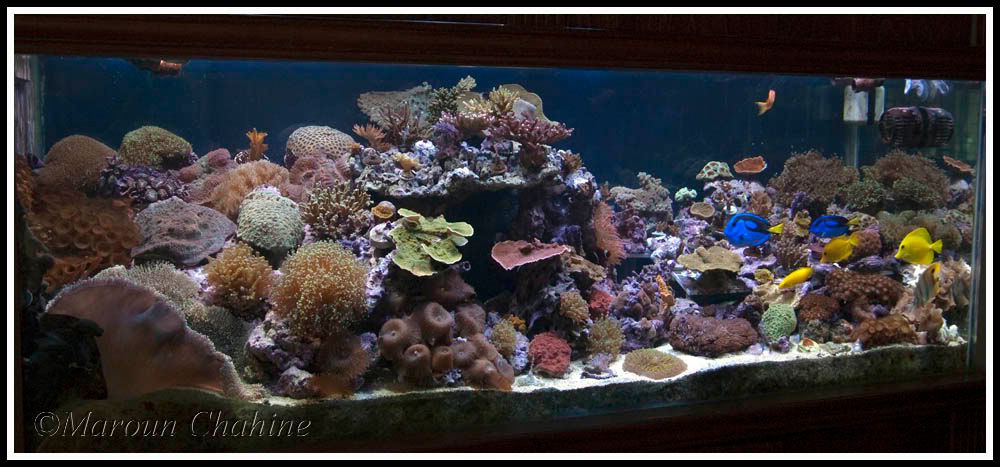
and how it currently looks after it's been moved around 1 year ago and being used as a corals stock in preparation for the upgrade.This is the last pic I have and I have added many corals since then...
To begin with my vision for this tank is to really be the Center Piece of our new home.
Thanks to a great friend (Architect and 6-7 months old reefer) That design was made.
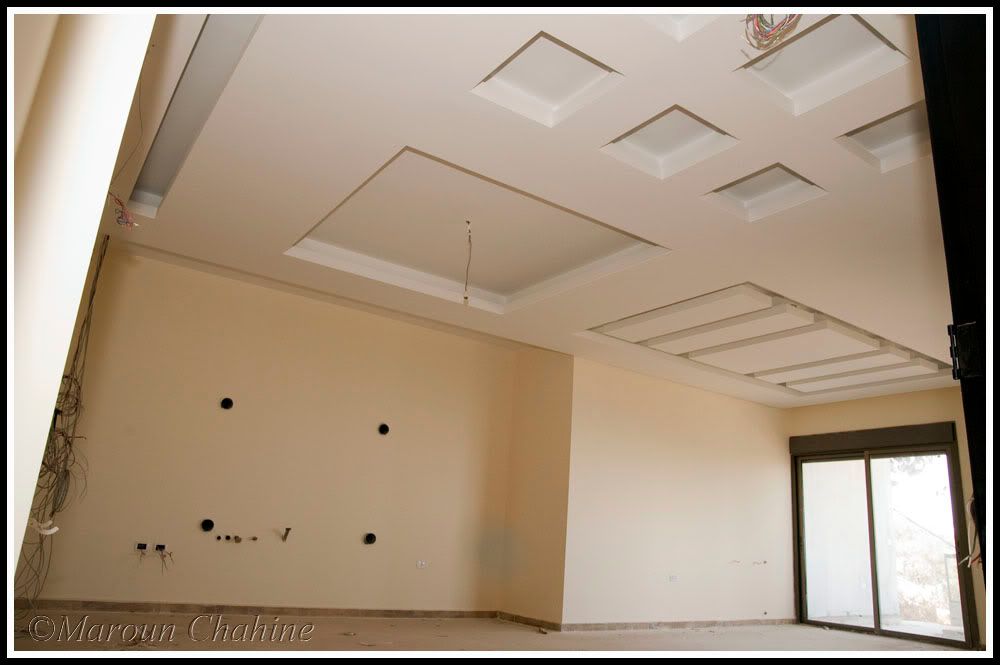
The 2 seating areas, dining, Drop Ceiling with indirect lighting, Furniture, even doors glass design was all designed around the tank. The design looked very appealing and with each step achieved so far it showed how correct it was (at least for me)
So here goes.
Plans:
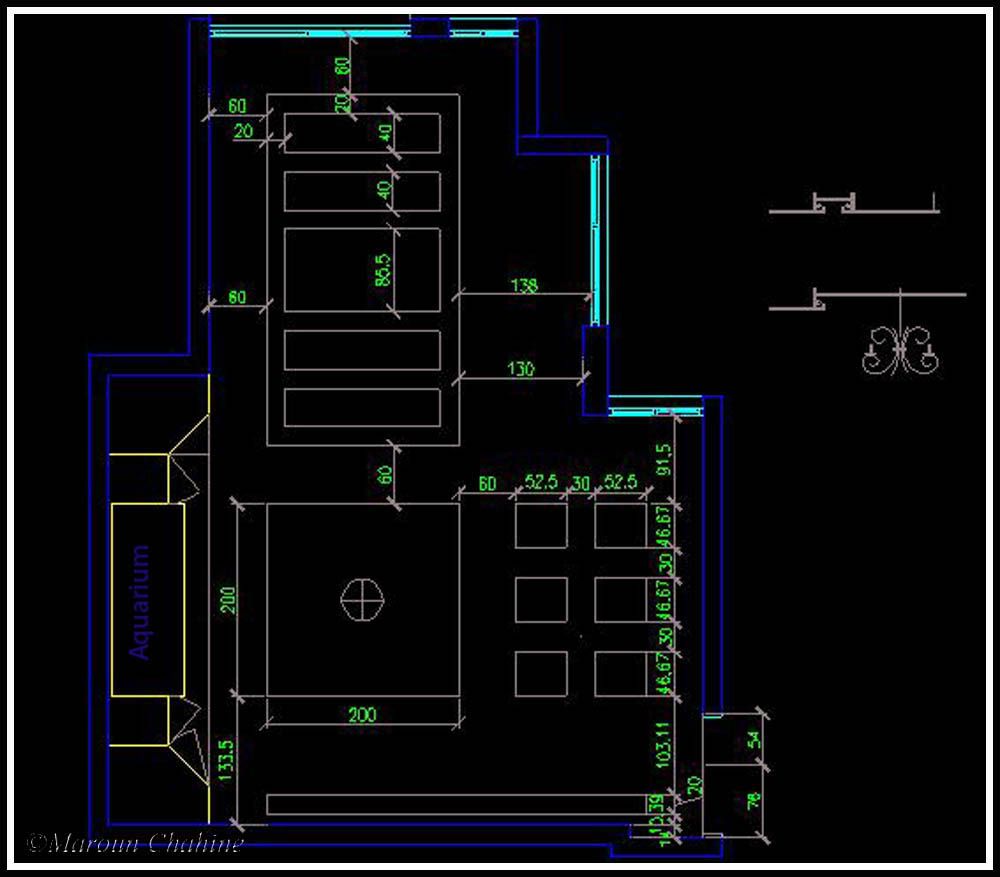
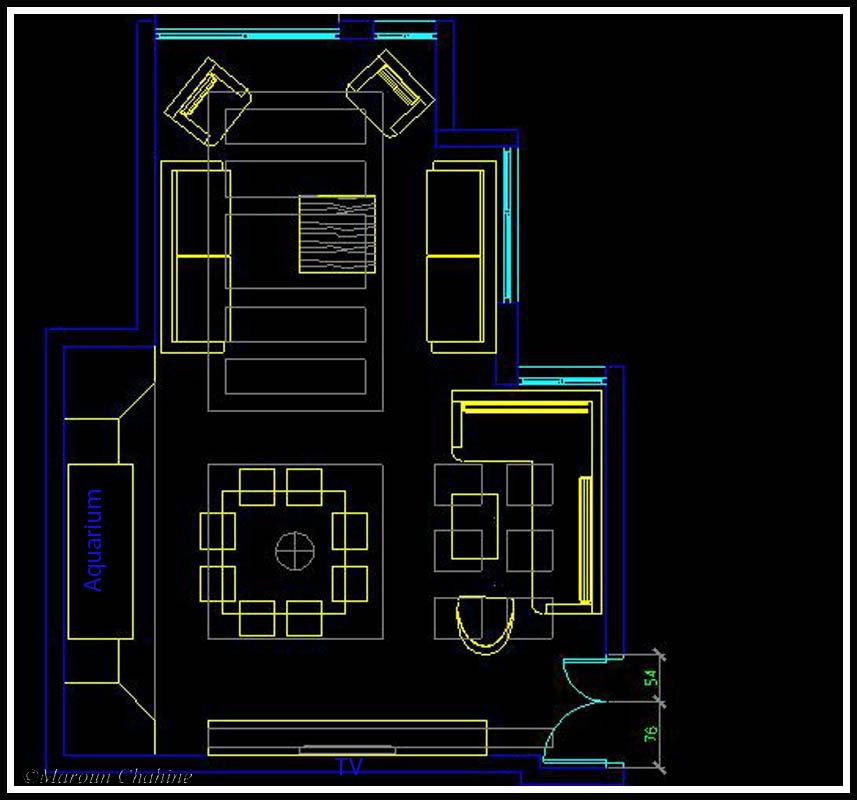
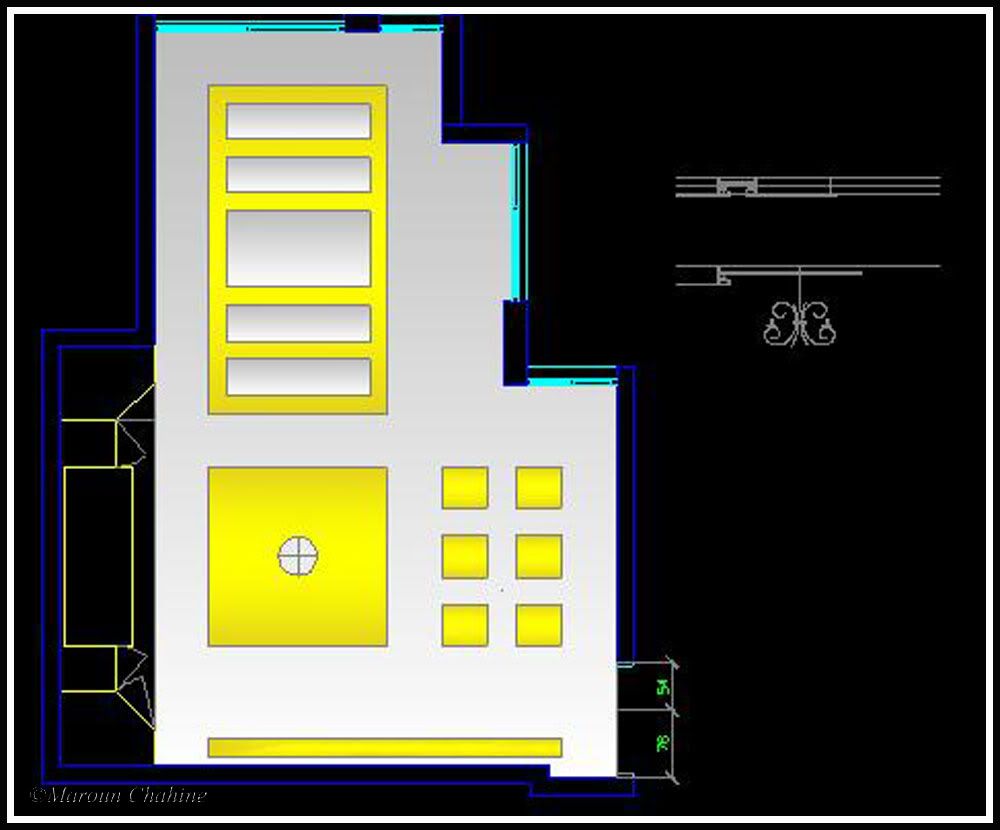
Room plan:
Seating areas, with most of the seats having a direct view on the tank. the couple that don't have a view in a window opposite to them which should be reflecting the tank in the dark or when the shutters are closed.
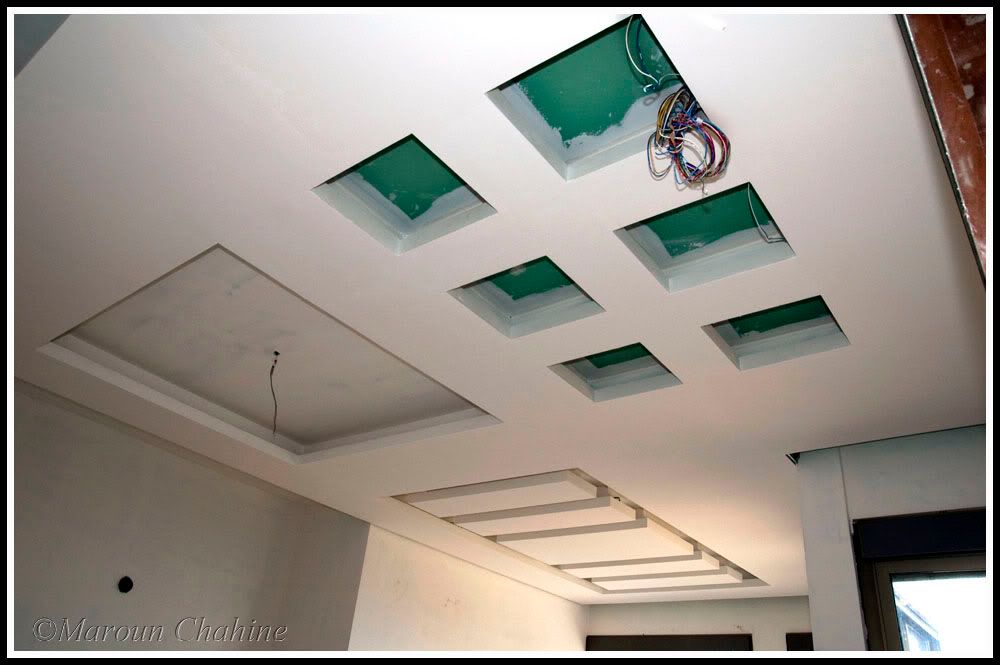
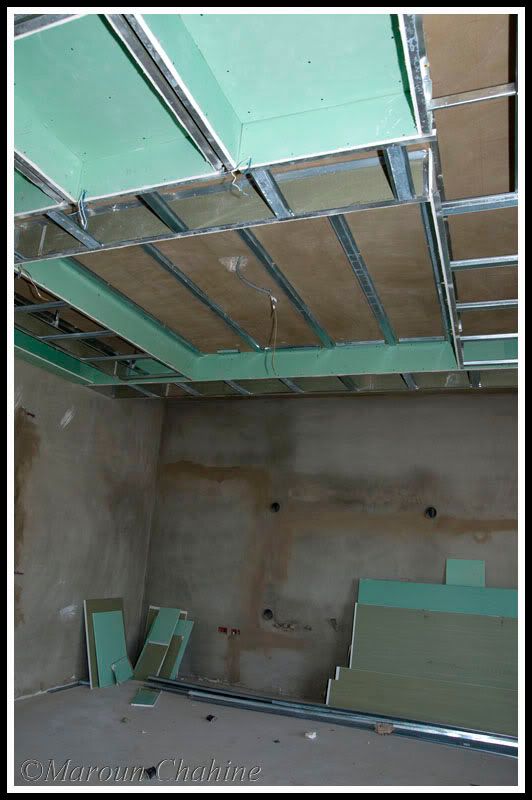
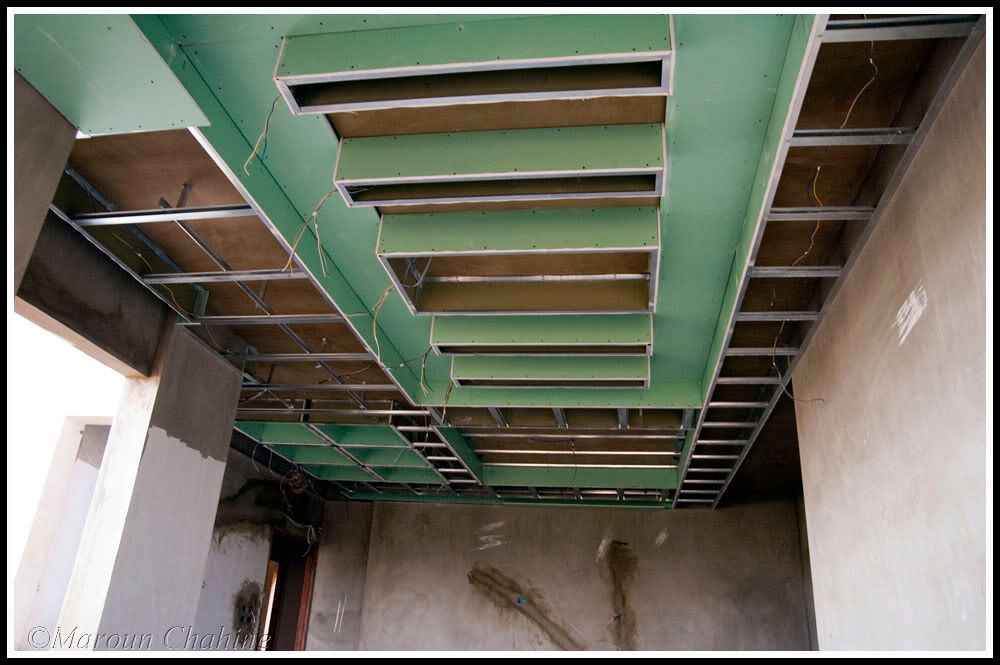
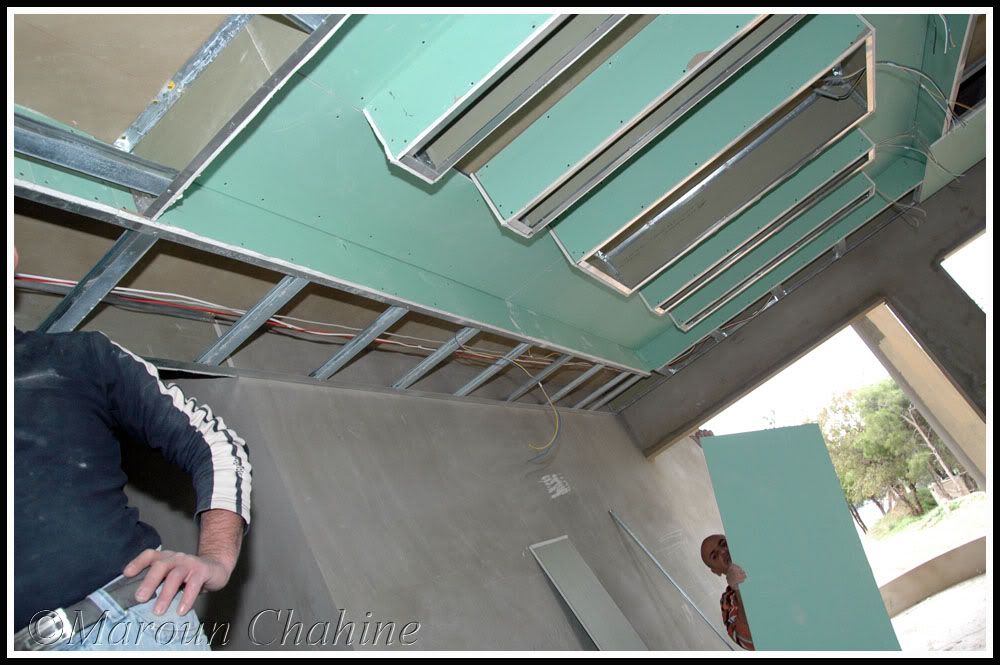
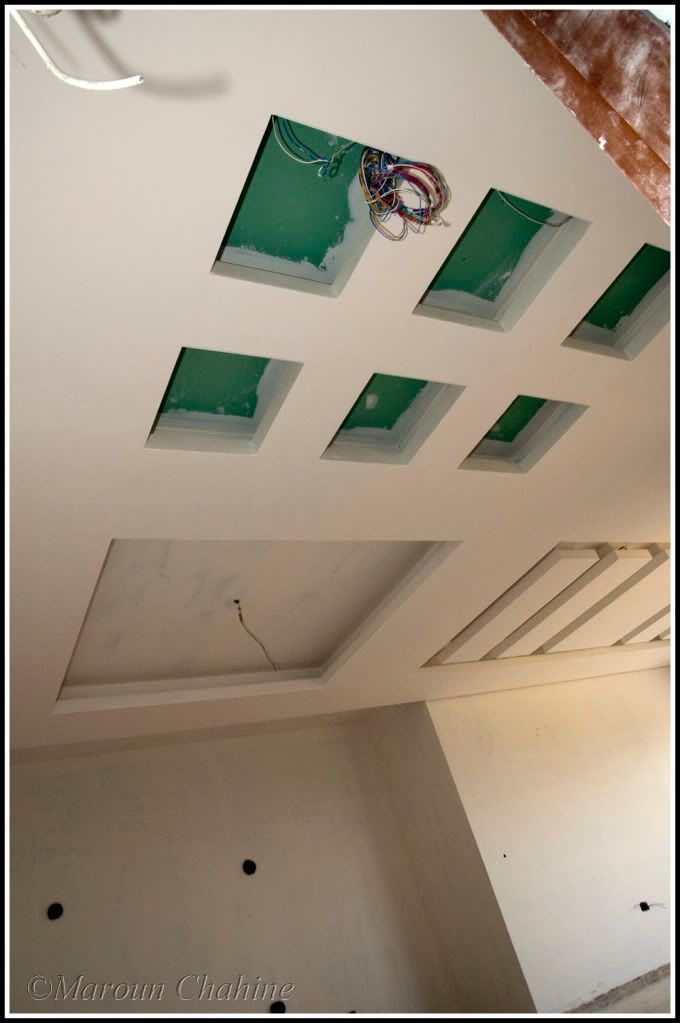
And the Drop ceiling with indirect lighting all with same size of the tank and centered based on it. Light rail on the side with light from the Right should prvide a side lit passage to the tank. theoratically it should all give leading lines to the tank....
Many considerations were made on size, visual perspective...
Could have gone from a wall to wall tank 470mx105x75 15x3.5x2.5 foot tank. Still I really wanted a tank size that would remain manageable (in terms of lighting heating chilling and weight) so that I can enjoy the tank for a long time to come without it becoming a burden.
Final decision was 80x30x28 (200x85x75 cm) totaling 340G for the display tank.
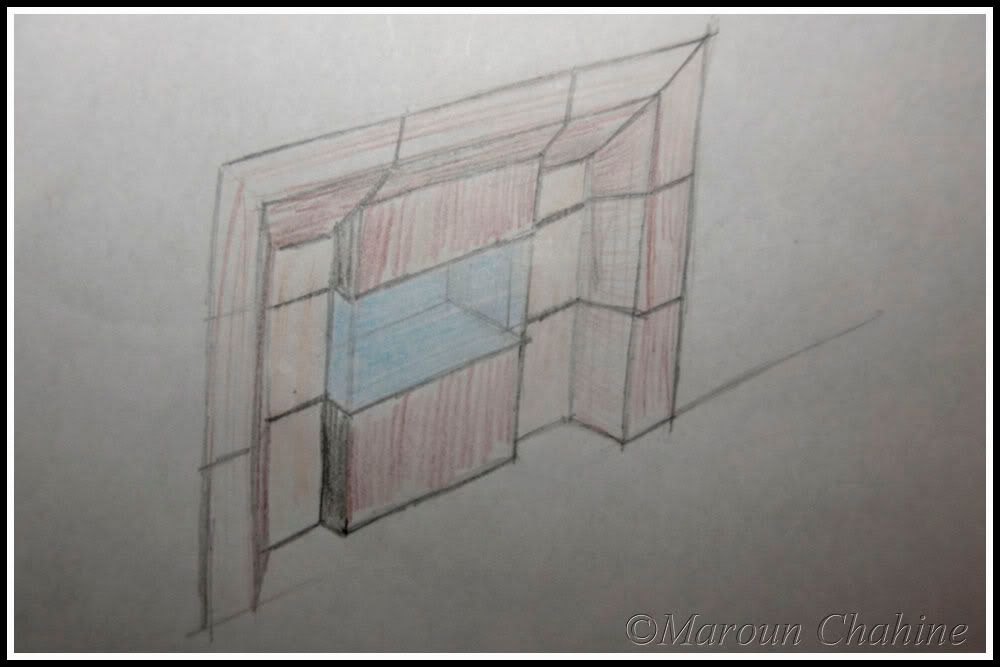
Second decision was weather we would go for a in wall or a built in and partially protruding look that would give it more dynamics, especially that tank would be visible from a seating area on the side After many comparative perspectives the decision was taken for a partially protruding tank and were going with this design.
or in a hand drawing, something like this:
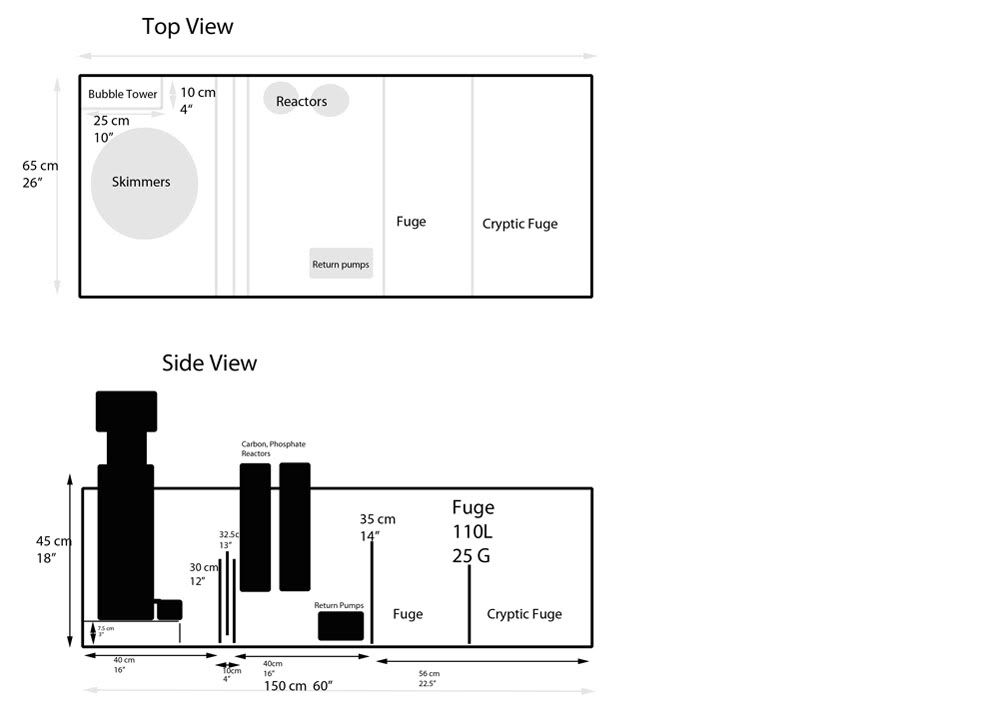
As I got the apartment while the building was still being built I was able to incorporate many of the plumbing and electrical of the tank in the walls and under the flooring. Im getting a fishroom on one of the atticks. Access to it is a bit difficult so Itll be only for an additional big fuge, RDSB, Chiller, Frag tanks . Essential Items that need to be accessed frequently will be under and next to the tank. Also got many cabinets around it so will be able to keep things tidy this time.
As I travel a lot, and as we have frequent power failures many things in the design will look very redundant to some however I have managed to keep my tank without a single crash for 12 years (3 of them while Iwas completely away for months) bu having a very basic system. This time system will be more automated so it has to have a backup plan for each and everything that could go wrong.
Whats already planned and finalized:
Electrical:
1 high load dedicated line from home Mains with home Backup generator
1 High load separate main coming from building main directly and only to the tank.
1 high load line from main going to a 13 Amps UPS with enough battery power to keep tank alive for weeks. The following backup equipment:
Skimmer
Return and circulation pump
Heater
Camera Cabling linked to alarm system network which will allow me to check on the tank while on travel. Not sure if Ill switch to a dedicated IP Cam so that everyone can get access to see the tank .
Couple of T5s on the tank
Not sure if I should link the Halides and chiller to the UPS
Plumbing:
3 1 inch lines going from tank to fishroom built in walls.
1 freshwater supply coming from RO in kitchen below the floor.
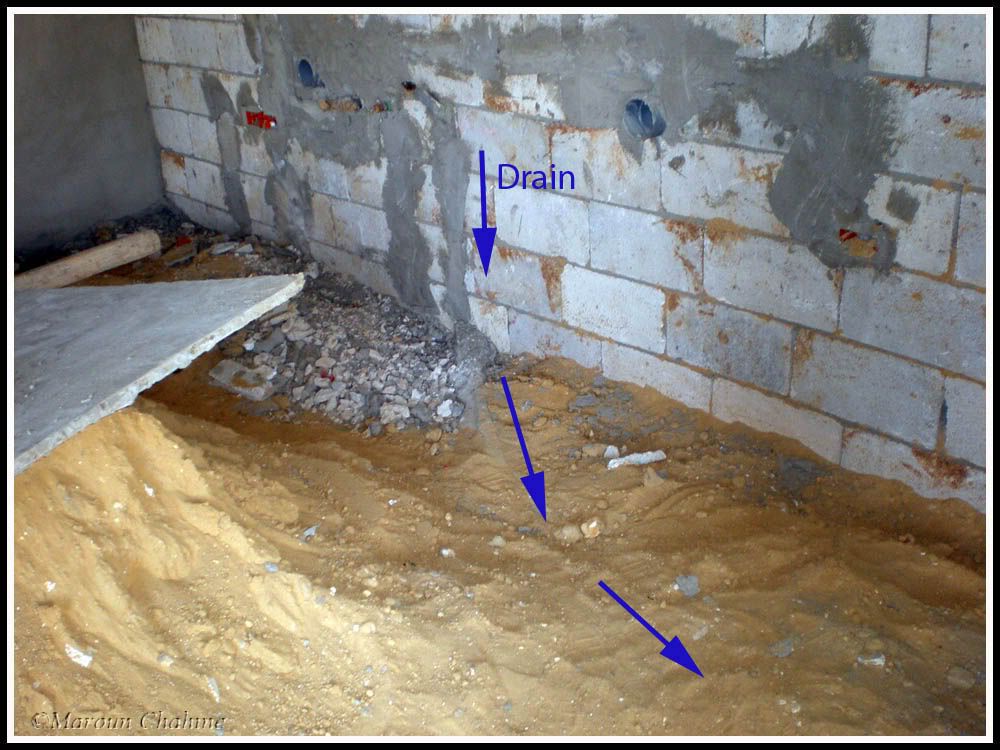
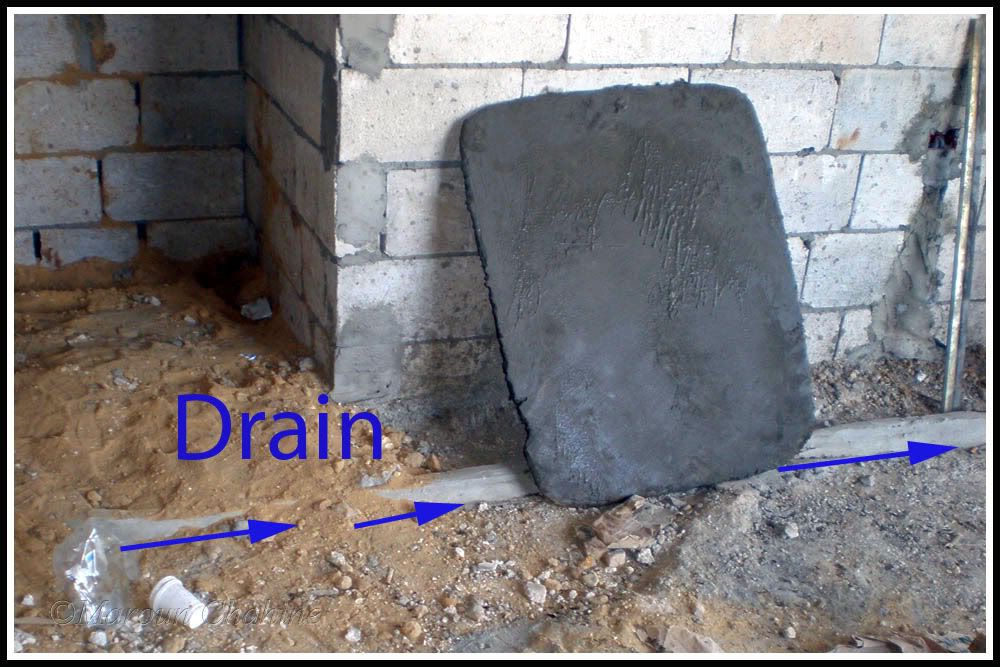
Drain from behind the tank to gardens drain all the way below the floor
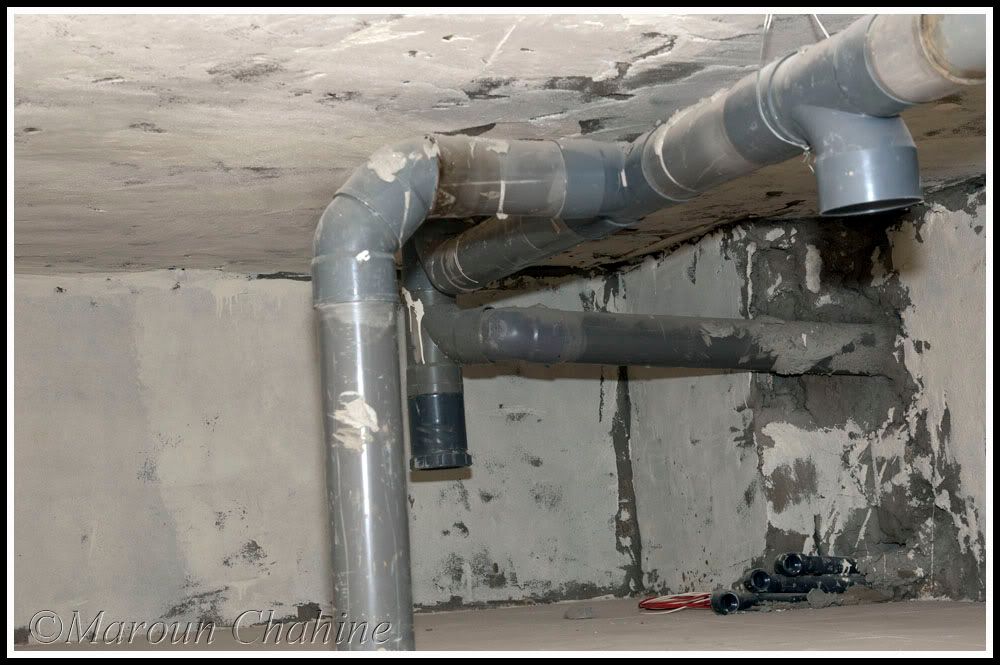
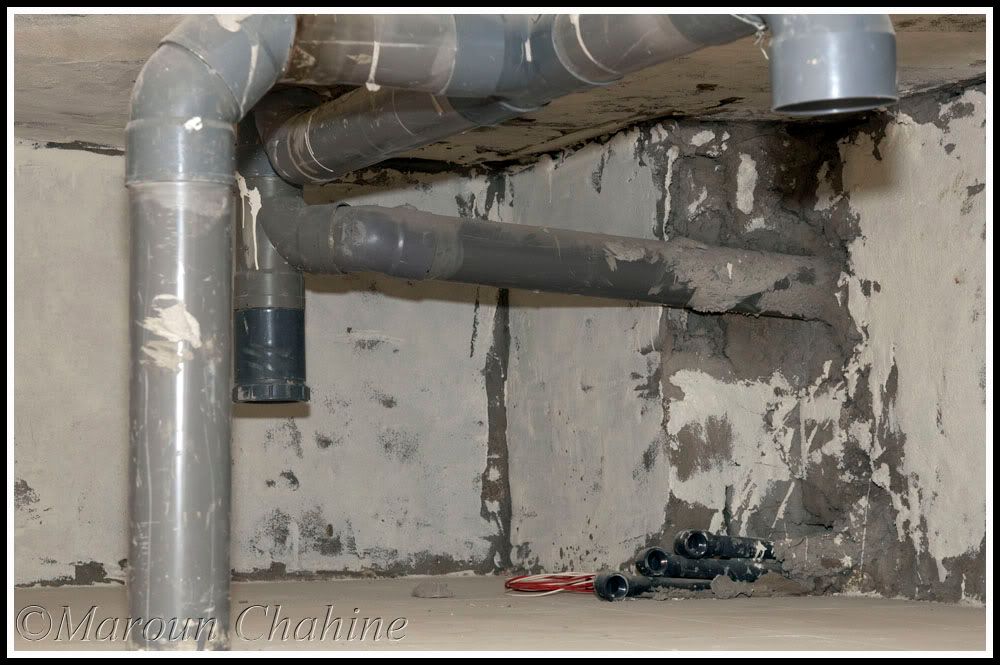
4 4" Vent tubes two for the canopy and another two in the stand which I hope will take care of all moisture, and heat. These go in wall till outside the building.
Got a lot of input while making all of those on separate threads and very little can be done now to modify but please do post any suggestion you have that might be worth incorporating in the system.
Pics:
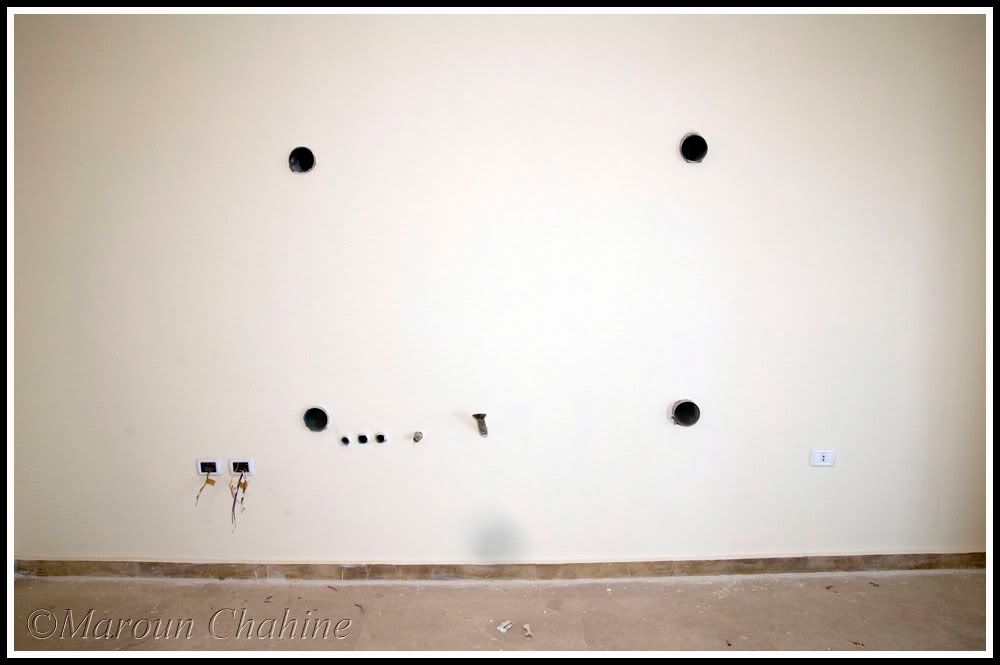
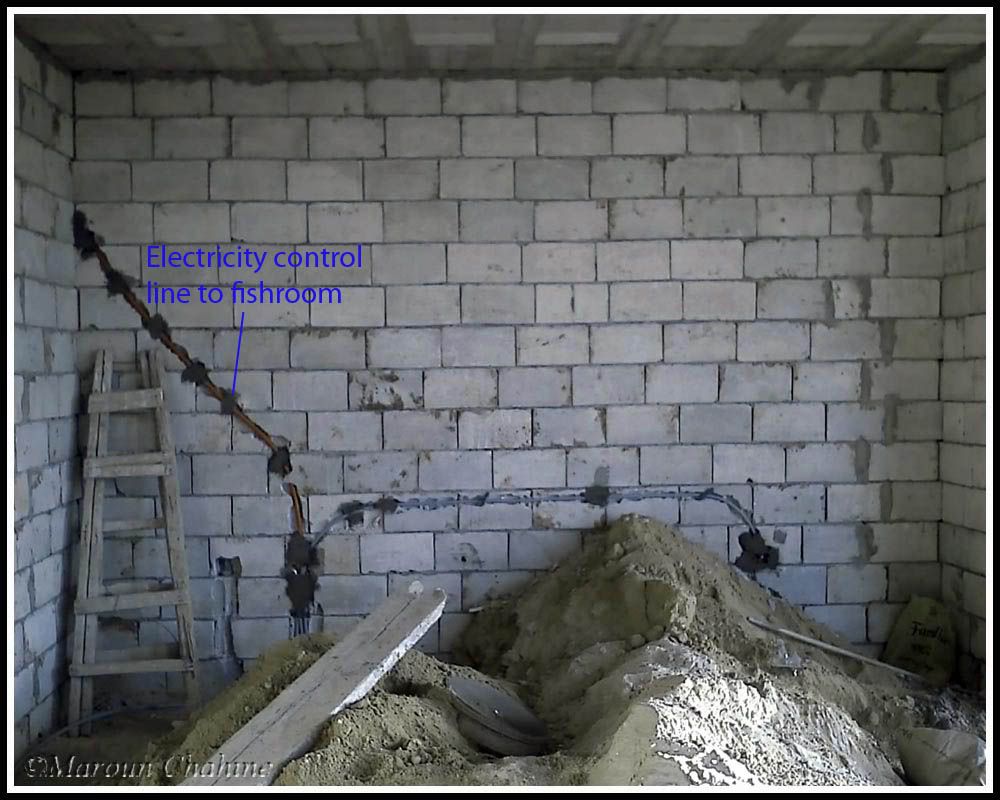
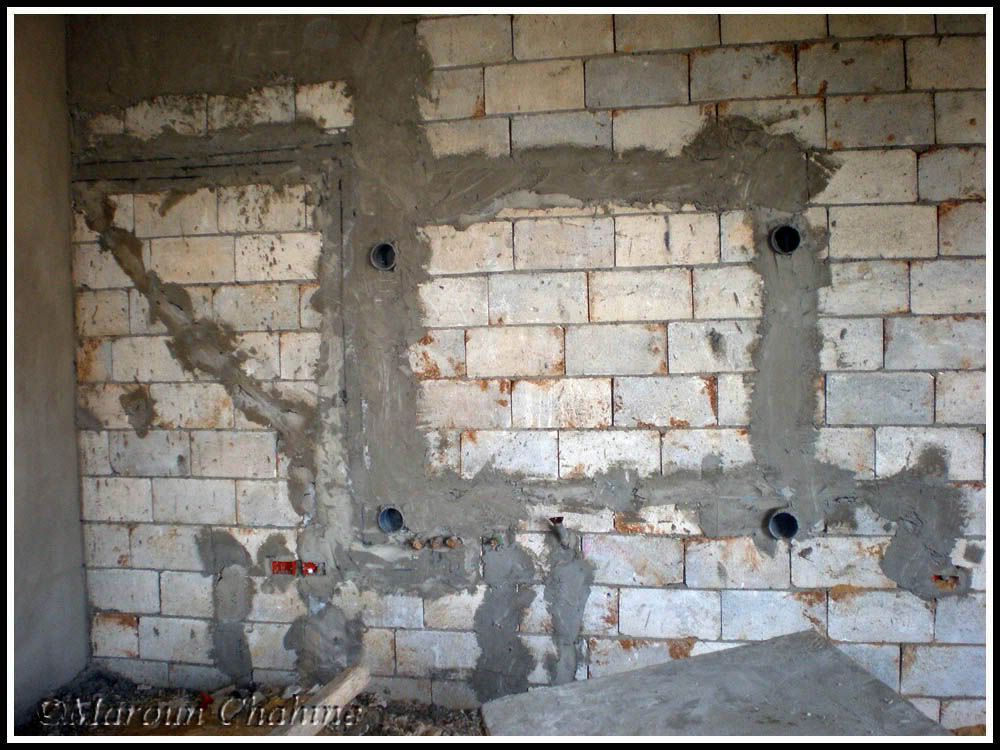
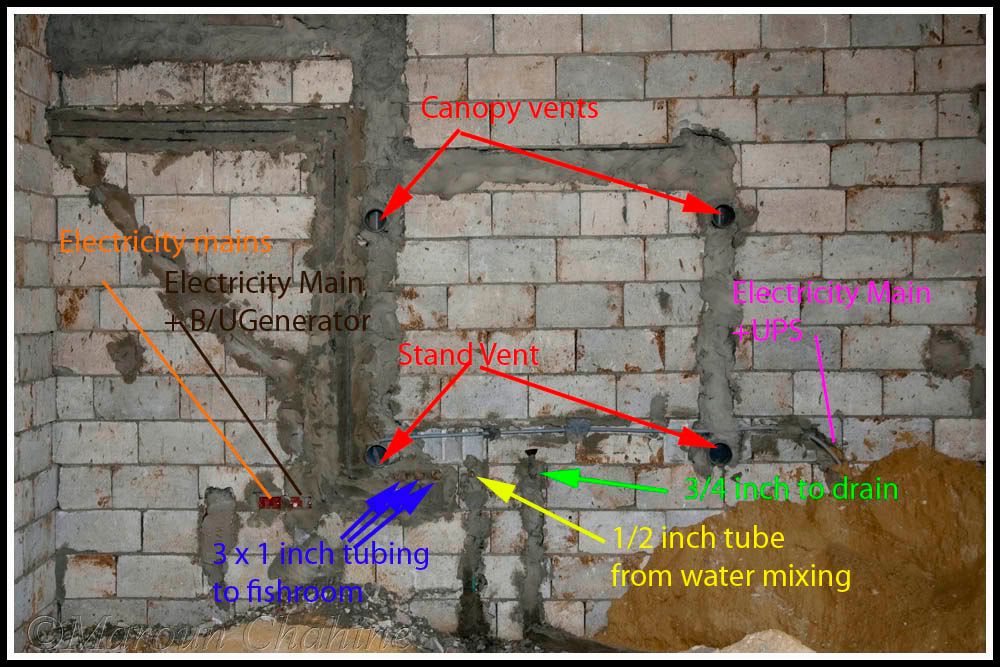
Electrical conduits:
Supply to tank and conduits for electrical tubing from controller to fishroom.
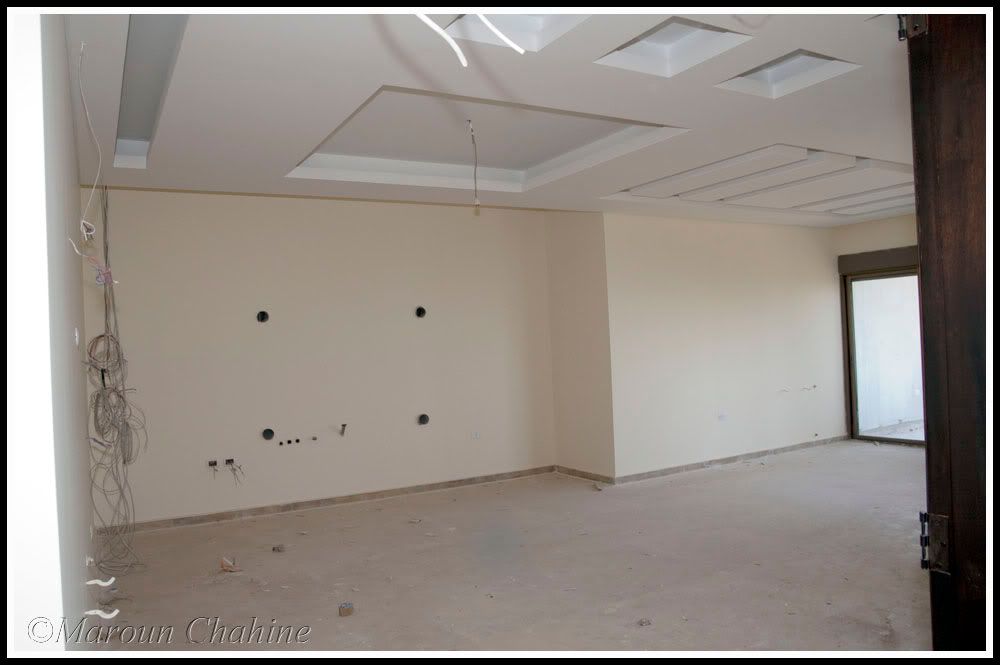
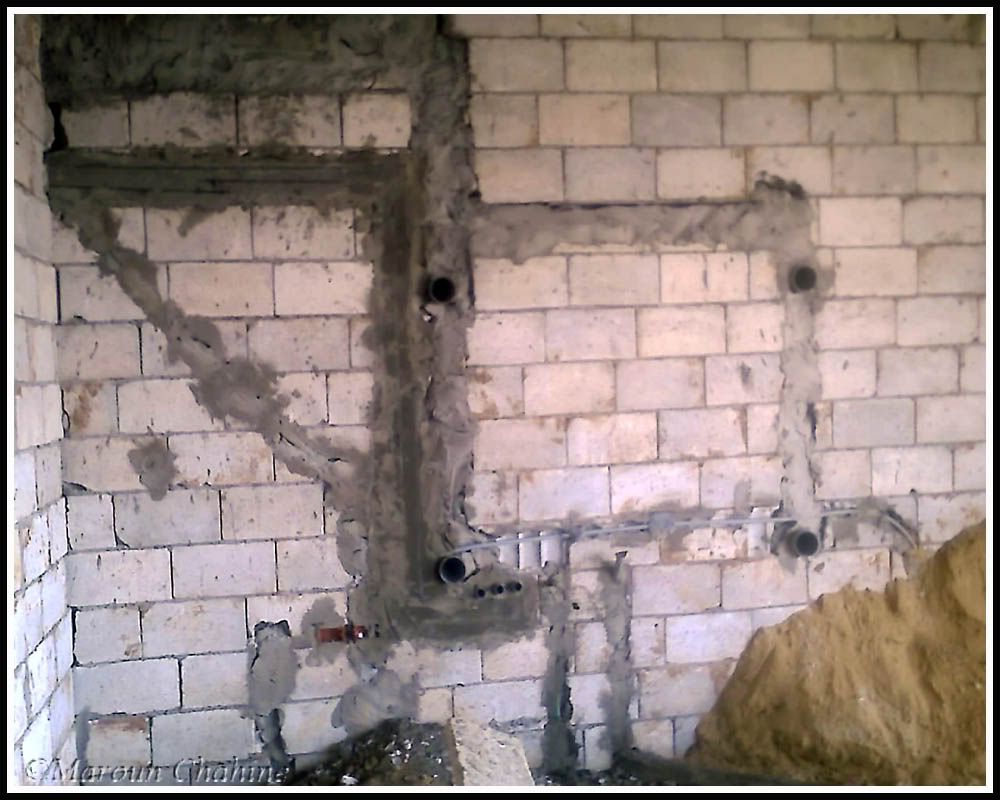
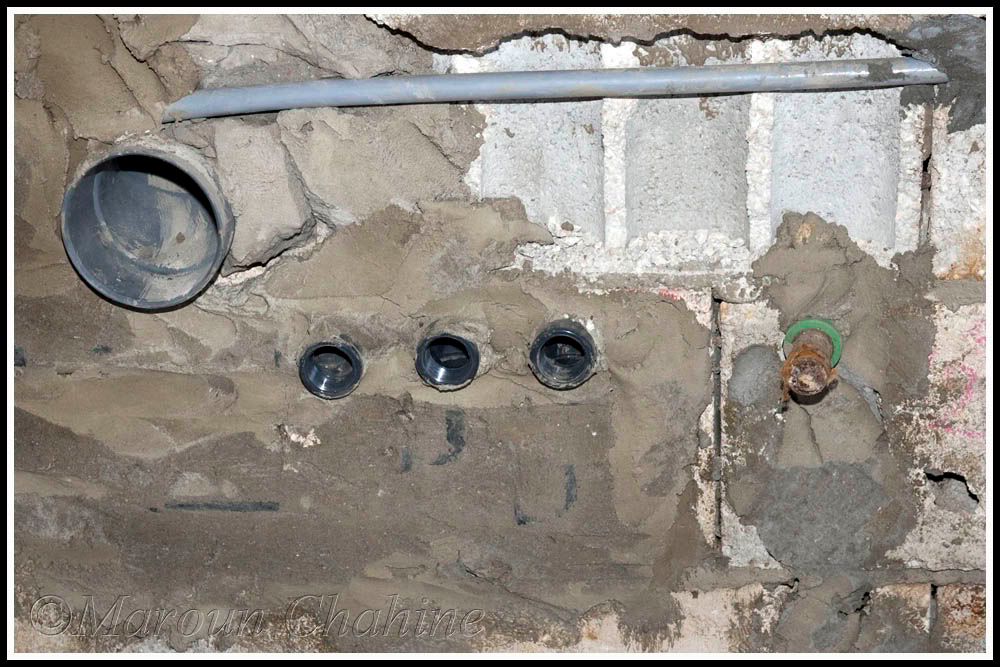
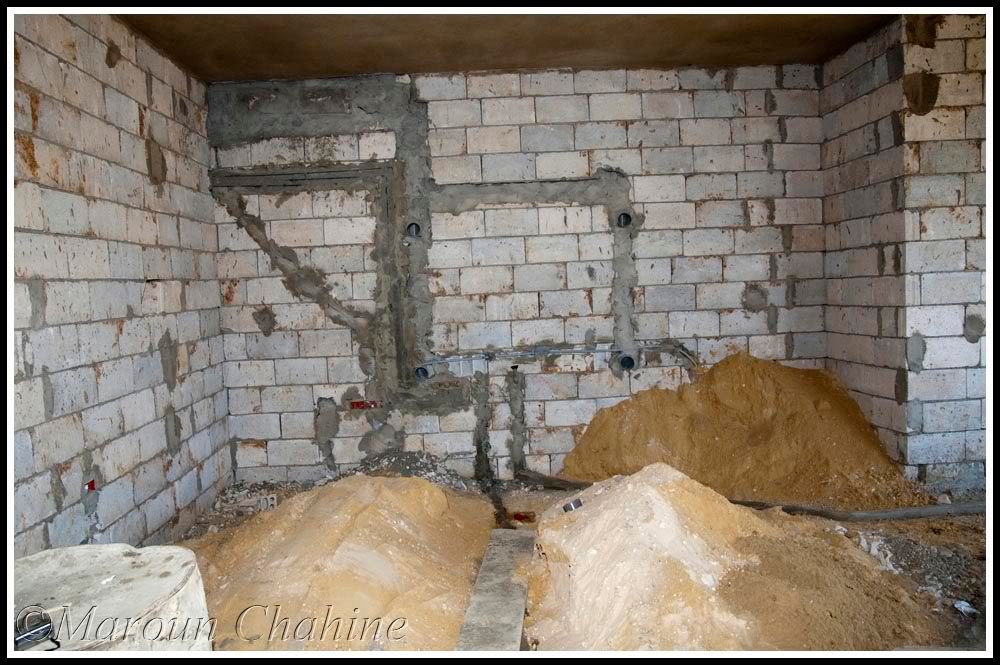
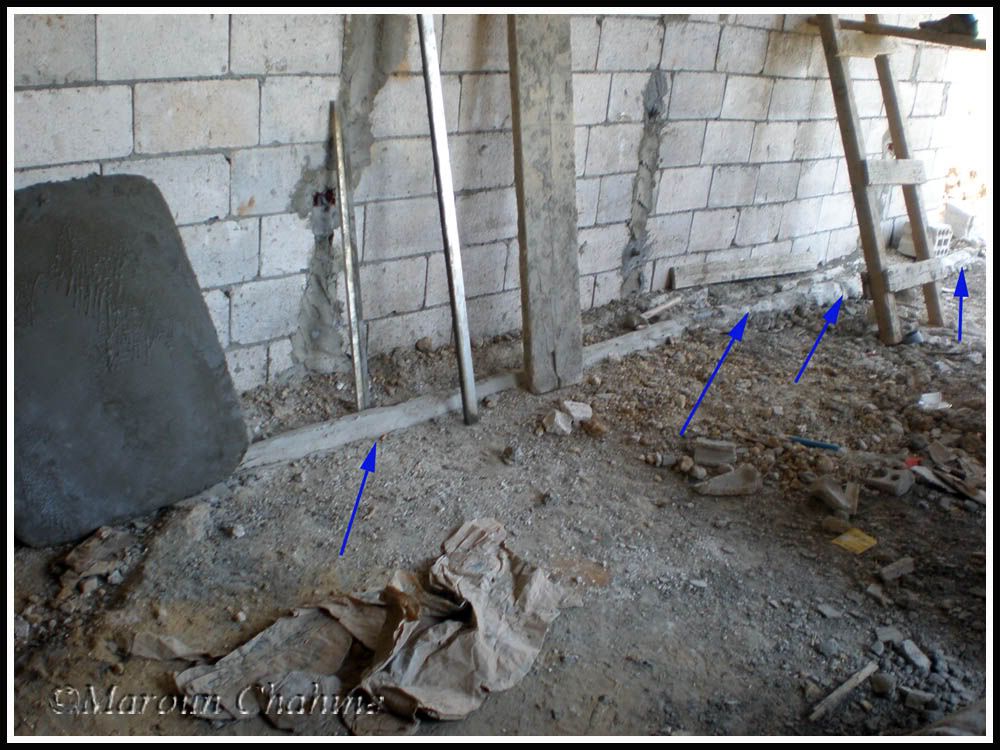
Vent tubes and plumbing to fishroom Drain and from RO Supply:
Drain to Garden Drain:
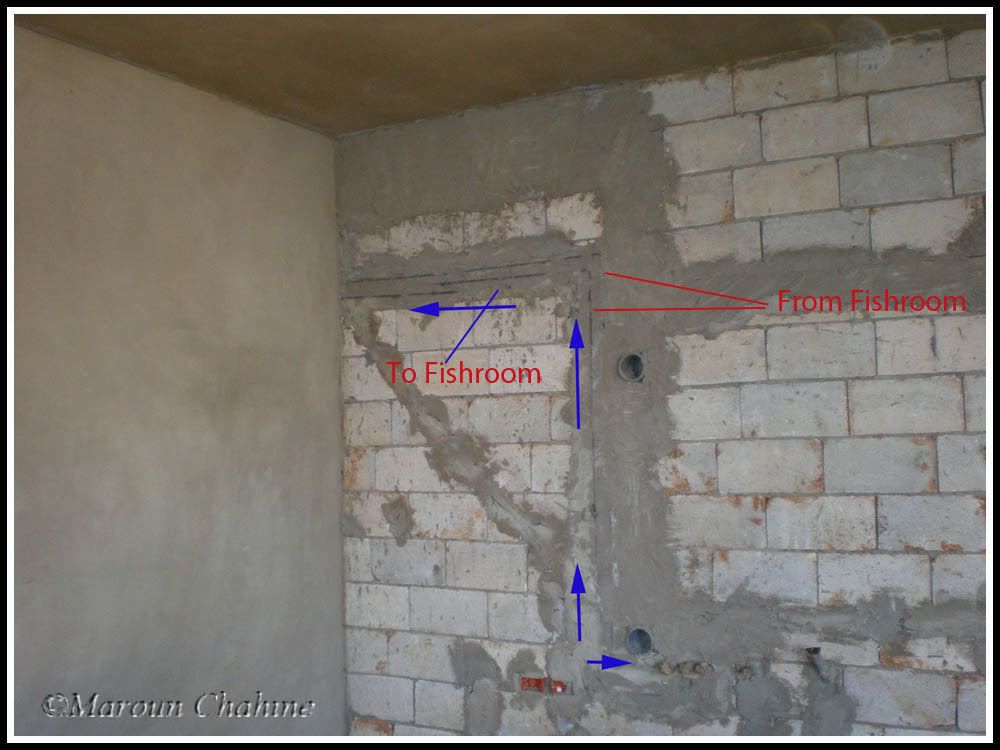
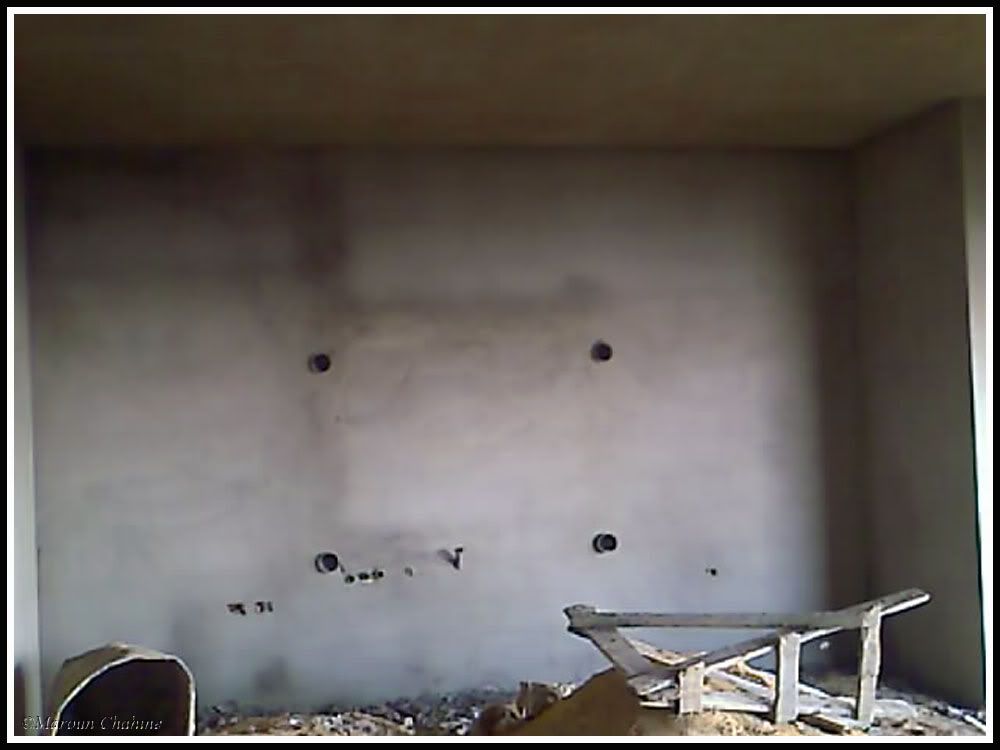
Overview
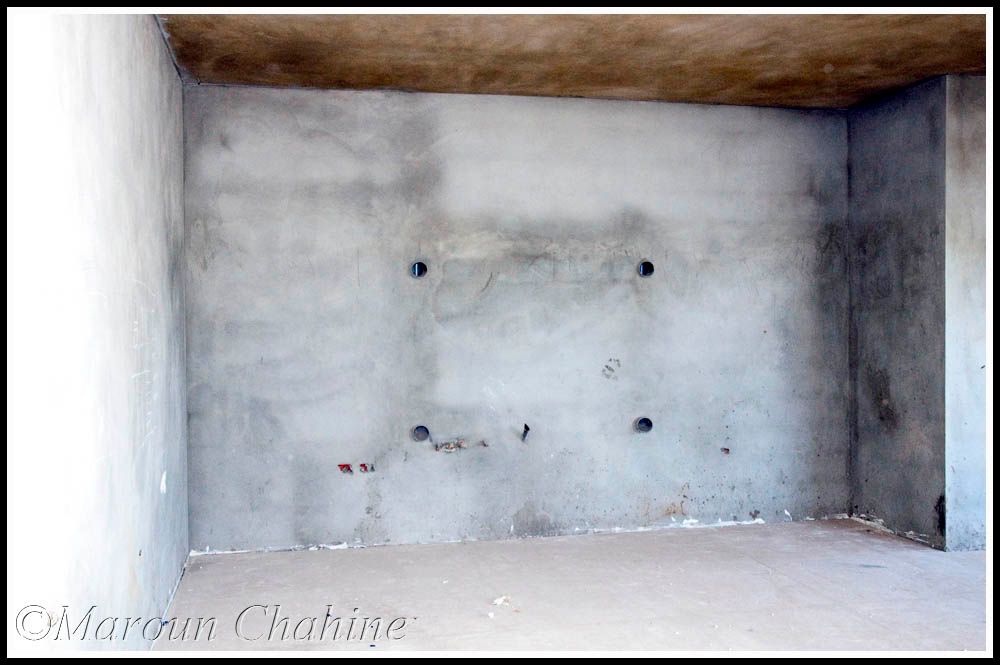
Wall Cemented
And Cleaned up with tiles installed:
[/QUOTE]
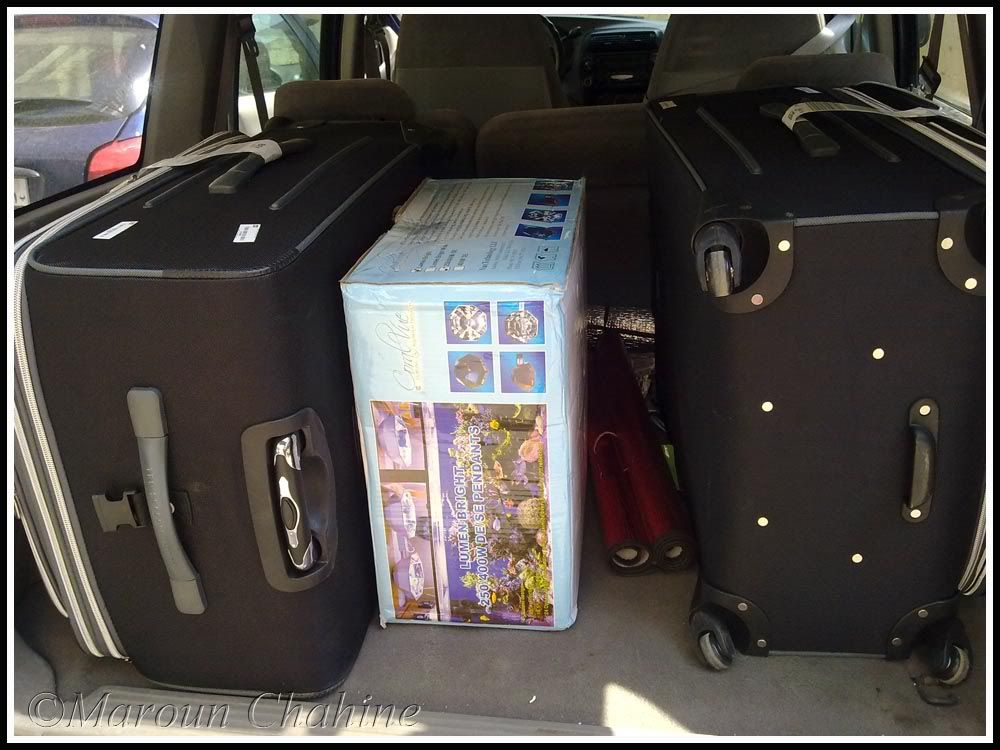
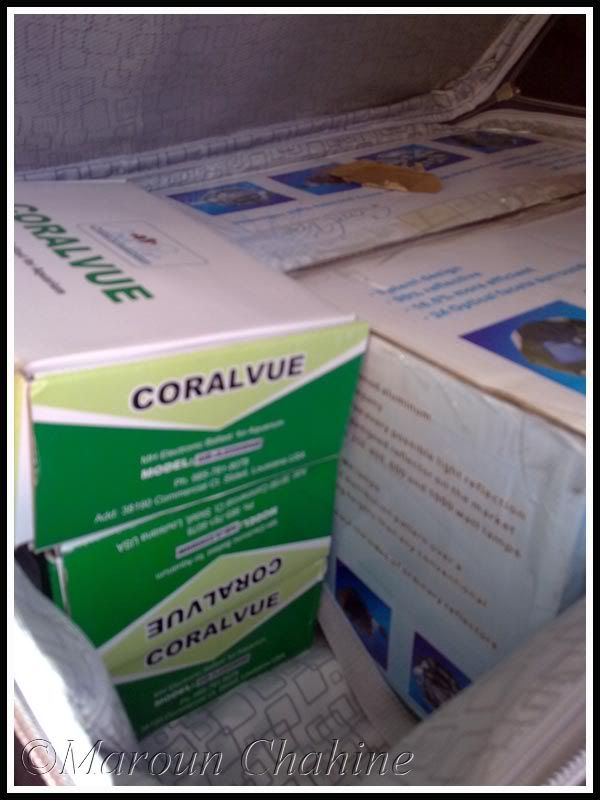
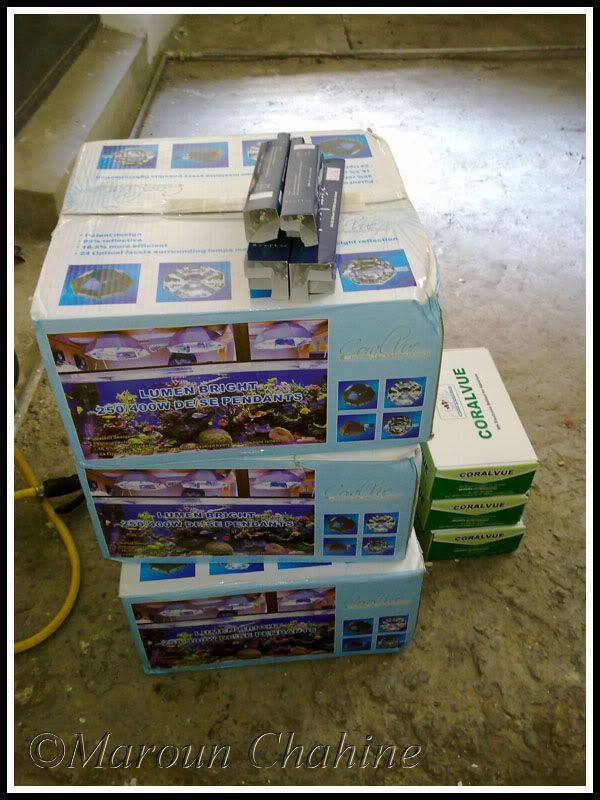
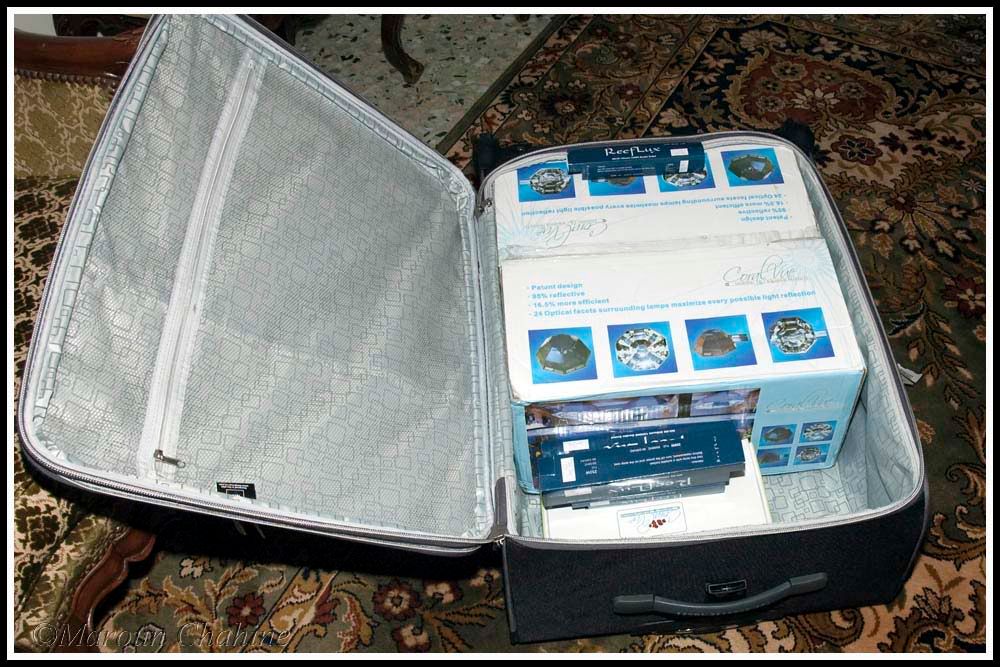
I managed to get 3 Lumenbright mini pendants 250W (We only have De bulbs arond here and at 16.5x16.5x7 3 of those should be enough to lightup the tank with some T5 supplementation) with Coralvue Dimmable electronic ballasts and Reeflux 250W 12K DE bulbs that Im starting with.