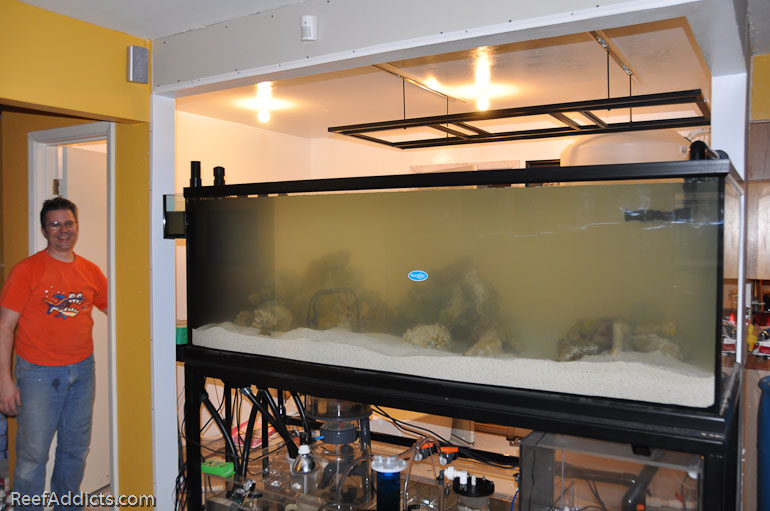
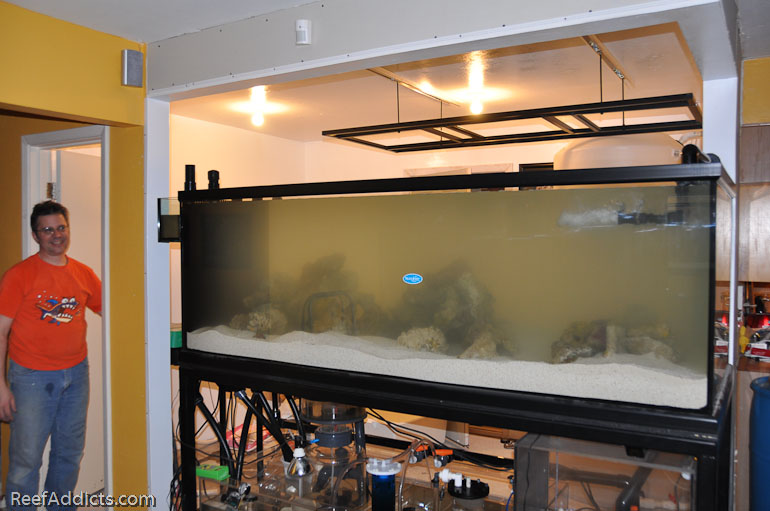
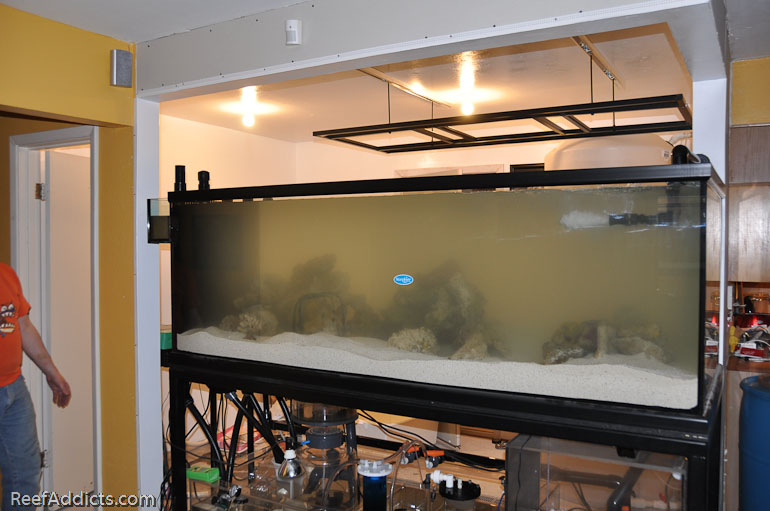
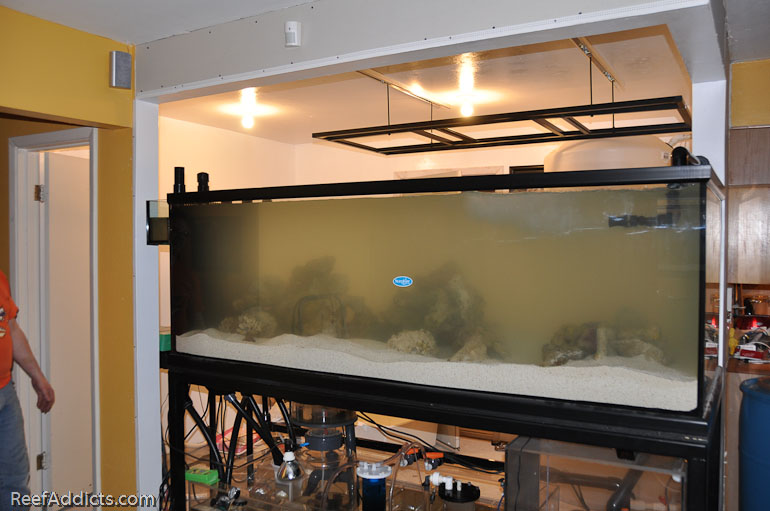
Rockscaping and saltwater at last!
by
, 02-01-2011 at 02:21 AM (36676 Views)
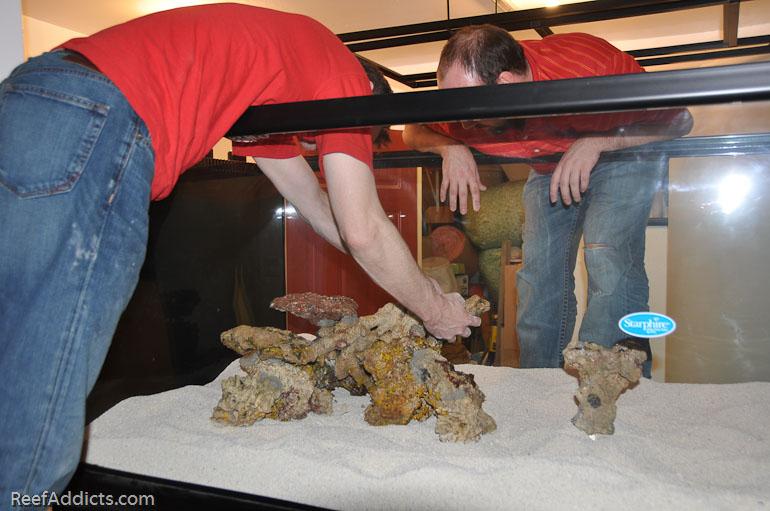
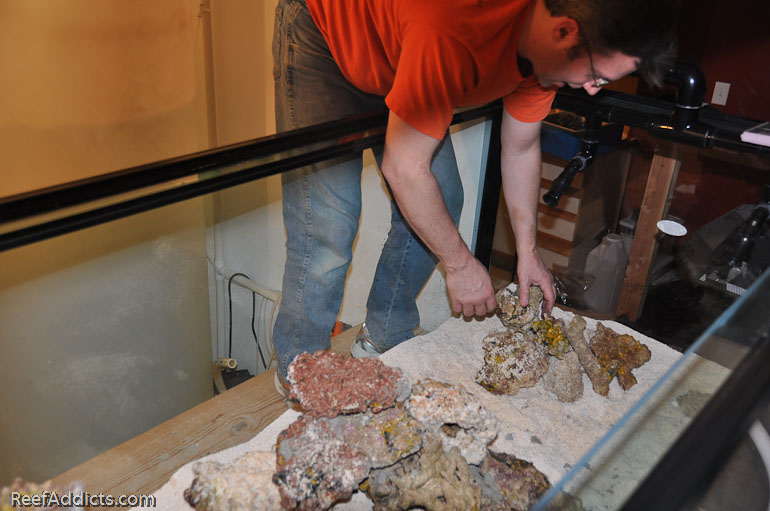
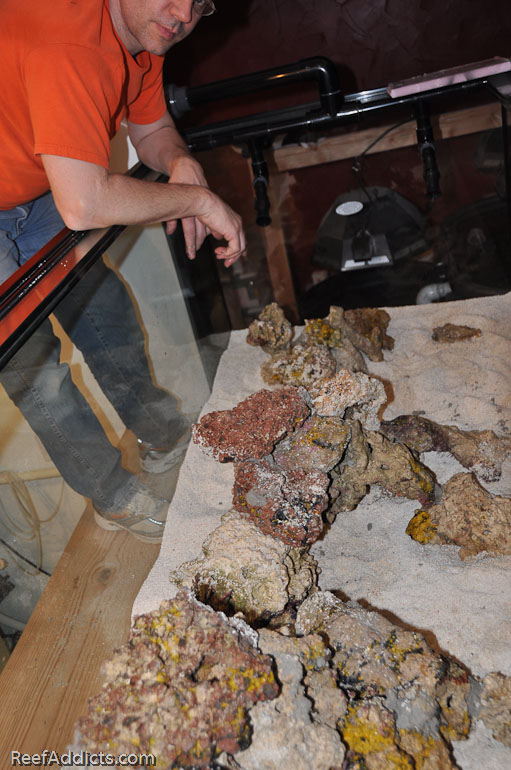
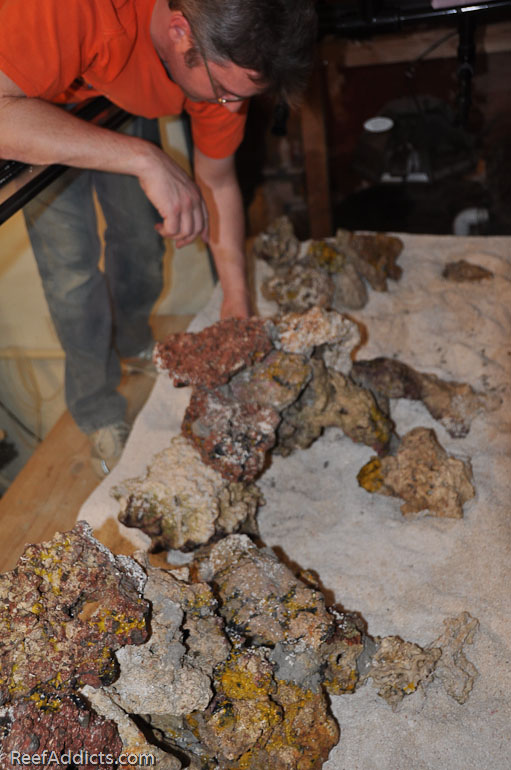
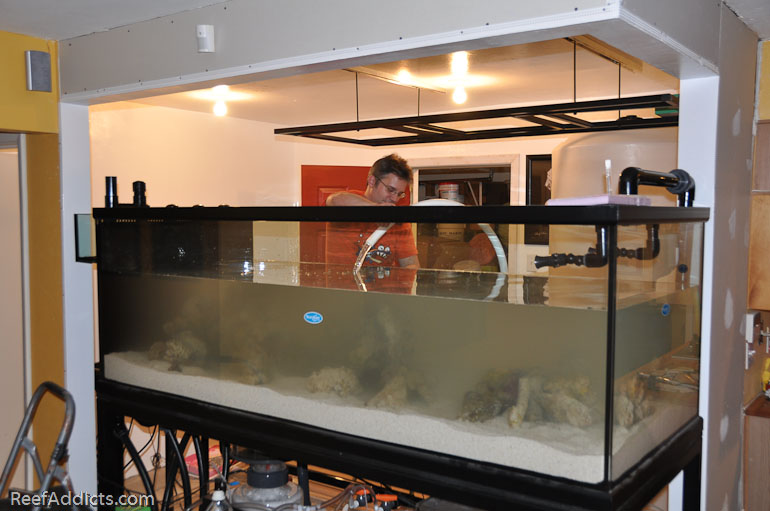
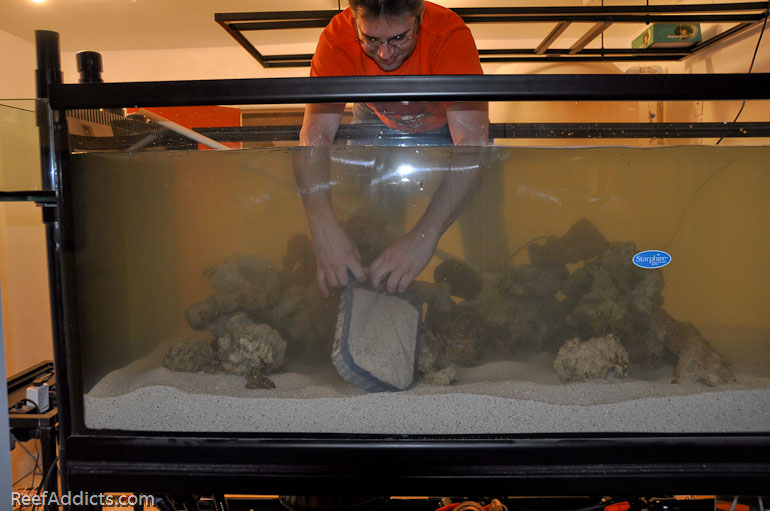
With everything done, it was time to move the bonded rock into the display. I had a sinking feeling it wouldn't hold together, but wanted to will it with Jedi Might to stay strong. Using a large piece of 3/8" thick scrap acrylic, we hoped we could slide parts of the structure onto it and lift this into the tank. Unfortunately, the concrete material didn't hold strong, and as you might imagine at 2 a.m. the expletives were flying. All that hard work on Ryan's part was being undone, mostly because I didn't want to wait 24 to 48 hours to move my dying live rock.
With it cracked apart and sitting on loose sand, it seemed hopeless. It was 3 a.m. and Ryan had to leave. He was unhappy, and wished me luck. To sum up, I didn't get my support system installed in the sandbed as planned, and the bonding agent didn't work. And my rock was exposed to air, thus killing bacteria aka dying.
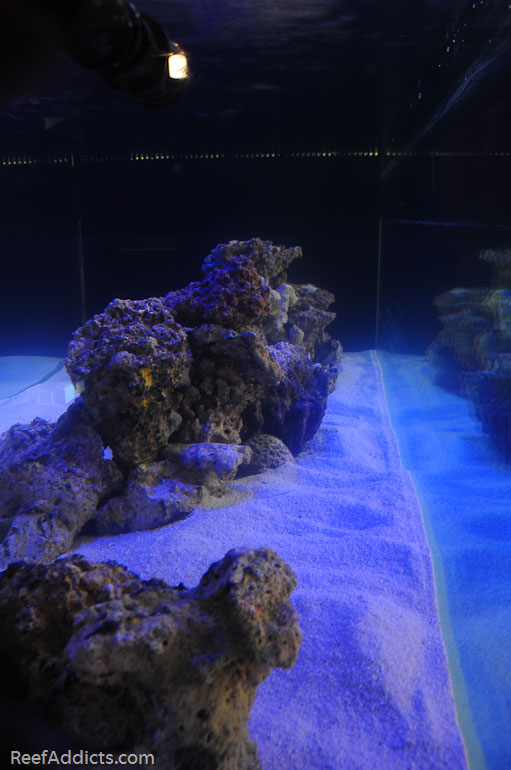
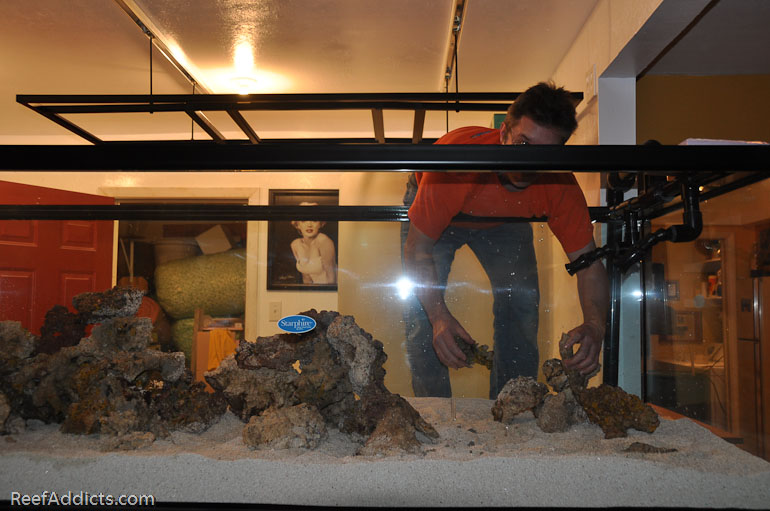
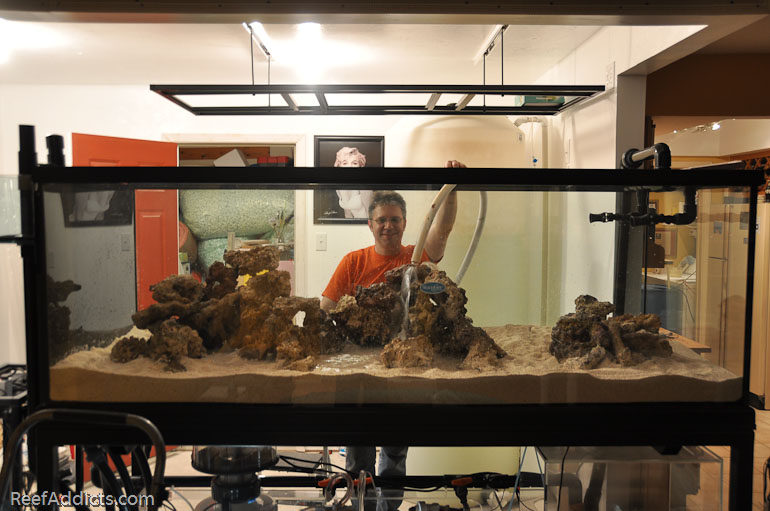
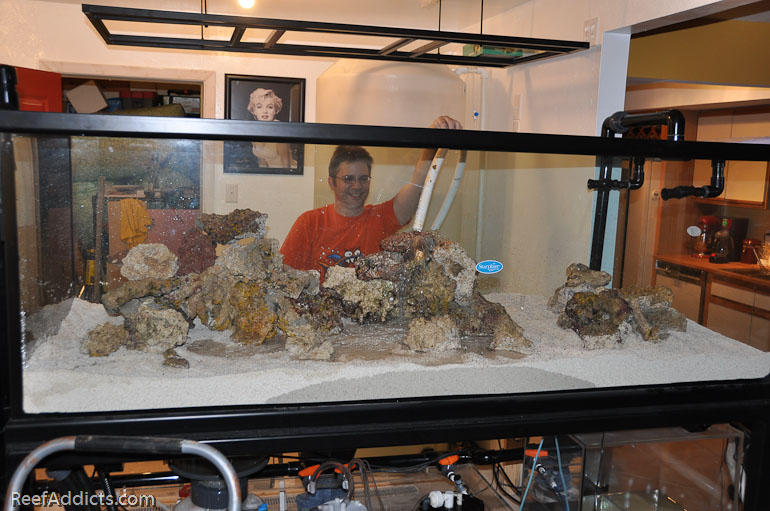
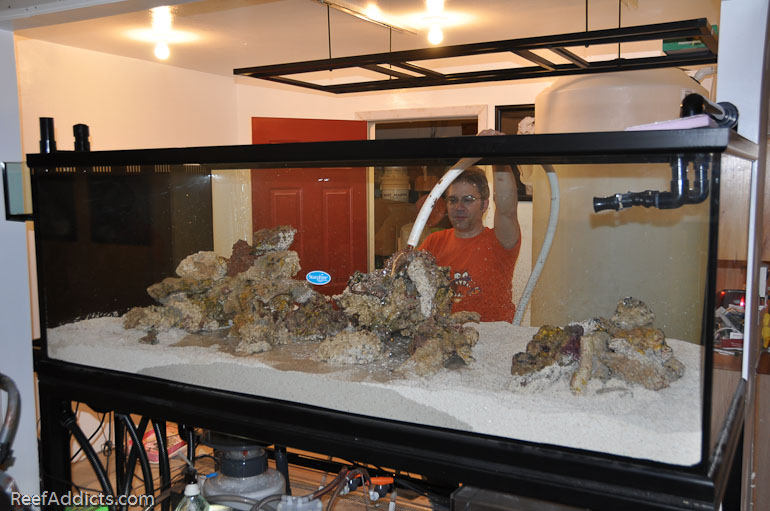
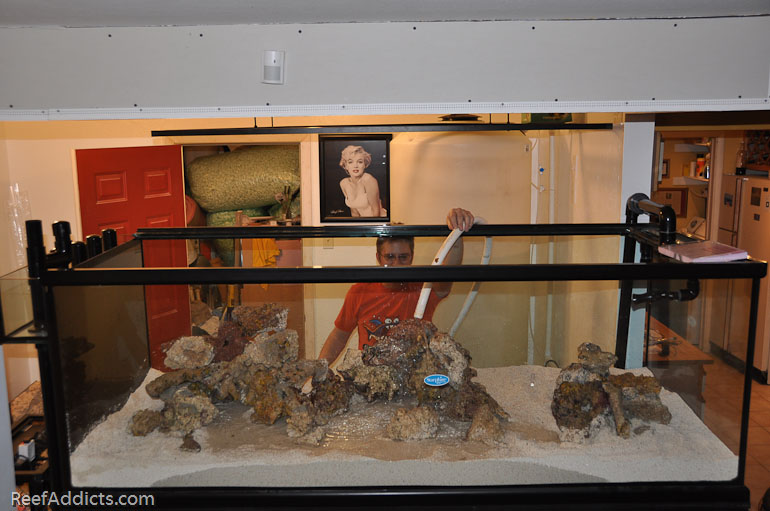
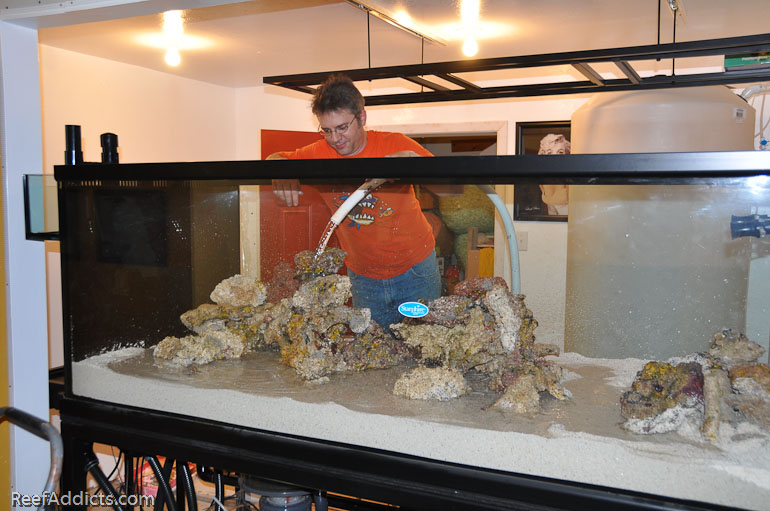
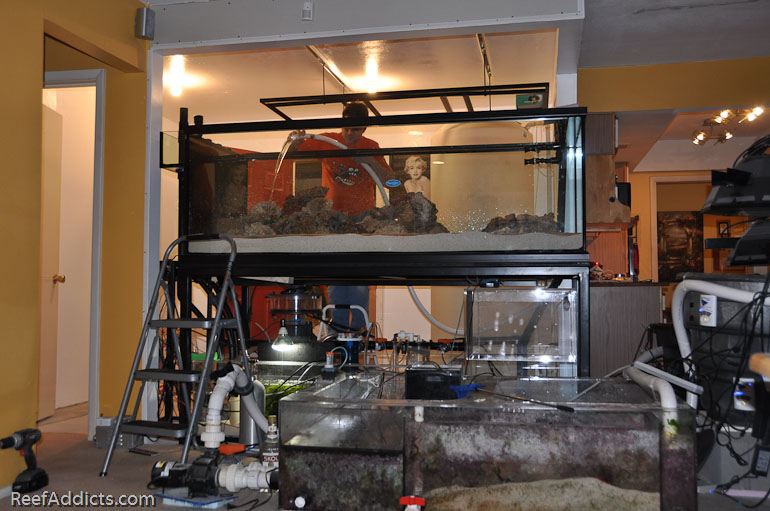
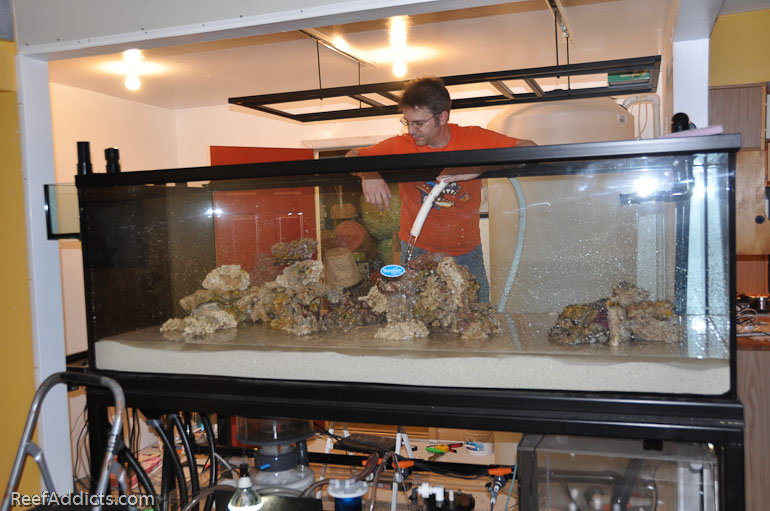
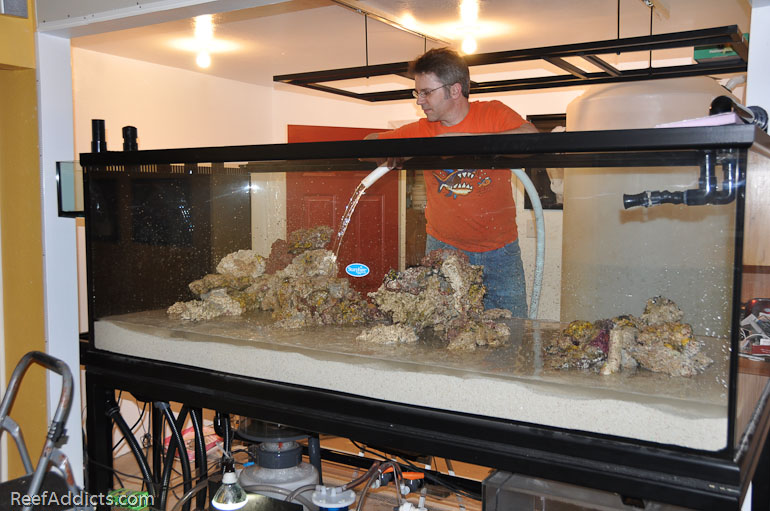
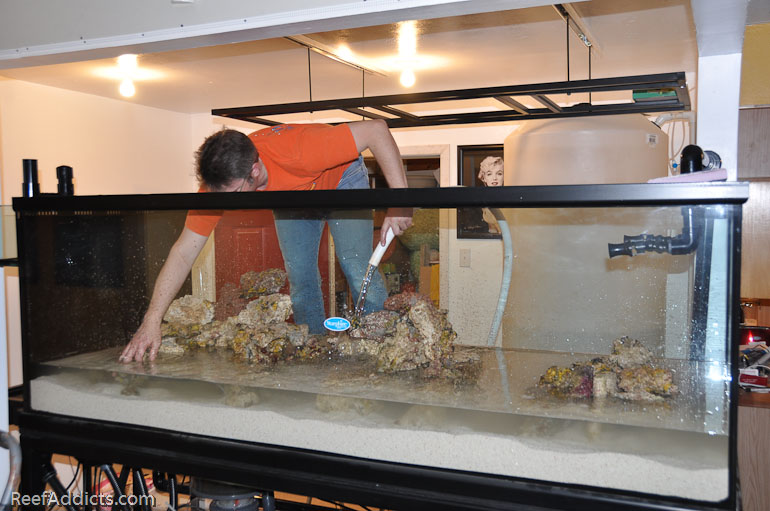
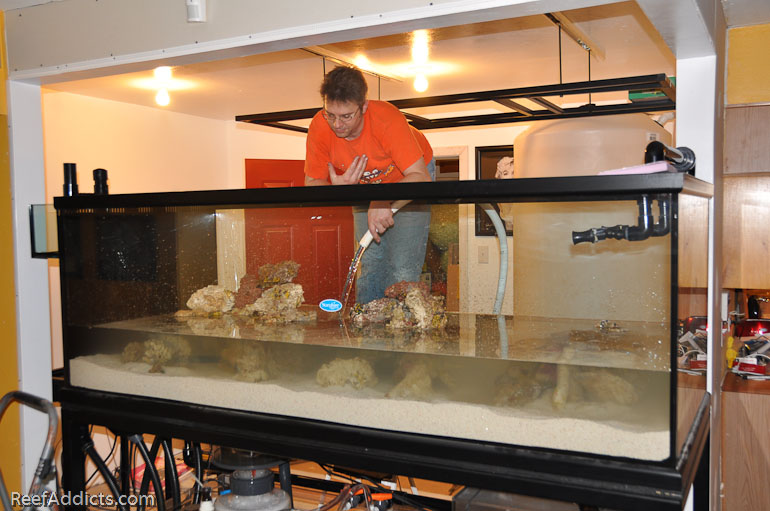
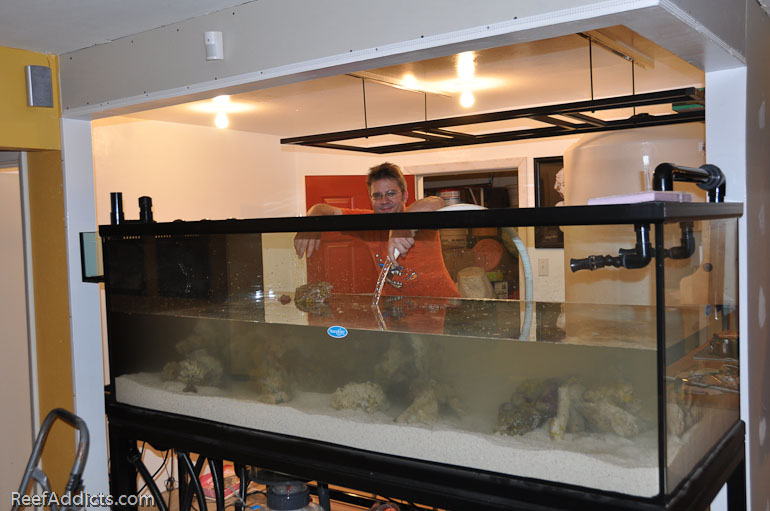
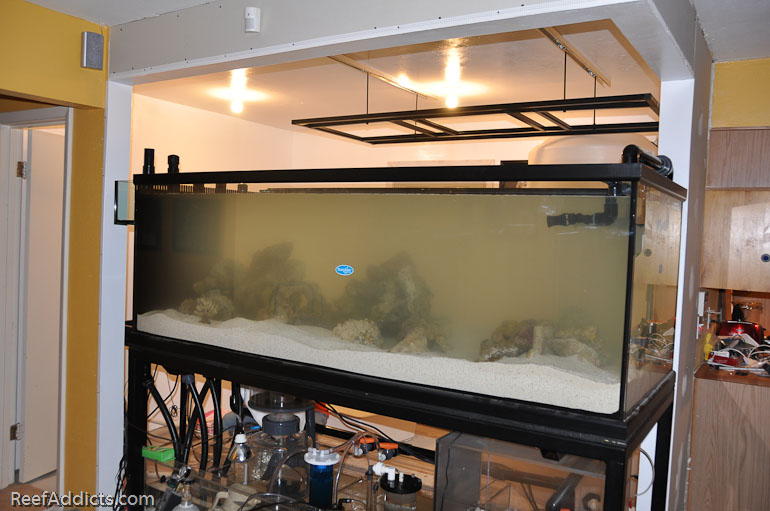
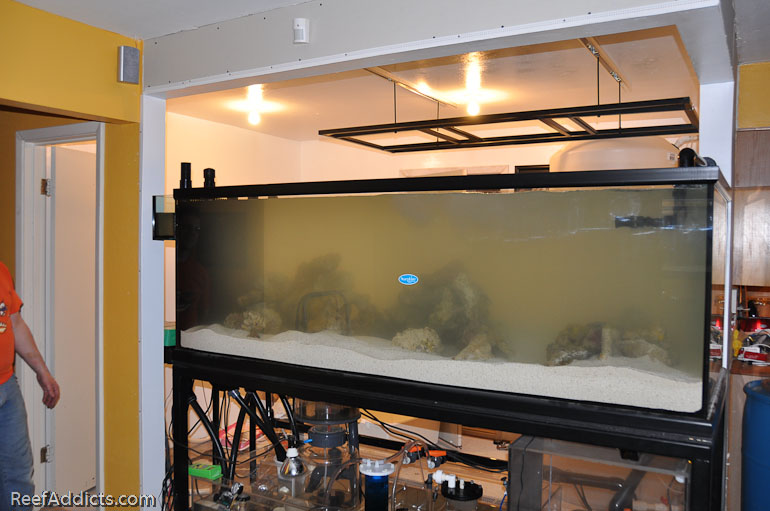
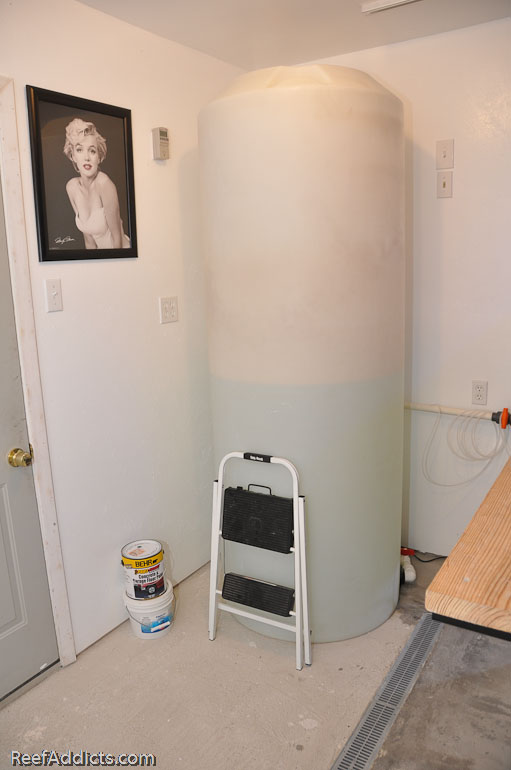
With renewed energy, Wes and I worked together to add to the minimalist look of the rockwork, changing a few things until I was happy with the layout. All that was left to do was add water. I had about 200 gallons left in the poly tank, plenty to cover the rockwork.
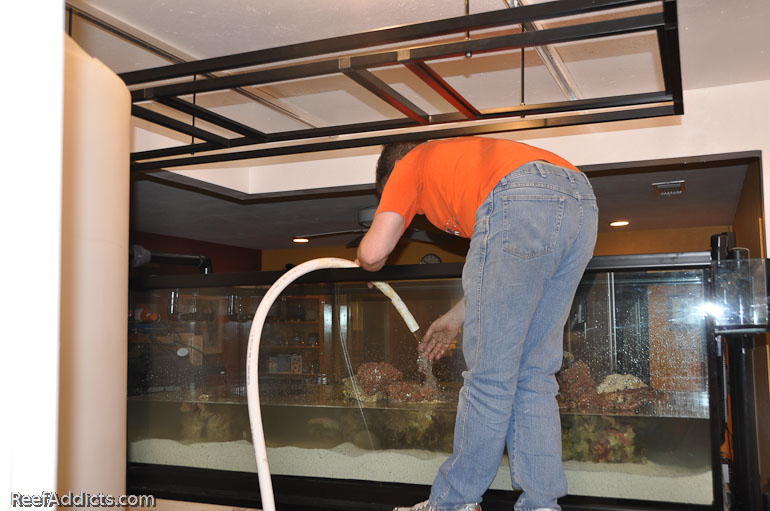
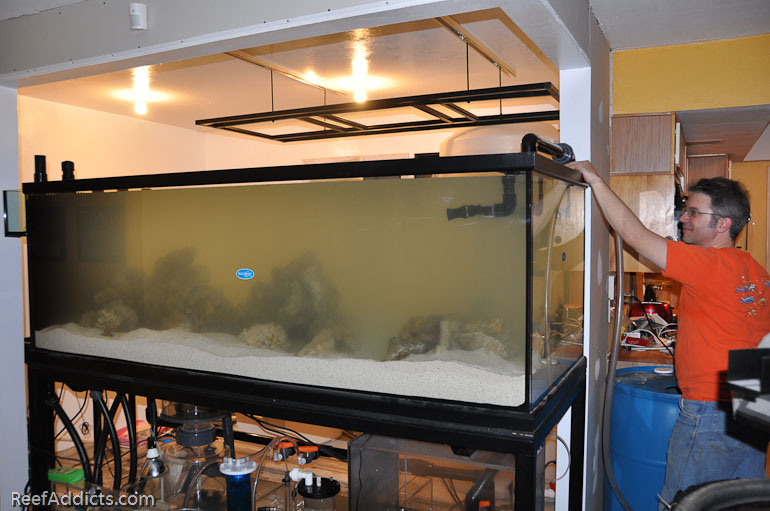
The flow rate wasn't bad at all, considering I'm using that little red Coralife circulation pump to push it up 6'. The pump is rated for 800gph, so it wasn't unreasonable to expect less. Even as the tank was filling up, I could hear part of the water still dumping back into the poly tank since I didn't have a valve above the Tee fitting to force it all to the reef tank.
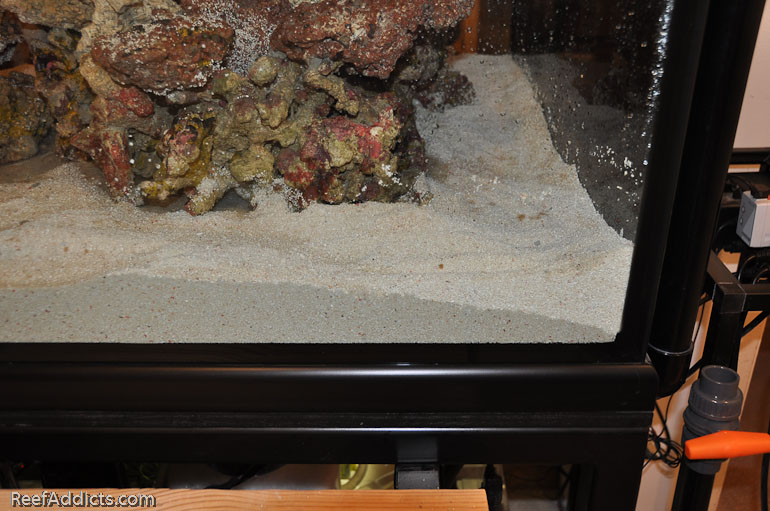
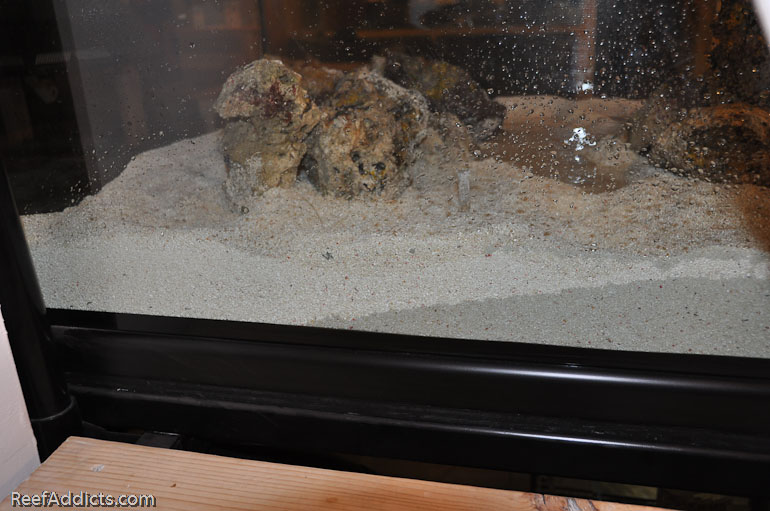
Wes loved the look of the sand, the pools of water and the water coursing down the rockwork. He wanted me to shut it off and take a look, but I didn't. Note how the water wicked its way across the sandbed.
Using the flow, I rinsed off the rocks and washed away some of the gray concrete stuff.
The water stayed so clear due to the Tropic Eden sand. I love this stuff, and have been using it for years because of this very reason. Plus it looks great.
As the water level rose and the water in the container dropped, we could see just how close we were coming to firing up the return pump. We took the last 13g of RO/DI water I had stored and mixed it up with salt, and left to get some hot fresh 5 a.m. donuts while it mixed.
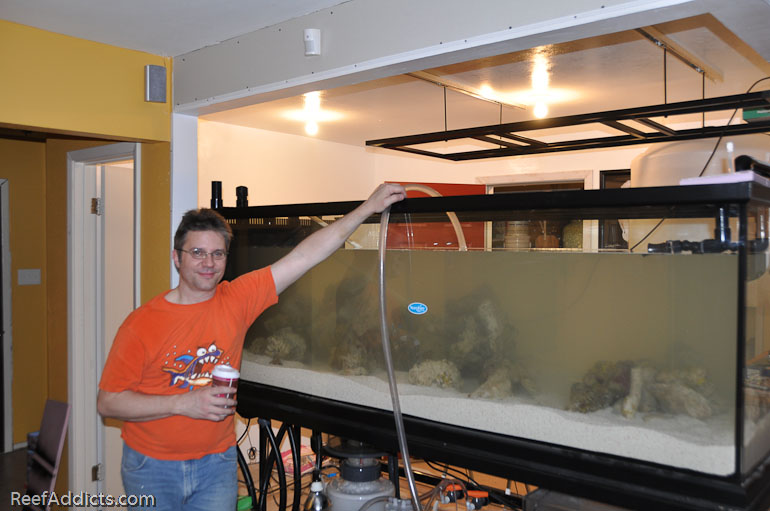
So we added some water from the old refugium zone. That's my coffee, btw.
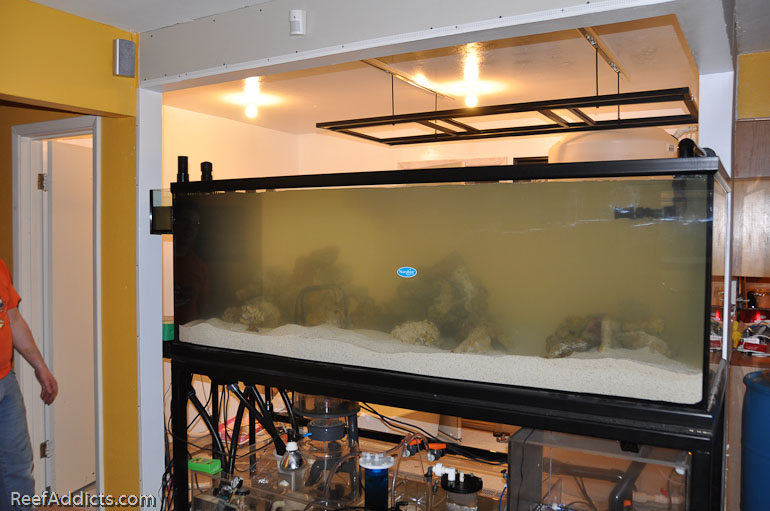
We still lacked about 2" worth of water - approximately 26g of water. Outside, I had a barrel full of murky water that had LR in it 10 hours ago, so we ran that through a filter sock and pumped it into the tank. It wasn't as pretty as the new water, but it got the volume we needed. We also turned off the skimmer to get a few gallons out of it. Every drop counted.
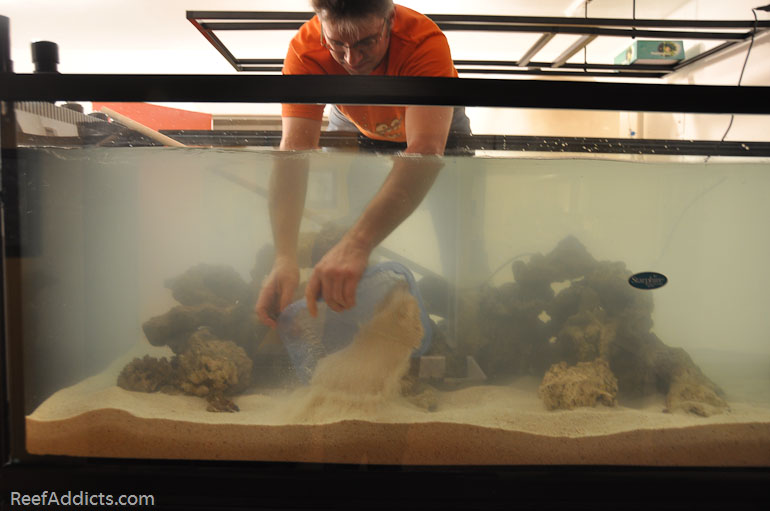
One more thing that would help: adding the Tropic Eden Live Sand to the display and refugium. Six trays were added to the reef tank, and two to the refugium.
So close!
We needed about two more gallons of water to fill the overflow.
Finally!
Now that the tank was full and the sump ready to run, I had the honor of firing up the return pump for the very first time.
As you can imagine, I was holding my breath a little. Watch the flow coming out of the penductors.
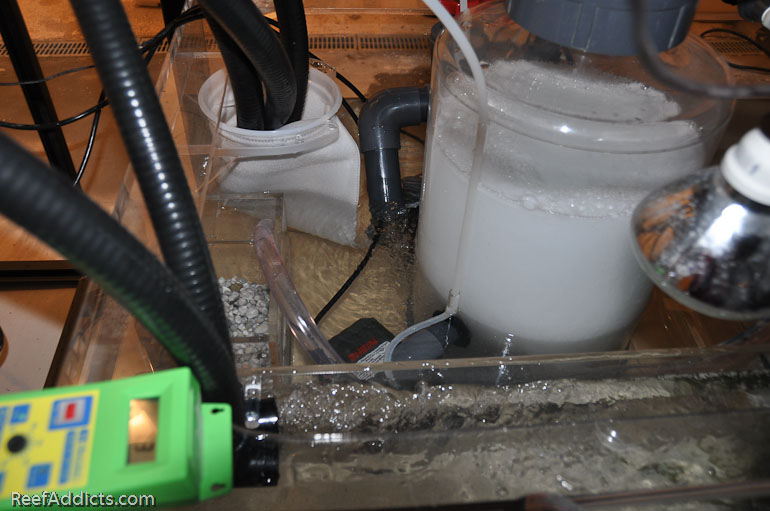
That's me checking the action in the sump.
The water is draining into the filter sock initially, and one drain is feeding the refugium zone.
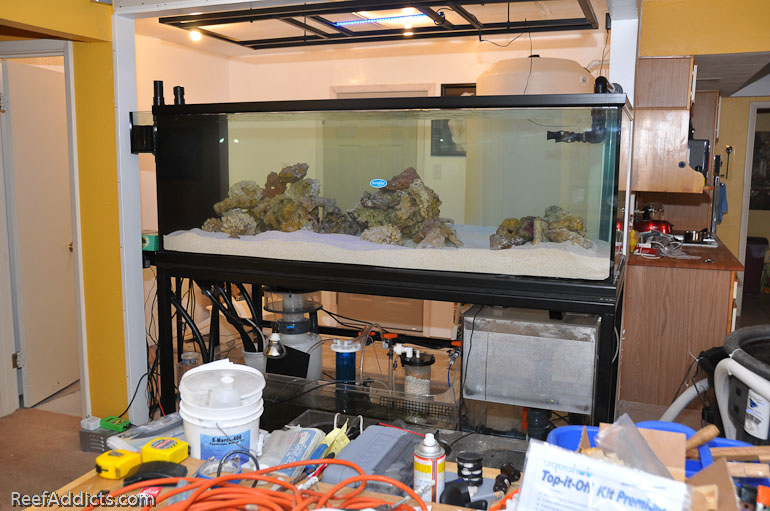
7 a.m. and we have a working system!! Wes and I stood back and enjoyed that major accomplishment. It took nearly seven months to get to this point, from the breakdown of the 280g until water flowed through the 400g Marineland custom tank.
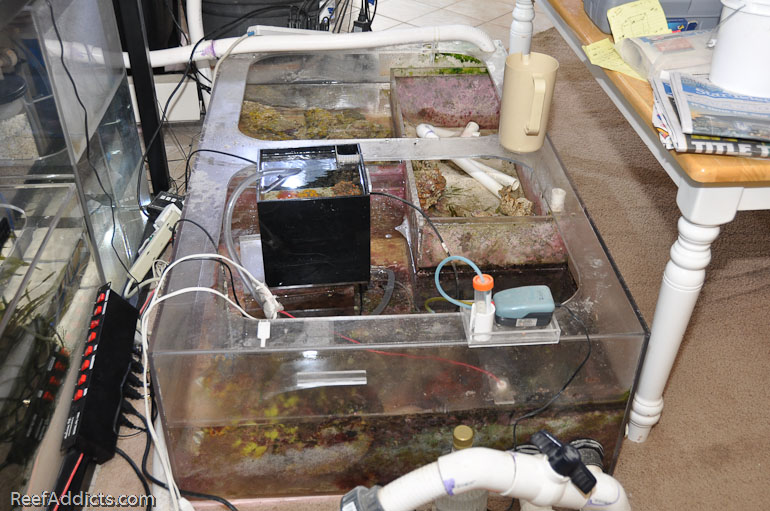
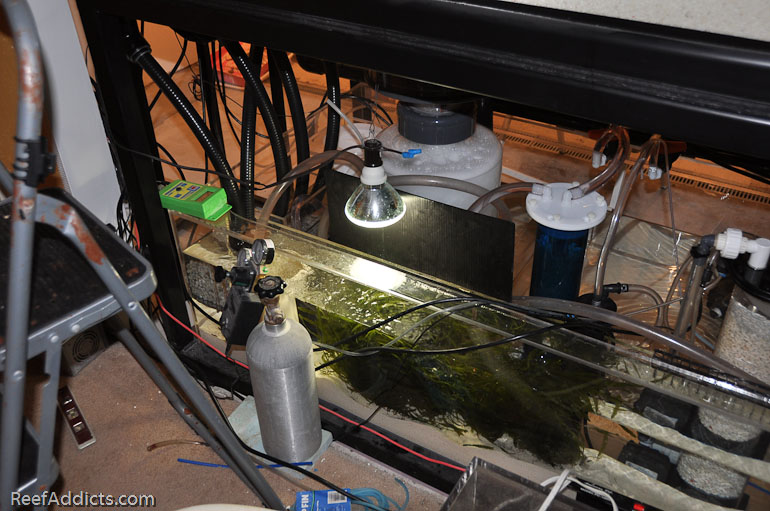
Here's what my old sump looks like now. The suncoral tank is on the old calcium reactor stand, being fed with a Maxijet 400. The refugium is empty & offline (and quite smelly). The sump is providing circulation to the two 100g vats for the time being.
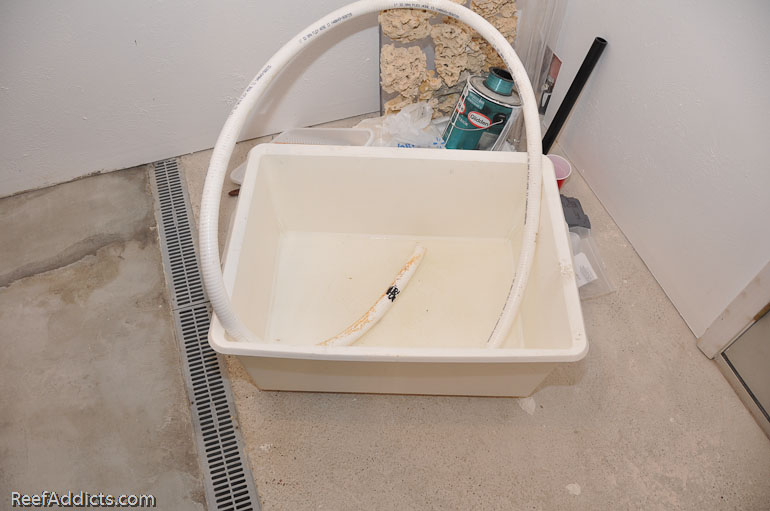
Ryan brought this container over. It looks like it may be my future fishroom sink. I love the dimensions.
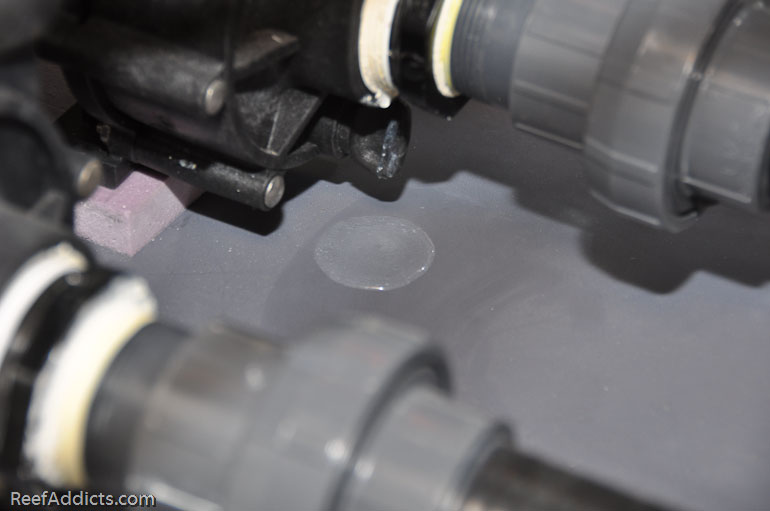
There was one minor drip under the Dart return pump. I need to fix it, but it won't be a problem tightening that adapter fitting. Out of all that plumbing, this drip was a non-event. That picture was taken 24 hours later, btw.
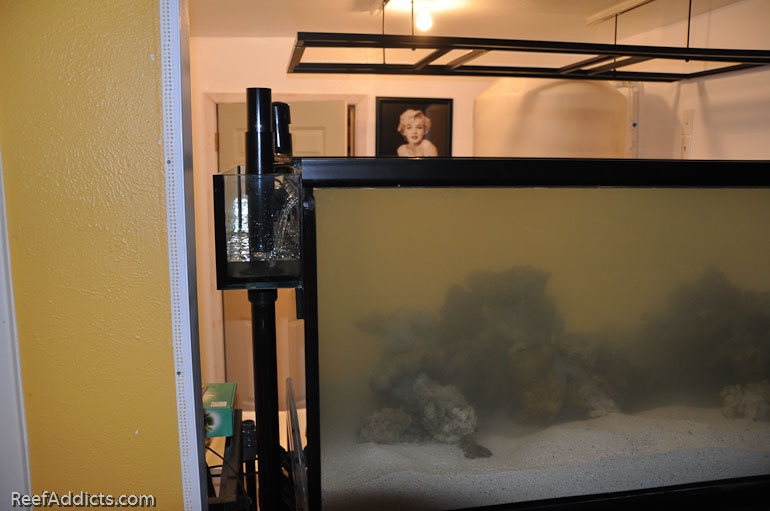
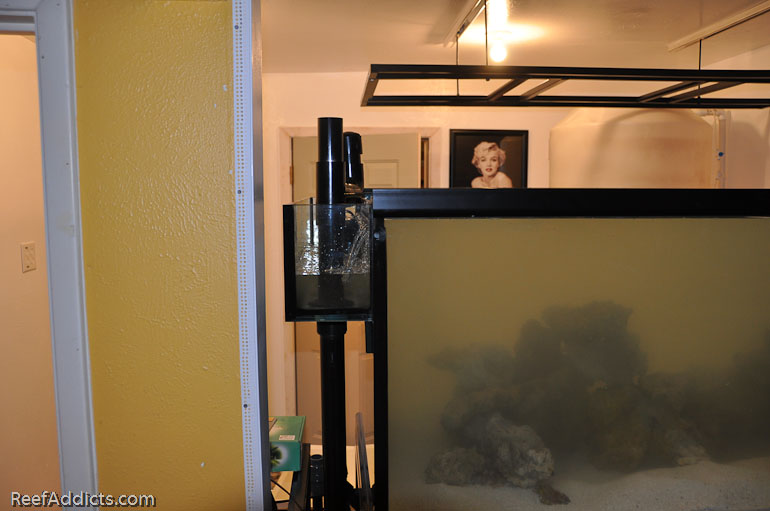
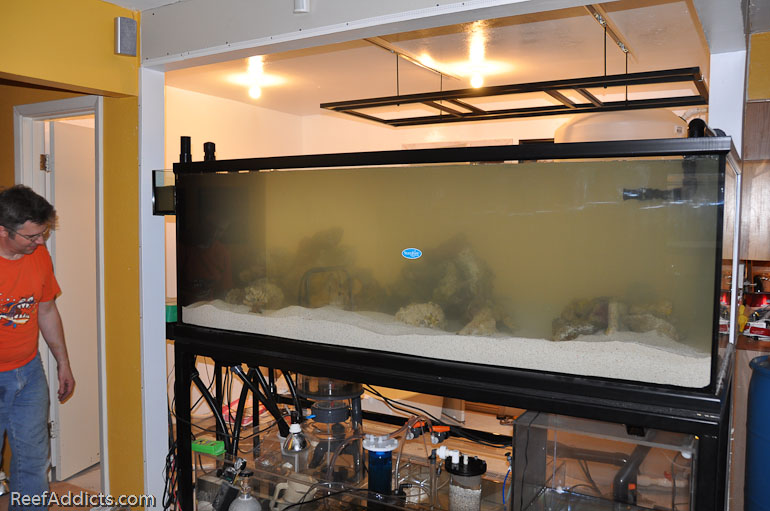
So here's the tank about 36 hours later, nearly crystal clear.
The poly tank is refilling.
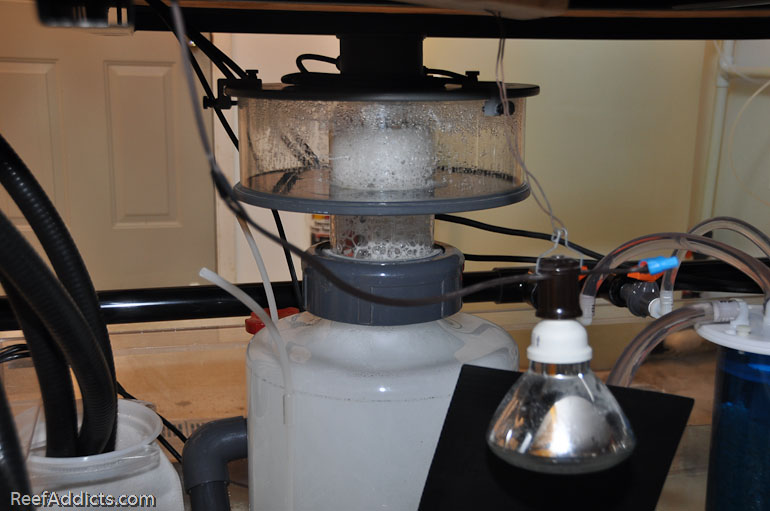
The skimmer is finally skimming again. For about 12 hours, it wasn't doing much at all.
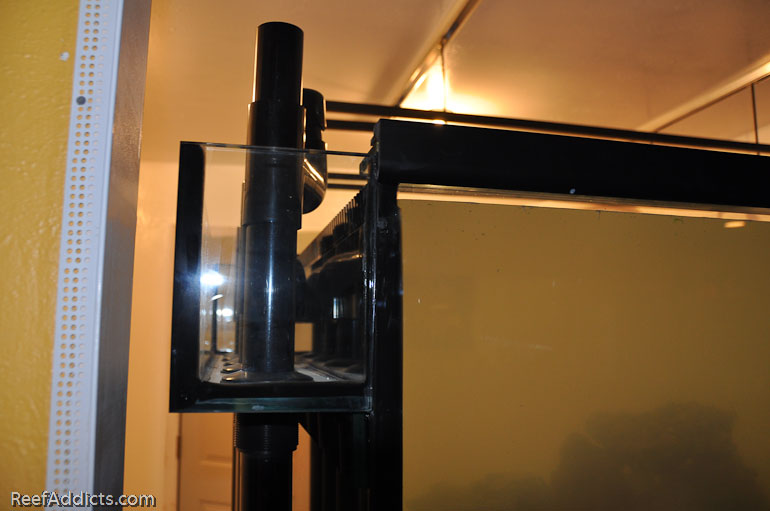
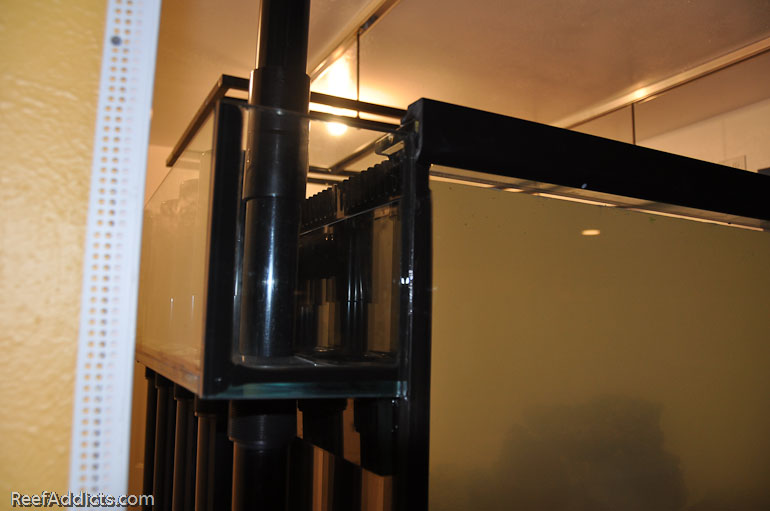
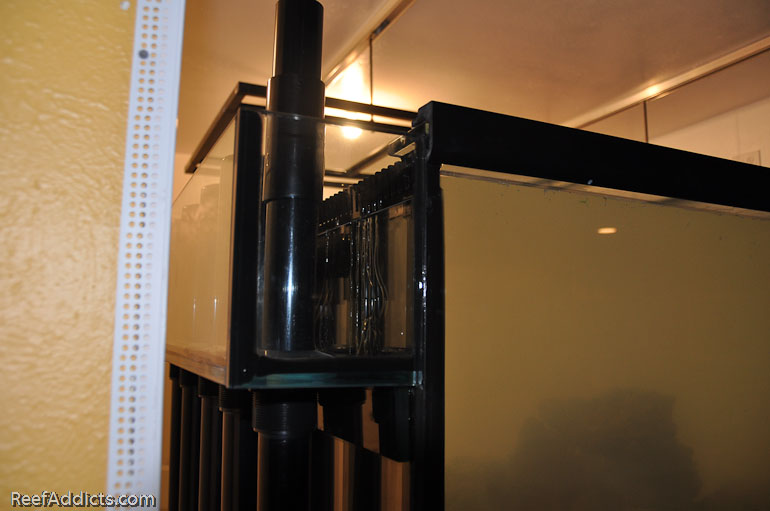
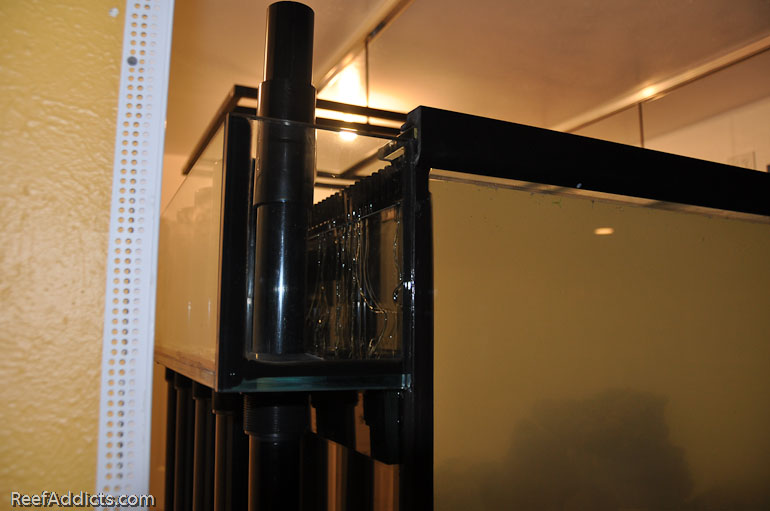
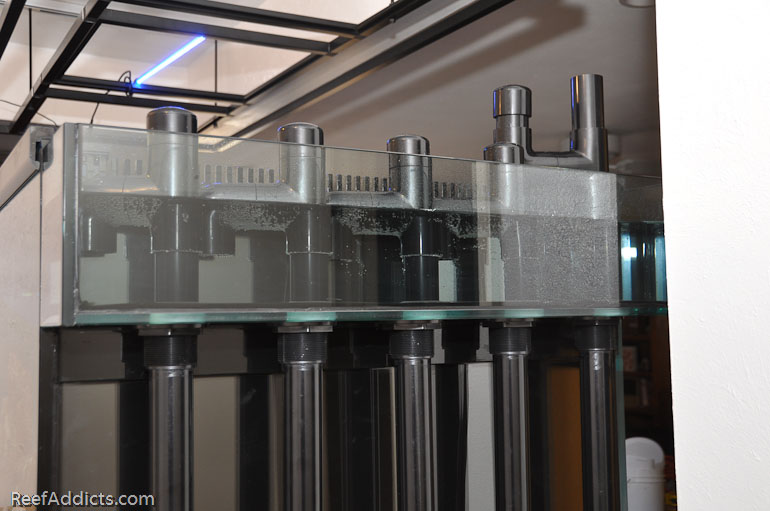
The overflow running on 4 out of the 5 drains. The fifth one will be used when the frag tank is plumbed in.
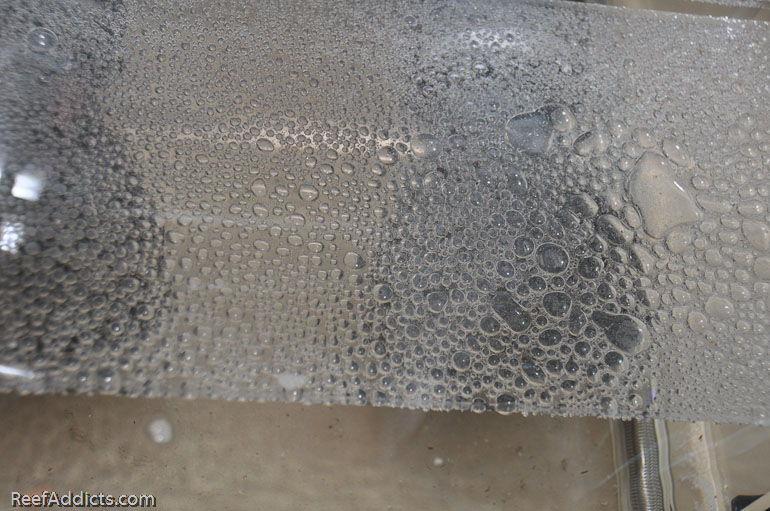
The acrylic cover over the two strainers in the return section has taken on an artistic look. Trapped air for now, no doubt caused by the slow moving microbubbles due to new plumbing.
A partition will likely be added to hide the gear from the livingroom side and keep light off the skimmer and reactors.
It was a lot of hard work, but after 206 days of DIY and thoughtful planning, I'm very happy to see this system up and running. If the water tests safe for ammonia and nitrite, I'd like to start moving livestock over in the next couple of days and regain my livingroom and dining area again. The system is amazingly quiet. I'm very impressed.
